CardStack
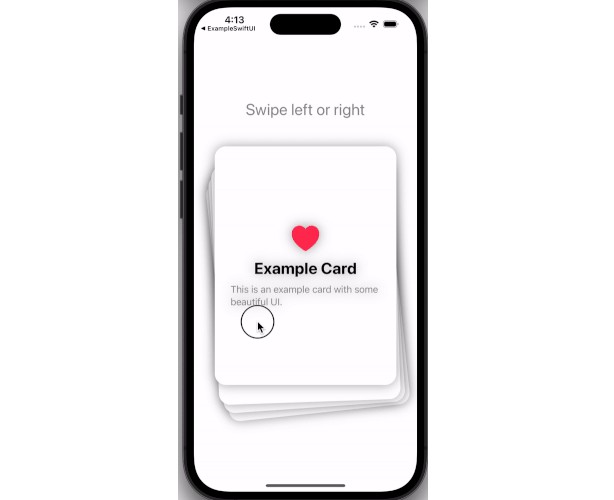
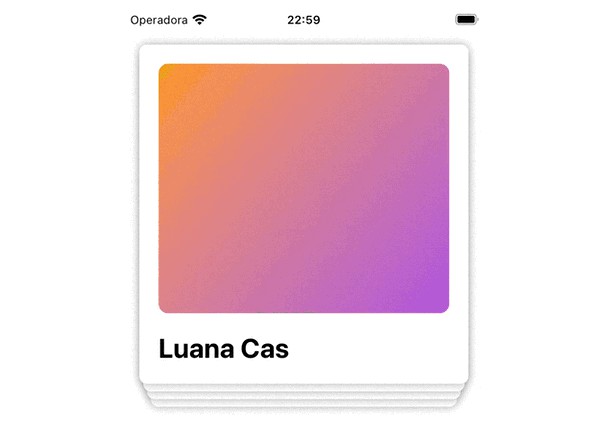
A easy-to-use SwiftUI view for Tinder like cards on iOS, macOS & watchOS.
Installation
Xcode 11 & Swift Package Manager
Use the package repository URL in Xcode or SPM package.swift file: https://github.com/dadalar/SwiftUI-CardStackView.git
CocoaPods
CardStack is available through CocoaPods. To install it, simply add the following line to your Podfile:
pod "SwiftUICardStack"
Usage
The usage of this component is similar to SwiftUI's List. A basic implementation would be like this:
@State var cards: [Card] // This is the data to be shown in CardStack

CardStack(
  direction: LeftRight.direction, // See below for directions
  data: cards,
  onSwipe: { card, direction in // Closure to be called when a card is swiped.
    print("Swiped \(card) to \(direction)")
  },
  content: { card, direction, isOnTop in // View builder function
    CardView(card)
  }
)
Direction
CardStack needs to know which directions are available and how a swipe angle can be transformed into that direction. This is a conscious decision to make the component easily extendable while keeping type safety. The argument that needs to be passed to CardStack Initializer is a simple (Double) -> Direction? function. The Double input here is the angle in degrees where 0 points to up and 180 points to down. Direction is a generic type, that means users of this library can use their own types. Return nil from this function to indicate that that angle is not a valid direction (users won't be able to swipe to that direction).
There are the following predefined directions (LeftRight, FourDirections, EightDirections) and each of them define a direction(double:) function which can used in the CardStack Initializer. You can check the example project for a custom direction implementation.
Configuration
CardStack can be configured with SwiftUI's standard environment values. It can be directly set on the CardStack or an encapsulating view of it.
CardStack(
  // Initialize
)
.environment(\.cardStackConfiguration, CardStackConfiguration(
  maxVisibleCards: 3,
  swipeThreshold: 0.1,
  cardOffset: 40,
  cardScale: 0.2,
  animation: .linear
))
Use case: Appending items
It's really easy to load new data and append to the stack. Just make sure the data property is marked as @State and then you can append to the array. Please check the example project for a real case scenario.
struct AddingCards: View {
  @State var data: [Person] // Some initial data

  var body: some View {
    CardStack(
      direction: LeftRight.direction,
      data: data,
      onSwipe: { _, _ in },
      content: { person, _, _ in
        CardView(person: person)
      }
    )
    .navigationBarItems(trailing:
      Button(action: {
        self.data.append(contentsOf: [ /* some new data */ ])
      }) {
        Text("Append")
      }
    )
  }
}
Use case: Reload items
Since the component keeps an internal index of the current card, changing the order of the data or appending/removing items before the current item will break the component. If you want to replace the whole data, you need to force SwiftUI to reconstruct the component by changing the id of the component. Please check the example project for a real case scenario.
struct ReloadCards: View {
  @State var reloadToken = UUID()
  @State var data: [Person] = Person.mock.shuffled()

  var body: some View {
    CardStack(
      direction: LeftRight.direction,
      data: data,
      onSwipe: { _, _ in },
      content: { person, _, _ in
        CardView(person: person)
      }
    )
    .id(reloadToken)
    .navigationBarItems(trailing:
      Button(action: {
        self.reloadToken = UUID()
        self.data = Person.mock.shuffled()
      }) {
        Text("Reload")
      }
    )
  }
}
Author
Deniz Adalar, [email protected]


