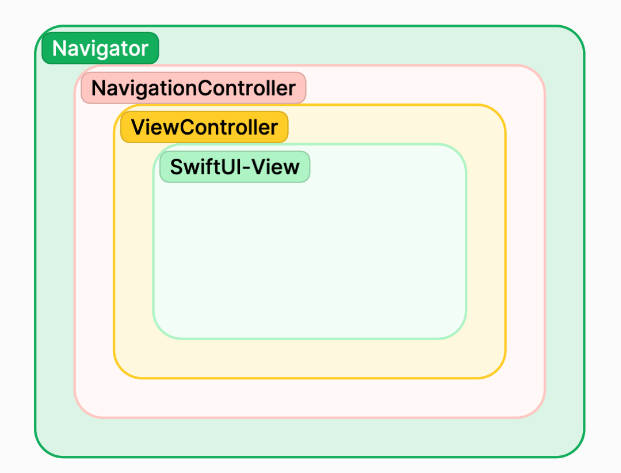
Navigation made simple
Implement navigation in your project in no time. Keep your code clean
Navigattie is a free, and open-source library for SwiftUI that makes navigation easier and much cleaner.
- Improves code quality. Push your view using the
push(with:)method. Pop the selected one withpop(). Simple as never. - Designed for SwiftUI. While developing the library, we have used the power of SwiftUI to give you powerful tool to speed up your implementation process.
Getting Started
✋ Requirements
| Platforms | Minimum Swift Version |
|---|---|
| iOS 15+ | 5.0 |
⏳ Installation
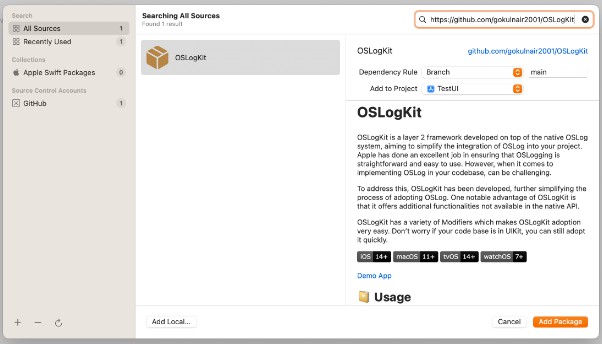
Swift package manager
Swift package manager is a tool for automating the distribution of Swift code and is integrated into the Swift compiler.
Once you have your Swift package set up, adding Navigattie as a dependency is as easy as adding it to the dependencies value of your Package.swift.
dependencies: [
    .package(url: "https://github.com/Mijick/Navigattie", branch(“main”))
]
Usage
1. Setup library
Inside the @main structure, call the implementNavigationView(config:) method on the view that is to be the root view in your navigation structure.
The view to be the root must be of type NavigatableView. The method takes an optional argument – config, that can be used to configure some modifiers for all navigation views in the application.
  var body: some Scene {
        WindowGroup {
            ContentView()
               .implementNavigationView(config: nil)
        }
  }
2. Declare structure of the view you want to push
Navigattie provides the ability to push (or pop) any view using its built-in stack. In order to do so, it is necessary to confirm to NavigatableView protocol.
So that an example view you want to push will have the following declaration:
struct ExampleView: NavigatableView {
    ...
}
3. Implement body method
Fill your view with content
struct ExampleView: NavigatableView {
    var body: some View {
        VStack(spacing: 0) {
            Text("Witaj okrutny świecie")
            Spacer()
            Button(action: pop) { Text("Pop") }
        }
    }
    ...
}
4. Implement configure(view: NavigationConfig) -> NavigationConfig method
This step is optional – if you wish, you can skip this step and leave the configuration as default. Each view has its own set of methods that can be used to customise it, regardless of the config we mentioned in step 1.
struct ExampleView: NavigatableView {
    func configure(view: NavigationConfig) -> NavigationConfig { view.backgroundColour(.red) }
    var body: some View {
        VStack(spacing: 0) {
            Text("Witaj okrutny świecie")
            Spacer()
            Button(action: pop) { Text("Pop") }
        }
    }
    ...
}
5. Present your view from any place you want!
Just call ExampleView().push(with:) from the selected place
struct SettingsViewModel {
    ...
    func openSettings() {
        ...
        ExampleView().push(with: .verticalSlide)
        ...
    }
    ...
}
6. Closing views
There are two ways to do so:
- By calling one of the methods
pop,pop(to type:),popToRootinside any view
struct ExampleView: NavigatableView {
    ...
    func createButton() -> some View {
        Button(action: popToRoot) { Text("Tap to return to root") }
    }
    ...
}
- By calling one of the static methods of NavigationManager:
NavigationManager.pop()NavigationManager.pop(to type:)where type is the type of view you want to return toNavigationManager.popToRoot()
Try our demo
See for yourself how does it work by cloning project we created
License
Navigattie is released under the MIT license. See LICENSE for details.
Our other open source SwiftUI libraries
PopupView – The most powerful popup library that allows you to present any popup
