CardNavigation
The easiest way to turn a navigation controller into an interactive stack of cards.
Highlights
- ✅ Fully interactive and interruptible
- ✅ Works seamlessly with scroll views
- ✅ Supports changes in orientation
- ✅ Can be used with or without storyboards
- ✅ Written entirely in Swift using standard UIKit components
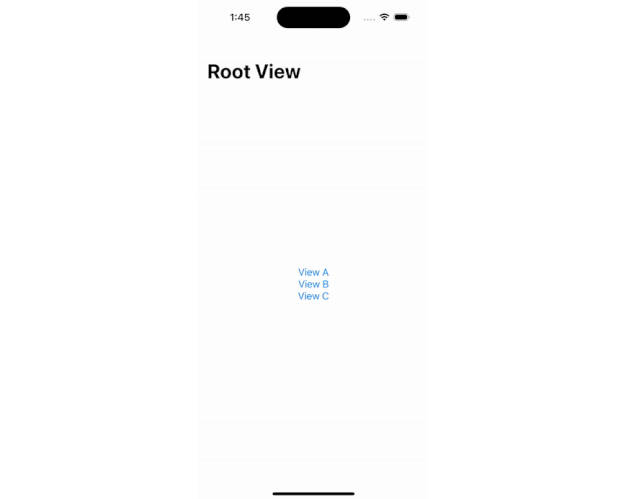
Example
Installation
CocoaPods
To install CardNavigation using CocoaPods, add the following line to your Podfile:
pod 'CardNavigation', '~> 1.1'
Swift Package Manager
To install CardNavigation using the Swift Package Manager, add the following value to your Package.swift:
dependencies: [
    .package(url: "https://github.com/james01/CardNavigation.git", .upToNextMajor(from: "1.1.0"))
]
Usage
Getting Started
CardNavigation consists of a single class: CardNavigationController. It behaves like a standard UINavigationController.
At the top of the file where you'd like to use a CardNavigationController, import CardNavigation.
import CardNavigation
Create an instance of CardNavigationController the way you would a regular UINavigationController.
let navController = CardNavigationController(rootViewController: SomeViewController())
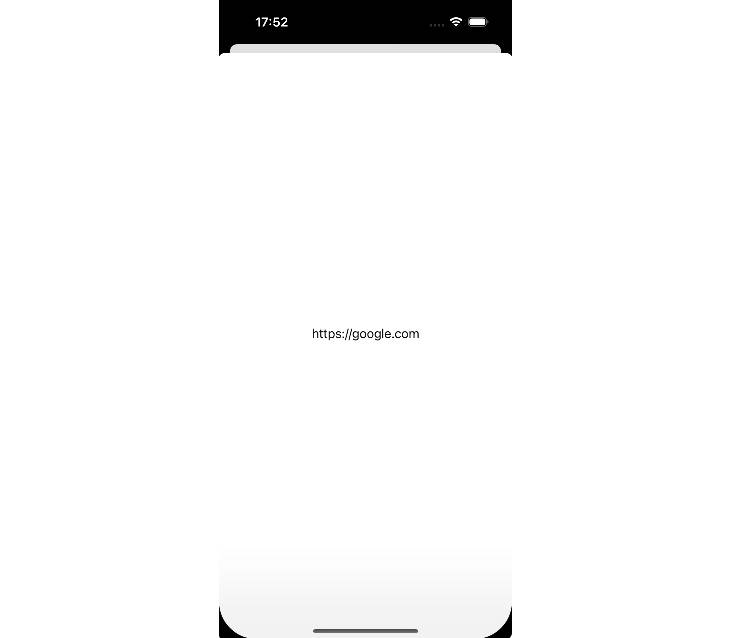
When you push a view controller, it will automatically be displayed as an interactive card.
navController.pushViewController(AnotherViewController(), animated: true)
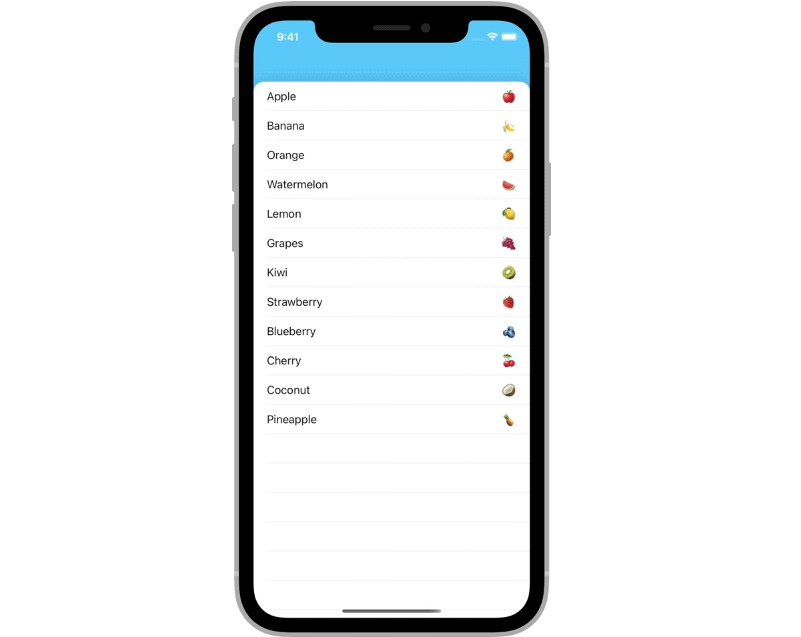
Background Color
The CardNavigationController's navigationBar is transparent by default. This allows the controller's background color to show through.
You may want to change the background color to reflect the theme of your app.
navController.view.backgroundColor = .systemTeal
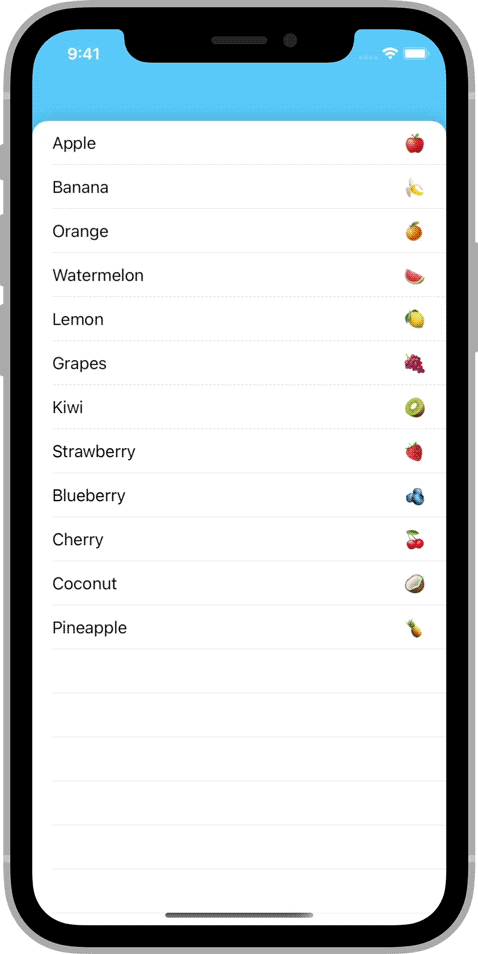
Card Appearance
To change the card appearance, create a custom view class.
import UIKit

class MyCardBackgroundView: UIView {

    override init(frame: CGRect) {
        super.init(frame: frame)
        backgroundColor = .white

        layer.cornerRadius = 32
        layer.maskedCorners = [.layerMinXMinYCorner, .layerMaxXMinYCorner]
        layer.cornerCurve = .continuous

        layer.borderColor = UIColor.black.cgColor
        layer.borderWidth = 4
    }

    required init?(coder: NSCoder) {
        fatalError("init(coder:) has not been implemented")
    }
}
Then, create a subclass of CardNavigationController and override the cardBackgroundViewClass property to return your custom class.
import UIKit
import CardNavigation

class MyCardNavigationController: CardNavigationController {

    override var cardBackgroundViewClass: UIView.Type {
        return MyCardBackgroundView.self
    }
}
Author
James Randolph