GenericPasswordRow
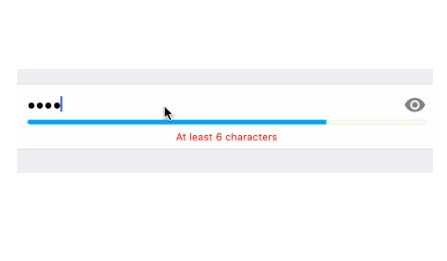
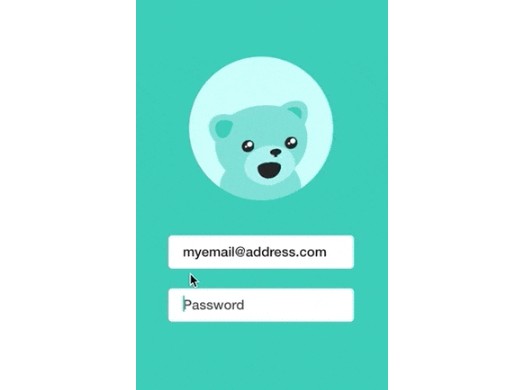
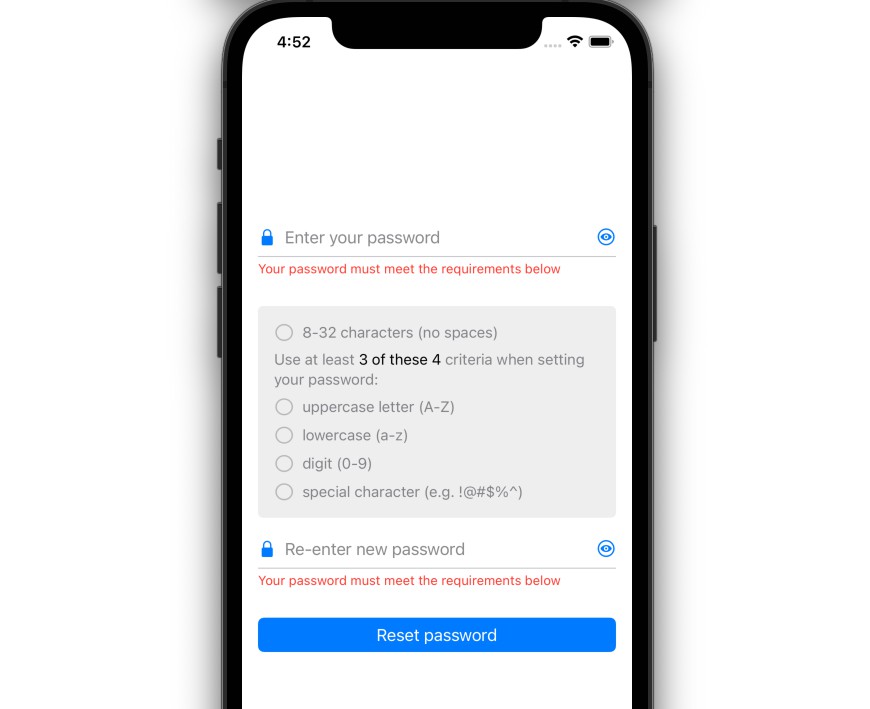
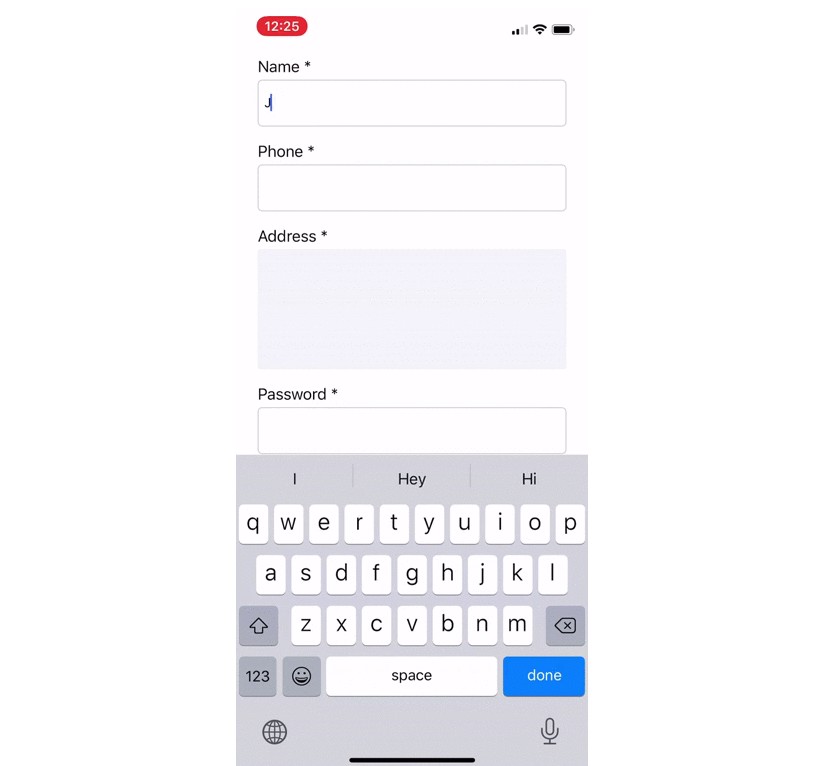
GenericPasswordRow is a custom row for Eureka designed to create passwords. Its main purpose is to guide users through this process according to a set of validations.
- Features
- Visibility
- Password strength
- Hints

Usage
import Eureka
import GenericPasswordRow

class ViewController: FormViewController {

    override func viewDidLoad() {
        super.viewDidLoad()

        form +++ Section()
            <<< GenericPasswordRow()
    }
}
Requirements
- iOS 9.0+
- Xcode 9.0+
- Eureka ~>4.0
Getting involved
- If you want to contribute please feel free to submit pull requests.
- If you have a feature request please open an issue.
- If you found a bug or need help please check older issues, FAQ and threads on StackOverflow (Tag 'GenericPasswordRow') before submitting an issue..
Before contribute check the CONTRIBUTING file for more info.
If you use GenericPasswordRow in your app we would love to hear about it! Drop us a line on twitter.
Examples
Follow these steps to run Example project:
- Clone GenericPasswordRow repository
- Open terminal in the downloaded folder and run bin/setup script
- Open GenericPasswordRow workspace
- Run the Example project.
Installation
CocoaPods
CocoaPods is a dependency manager for Cocoa projects.
To install GenericPasswordRow, simply add the following line to your Podfile:
pod 'GenericPasswordRow', '~> 3.0'
Carthage
Carthage is a simple, decentralized dependency manager for Cocoa.
To install GenericPasswordRow, simply add the following line to your Cartfile:
github "EurekaCommunity/GenericPasswordRow" ~> 3.0
Customization
For basic styling like fonts, colors, margins, separators you should use cellSetup and cellUpdate. Otherwise, you should be able to provide a completely different design (different nib file) and reuse the already implemented logic.
GenericPasswordRow parameters
var passwordValidator: PasswordValidator = DefaultPasswordValidator():
a PasswordValidator intended to define the rules to be satisfied by the password. See Implement custom validationvar placeholder: String? = "Password": placeholder of password textfield.
For example you can do this:
<<< GenericPasswordRow() {
      $0.passwordValidator = // instantiate your custom validator
      $0.placeholder = "Create a password"
  }
GenericPasswordCell parameters:
@IBOutlet weak var textField: UITextField!:
Password textfield.@IBOutlet weak var visibilityButton: UIButton?:
Visibility button intended to toggle thesecureTextEntryproperty oftextField.@IBOutlet weak var passwordStrengthView: PasswordStrengthView?:
A subclass ofPasswordStrengthViewwith the custom design of the strength indicator. See PasswordStrengthView@IBOutlet weak var hintLabel: UILabel?:
Label used to show hints to the user while typing his password.var visibilityImage: (on: UIImage?, off: UIImage?):
Images to be set to the visibilityButton depending on the textField'ssecureTextEntrystate.var dynamicHeight = (collapsed: UITableViewAutomaticDimension, expanded: UITableViewAutomaticDimension):
Heights of the cell when collapsed (with hintLabel hidden) and expanded (hintLabel not hidden). This property is nib-specific.
Creating custom nib file
You might want to follow your own design. To accomplish this you should follow these steps:
-
Create a user interface xib file and edit it with Xcode's Interface Builder. You should add a simple
UITableViewCelland say that its class is aGenericPasswordCell. -
Add an UITextField for the password entry and connect it to the
textFieldoutlet. -
[optional] Add an UIButton and connect it to the
visibilityButton. -
[optional] Add a PasswordStrengthView subclass and connect it to the
passwordStrengthViewoutlet. -
[optional] Add an UILabel and connect it to the
hintLabeloutlet. -
Specify that you want to use the newly created nib file. You can do this in two ways:
- Using RowDefaults: use this if you want to use only this custom GenericPasswordRow in your app.
GenericPasswordRow.defaultRowInitializer = { $0.cellProvider = CellProvider<GenericPasswordCell>(nibName: "MyPasswordCell", bundle: nil) }- Or create a custom row subclassing
_GenericPasswordRow:
final class MyPasswordRow: _GenericPasswordRow, RowType {
    required init(tag: String?) {
        super.init(tag: tag)
        cellProvider = CellProvider<GenericPasswordCell>(nibName: "MyPasswordCell", bundle: nil)
    }
}
Custom Strength View
If you are providing a custom nib file, you can also provide a custom subclass of PasswordStrengthView different from the DefaultPasswordStrengthView.
You just need to implement the following methods:
class PasswordStrengthView: UIView {

    public func setPasswordValidator(validator: PasswordValidator) { }
    public func updateStrength(password password: String, animated: Bool = true) { }

}
Custom Password Validation
In order to provide a custom password validation you need to provide a conformance to the PasswordValidator protocol at the passwordValidator property of the GenericPasswordRow instance.
protocol PasswordValidator {

    var maxStrength: Double { get }
    func strengthForPassword(password: String) -> Double
    func hintForPassword(password: String) -> String?
    func isPasswordValid(password: String) -> Bool
    func colorsForStrengths() -> [Double: UIColor]

}
This validator should define the strength of any given password between zero and maxStrength values. Also, the func colorsForStrengths() -> [Double: UIColor] function should return a dictionary specifying key points of strength values and the associated color starting from there. See DefaultPasswordValidator.
