SimpleEngine
The main goal of this project is to use the storyboard and UIKit components to build 2D games!.
The main goal of this project is to use the storyboard and UIKit components to build 2D games!.
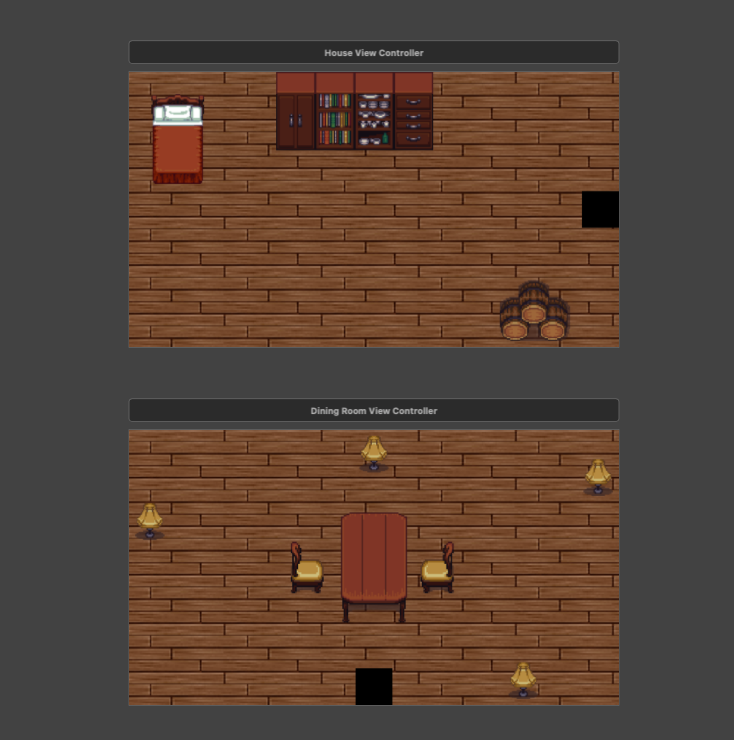
You can check Zaina game to have the full source code
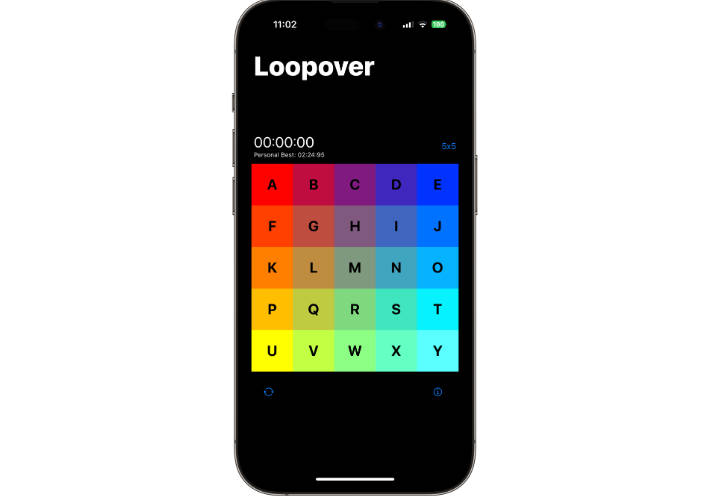
Check at the end of the read me for the games i have done using SimpleEngine.
How to use
Game view controller
First step is to inherit the BaseGameViewController it will notify you when:
1-Two objects collide.
override func objectsDidCollide(object1: ObjectView, object2: ObjectView) -> Bool {
  switch (object1.type, object2.type) {
  case (CollideTypes.virus, CollideTypes.whiteCell):
    return collideBetween(virus: object1, whiteCell: object2)
  case (CollideTypes.whiteCell, CollideTypes.virus):
     return collideBetween(virus: object2, whiteCell: object1)
   default:
     break
   }
   return true
}
2-The game pause or resume.
override func didPause() {
  showPauseDialog()
  stopTimer()
}

override func didResume() {
  startTimer()
}
Also, it will allow you to pause resume the game using `paused` property.
paused = true // to pause the game.
paused = false // to resume the game.
Scene view
It's where your SpriteViews and NodeViews should be added. In the BaseGameViewController you will find an IBOutlet
with a type of SceneView you need to connect this IBOutlet to your Storyboard SceneView.
Sprite view
A sprite view is what will be moving in the game, like the player or the enemy. You can inherit the sprite view
to make your own custom sprite view or you can use the IBInspectable properties in the storyboard.
virusSprite = VirusSpriteView()
virusSprite.attachTo(analogView)
let rightMargen: CGFloat = virusSprite.frame.width
let x = view.frame.width - virusSprite.frame.width - rightMargen
let y = (view.frame.height / 2) - virusSprite.frame.height
virusSprite.frame.origin = CGPoint(x: x, y: y)
sceneView.addSubview(virusSprite)
1-Speed
You can change the speed of the sprite view by changing this property.
speed = 10
2- Initial image
The first image it will show when you add the sprite to the storyboard. after that it will show the Freams.
initialImage = UIImage(named: "man")
3-Frames
You can set the images (frames) that will show when the user move to right, left, top, bottom, topLeft, bottomLeft, topRight, bottomRight or idel.
frames.top = Frames(images: [UIImage(named: "top_1"), UIImage(named: "top_2")], duration: 0.2)
frames.left =  Frames(images: [UIImage(named: "for_1"), UIImage(named: "for_2")], duration: 0.3)
frames.right =  Frames(images: [UIImage(named: "move_back_1"), UIImage(named: "move_back_2")], duration: 0.4)
frames.bottom =  Frames(images: [UIImage(named: "move_bottom_1"), UIImage(named: "move_bottom_2")], duration: 0.2)
frames.idel =  Frames(images: [UIImage(named: "idel_1"), UIImage(named: "idel_2")], duration: 0.5)
4-Stop when collide types
The SpriteView will stop when it collide with one of this types. Like if some Tree has a Type of 8 and you add this number to this array when this sprite view collide with this tree it will not move through it.
stopWhenCollideTypes = [CollideTypes.virus, CollideTypes.fire]
5-Should hit the edges
If the value is true, the object will not pass through out the screen edges.
shouldHitTheEdges = true
6-Setup
It can be overrided to do extra setups in the subview side.
override func setup() {
  super.setup()

  type = CollideTypes.fire
  speed = 20

  stopWhenCollideTypes = []

  frames.idel = Frames(images: [UIImage(named: "idel_1"), UIImage(named: "idel_2")], duration: 0.5)
}
7-Move to x and y
Make the sprite move to specific x and y.
spriteView.moveTo(x: 20, y: 200)
8-Attach to AnalogView
By setting this, you are attaching this SpriteView to Analog to control it, each sprite view has one analog to control it.
let virusSprite = VirusSpriteView()
virusSprite.attachTo(analogView)
9-Collision enter
A method will be called when any object collided with this object. super.onCollisionEnter(with object:) must always be called when you override this method.
override func onCollisionEnter(with object: ObjectView?) -> Bool {
  super.onCollisionEnter(with: object)
  guard !didColide else {
    return false
  }
  destroy()
}
10-Did reched desired point
override to be notifide when the SpriteView reaches the desired point.
override func didRechedDesiredPoint() {
  removeFromSuperview()
}
11-Update frames
Use it to update the SpriteView in case you changed any of the Frames.
self.frames.idel = Frames(images: [UIImage(named: "infected_6")])
self.updateFrames()
12-Start animation with frames
Animate frames for the sprite.
startAnimationWith(frames: frames,
                   repeatCount: 1,
                   stopOtherAnimations: false)
Node view
A NodeView is a thing that don't move, it's a chair, table or wall in your game.
FramesHolder and Frames
FramesHolder is a group of Frames for the sprite view, each Frames object content multible images that will be animated.
Moving background view
To set a moving background for your game, The MovingBackgroundView take a view and animate it again and again to make it look like your sprites moving.
movingBackgroundView.view = StreamBackgroundView(frame: view.bounds) // StreamBackgroundView is a custom view i made.
Background view
A view to set as a background for the SceneView it could be a normal image or a pattern image.
Analog view
An Analog controller to control the Sprite movement.
Simple music player
A music player to help you playe background music and sound effects.
enum Music: String, MusicType {

  var format: String {
    var type: Type!
    switch self {
    case .fire:
      type = .mp3
    case .gameBackground:
      type = .wav
    return type.rawValue
  }

  case gameBackground = "game_background"
  case fire = "fire"
}

enum Type: String {
  case mp3
  case wav
}

SimpleMusicPlayer.shared.playBackgroundMusicWith(music: Music.gameBackground) // background music
SimpleMusicPlayer.shared.playMusic(music: Music.fire) // effect sound.

