AlertPresenter
Listed on the Swift Package Index and originally posted on my blog.
It can be fiddly to handle the presentation of alerts on a specific view controller, especially when transition animations or other things currently being presented on that view controller can silently prevent the alert from being presented.
AlertPresenter simplifies the process by removing the need to specify which view controller an alert should be presented on. It will also allow you to queue up alerts so that any that need presenting in close proximity won’t get missed.
Platforms supported:
- iOS 12+
- tvOS 12+
AlertPresenter can be easily used from both Swift and Objective-C. Though it’s based on UIKit it can just as easily be used from SwiftUI.
Alert Presenter might not be suitable for anything more than a simplistic app, as you may need more control over the display of alerts alonside your other navigations. But for a test app or other simplistic apps it can be quite useful.
Credit
This package is based on an article by William Boles, so most credit goes to him for the original solution. I’ve merely modernised it a bit, supported tvOS and iOS 12, packaged it up and added a few more features and testing.
Adding to your project
Follow Apple’s guidance to add the package to your project.
Usage
Basic usage
Simply create an instance of AlertPresenter and enqueue an alert, along with the windowScene it should be presented in (required for xOS 13+ if SceneDelegate or SwiftUI’s App is being used).
import AlertPresenter

let alertPresenter = AlertPresenter()

func showAlert() {
    let alert = UIAlertController(title: "title",
                                message: "message",
                                preferredStyle: .alert)
    // also works with .actionSheet or a custom UIViewController alert
    let scene = UIApplication.shared.windows.first?.windowScene
    alertPresenter.enqueue(alert: alert,
                           windowScene: scene)
}
UIWindow.Level
You can initialise AlertPresenter with a UIWindow.Level if required and can use multiple instances for different priorities of alerts that you may need to show over alerts that are already displaying.
Custom Alerts
To ensure AlertPresenter is informed of a custom alert being dismissed it should dismiss itself like this:
presentingViewController?.dismiss(animated: true)
Popover presentations
On iPad an action sheet needs to be told where on the screen it should appear as it’s presented as a popover, rather than a bottom sheet as it’s presented on iOS. The default behaviour of AlertPresenter is for a popover to be presented in the center of the screen, with no arrows pointing at its source rect.
You can override the default behaviour by passing a PopoverPresentation when enqueuing the alert:
func showAlert() {
    // The closure to be called when the alert is presented
    let presentation = { [weak self] alert in
        guard let self = self else {
            // If we've been deinitalised before presentation return some default
            // details to present the alert centered on the screen
            return PopoverPresentation(sourceRect: .zero,
                                        delegate: nil)
        }

        // Calculate the rect to present the alert from, such as the frame of the button
        // in window coordinates
        let rect = button.superview?.convert(button.frame, to: self.view) ?? .zero
        return PopoverPresentation(sourceRect: rect,
                                    delegate: self)
    }

    let scene = view.window?.windowScene
    alertPresenter.enqueue(alert: alert,
                           windowScene: scene,
                           popoverPresentation: popoverPresentation)
}
The delegate parameter is a PopoverDelegate. On iOS this conforms to UIPopoverPresentationControllerDelegate, which can be useful if you want to force your custom alert to be a popover on iPhone:
// forces the popover presentation style to be honoured on iPhone
return .none
}
}
“>
extension MyClass: PopoverDelegate {
    func adaptivePresentationStyle(for controller: UIPresentationController) -> UIModalPresentationStyle {
        // forces the popover presentation style to be honoured on iPhone
        return .none
    }
}
Test apps
There is a minimal iOS 13+, UIKit example in the SimpleExamples folder.
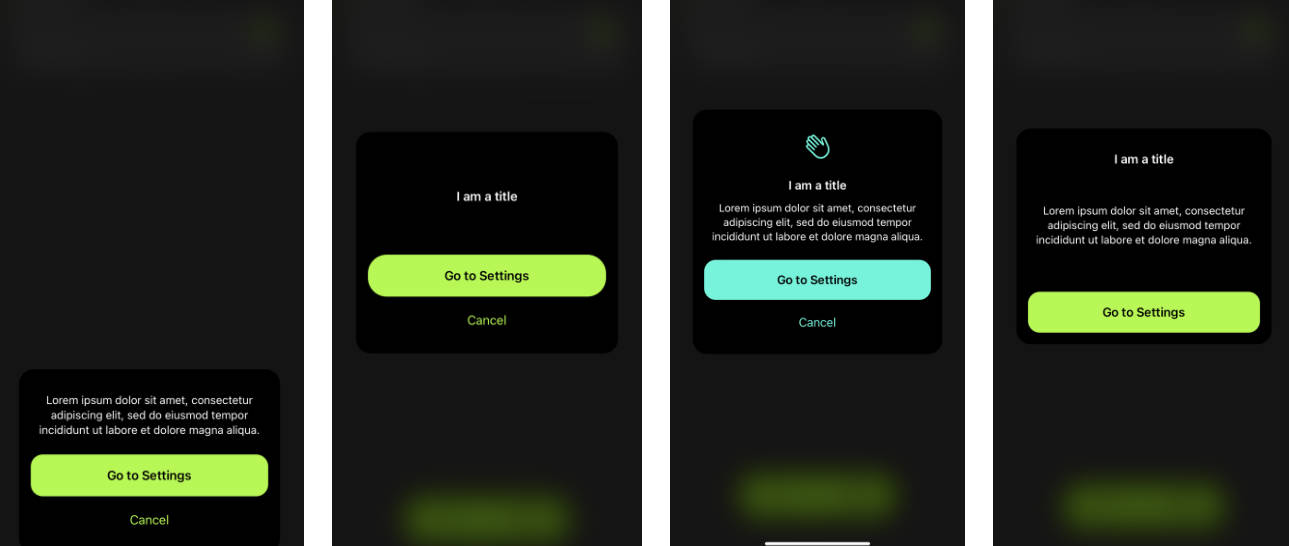
There are various, more complex, test apps in the TestApps folder that demonstrate custom alerts, iPad action sheet presentation customisation, popover customisation, iOS/tvOS 12 and SwiftUI:
- iOSExample: A SwiftUI example, for iOS 13+, using
Appinstead ofUIApplicationDelegate - iOSExample_UIKit: A Swift, UIKit example for iOS 12+, using
UIApplicationDelegateandSceneDelegate - iOSExample_UIKit_Legacy: A Swift, UIKit example for iOS 12+, using just
UIApplicationDelegate - iOSExample_ObjC: An ObjC, UIKit example for iOS 12+, using just
UIApplicationDelegate - tvOSExample: A SwiftUI example for tvOS 13+, using
Appinstead ofUIApplicationDelegate
Contributions
If you wish to make any contributions to this project, feel free to make a fork and then submit a pull request back with your proposed changes/additions.
Make sure any changes or additions are covered with unit/UI tests and the test apps are updated as appropriate.
Bear in mind that breaking changes should be avoided where possible!
Breaking changes monitoring
Scripts from my PublicAPIMonitoringExample are included as build phases. They output the public API, in both Swift and ObjC, to files such that can be monitored in commits for the introduction of any breaking changes.
SwiftLint
The project is setup with SwiftLint to check code quality a little. It’s configured by the .swiftlint.yml file in the root of the project.
Run a scan with the following command in the root of the project: swiftlint
SwiftLint execution is also included in the automated tests.
Jazzy docs
API documentation can be generated with Jazzy. Whilst this isn’t published it’s useful for pointing out parts of the API that aren’t documented correctly (check the undocumented.json file for any warnings after the documentation is generated), so you can be sure the API documentation available within Xcode will be correct and useful to users. .jazzy.yaml contains the configuration.
Generate the documentation using the following command in the root of the project: jazzy
Jazzy execution is also included in the automated tests.
Running automated tests
Fastlane is used to automate running all the tests in one command (or separately), using the recommended setup with Bundler, more info on the Fastlane site.
In the root of the project run bundle exec fastlane <lane>, with the following lane options:
allTests: Run all the tests (unit & UI (iOS and tvOS, multiple OS versions), linter and docs checker)unitTests: Run just the unit tests (iOS and tvOS, latest OS version)allUITests: Run all the UI tests (iOS and tvOS, multiple OS versions)uiTests OS:14.5 scheme:iOSExample device:'iPhone 8': Run the UI tests for the ‘iOSExample’ test app, on iOS 14.5, with and iPhone 8checkDocs: Run the docs checker (looking for undocumented public APIs)lint: Run the linter (looking for code smells)
NOTE: If you have an M1 Mac then Jazzy (used to generate the docs in the checkDocs and allTests lanes) doesn’t work in Terminal unless you’ve set it to open with Rosetta.


