Table View
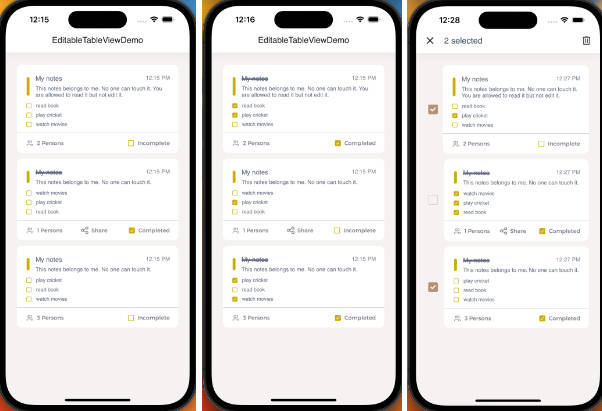
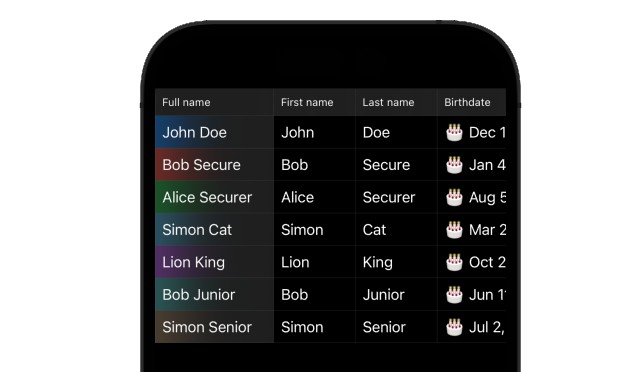
Table views in iOS display rows of vertically scrolling content in a single column. Each row in the table contains one piece of your app’s content. For example, the Contacts app displays the name of each contact in a separate row, and the main page of the Settings app displays the available groups of settings. You can configure a table to display a single long list of rows, or you can group related rows into sections to make navigating the content easier.
Tables are common in apps with data that is highly structured or organized hierarchically. Apps that contain hierarchical data often use tables in conjunction with a navigation view controller, which facilitates navigation between different levels of the hierarchy. For example, the Settings app uses tables and a navigation controller to organize the system settings.
Specify the data to display.
func tableView(_ tableView: UITableView, cellForRowAt indexPath: IndexPath) -> UITableViewCell {
    let cell = UITableViewCell()
    cell.textLabel?.text = languages[indexPath.row]
    return cell
}
Specify the number of rows in the Table View.
func tableView(_ tableView: UITableView, numberOfRowsInSection section: Int) -> Int {
    return languages.count
}
When clicking a Row in Table View, display the details of the relevant data.
func tableView(_ tableView: UITableView, didSelectRowAt indexPath: IndexPath) {

    chosenLanguage = languages[indexPath.row]
    chosenImage = images[indexPath.row]
    chosenDeveloper = developer[indexPath.row]
    chosenYear = year[indexPath.row]

    performSegue(withIdentifier: "toDetailsSegue", sender: nil)
}
Perform checks and assignments before starting the segue.
override func prepare(for segue: UIStoryboardSegue, sender: Any?) {
    if(segue.identifier == "toDetailsSegue"){
        let destinationVC = segue.destination as! DetailsViewController
        destinationVC.selectedLanguage = chosenLanguage
        destinationVC.selectedImage = chosenImage
        destinationVC.selectedDeveloper = chosenDeveloper
        destinationVC.selectedYear = chosenYear
    }
}
If the row is moved to the left, delete the relevant element.
func tableView(_ tableView: UITableView, commit editingStyle: UITableViewCell.EditingStyle, forRowAt indexPath: IndexPath) {
    if(editingStyle == .delete) {
        languages.remove(at: indexPath.row)
        images.remove(at: indexPath.row)
        developer.remove(at: indexPath.row)
        year.remove(at: indexPath.row)
        tableView.deleteRows(at: [indexPath], with: UITableView.RowAnimation.fade)
    }
}