Vouched WebView (iOS) Quickstart
Vouched Webview allows you to integrate with a Vouch enabled web application, and use it as a means of user verification within your moblile application, using native Android components (WKWebview).
Building the Demo
We include a demo, that will allow you to quickly run a simple ID check to verify functionality. If you have a Vouched account and Xcode installed on your computer, you can quickly get the demo application up and running by cloning the repository:
git clone https://github.com/vouched/vouched-ios-webview
cd vouched-ios-webview
Once you have the repository downloaded, open the project in XCode, and modify the ViewController to add your app key (if using the demo url), or change the URL to your existing Vouched endpoint.
Attach a iPhone, and run the application. A ID verification flow, using the JSPlugin should appear and run.
Webview Integration with the Vouched JS-Plugin
In iOS we import and use the Webkit components to render pages of a web application, specifically by using the WKWebView component. Most integrations will likely integrate with a page hosting the Vouched JS Plugin, which will be the intended focus of this document. If you haven’t yet configured your web application to use the plugin, take a look at our JS Plugin quickstart guide to get started, we will want to make some modifications to that script to allow sharing data between the hosted web application and the webview.
Camera access
To allow web view access to device cameras, it is necessary for the user to give permission for the camera to be accessed. In your applications Info.plist be sure to include NSCameraUsageDescription to let the user know the reason why the camera is being used. This user permission is necessary the first time the application runs:
<key>NSCameraUsageDescription</key>
<string>Allow camera access to perform identity verification</string>
In recent iOS versions, access to cameras through a webview is permitted, assuming the user gives permission. While there are no additional permissions, there is an important addition to the webview – we need to modify its configuration to allow the camera to play inline, otherwise we wind up with a camera window that doesn’t display video. We can set that up in a webview configuration in loadView() like so (the assumtion here is there is a class variable :
        let config = WKWebViewConfiguration()

        config.allowsInlineMediaPlayback = true

        webView = WKWebView(frame: .zero, configuration: config)
        webView.navigationDelegate = self

        view = webView
Sharing verification results
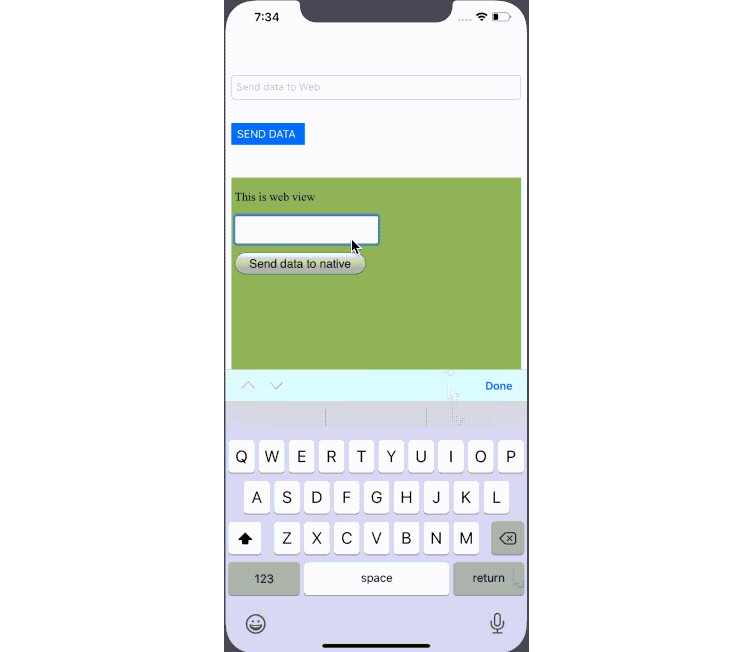
In mobile applications that use both web application content and native code, it is useful for the web application (running the JS Plugin) to be able to share information with the native application, say for changing behavior or navigation based on what occured in the verification flow.
In iOS, we need to inject a javascript handler to allow the web application to post messages back to the webview. In our case, we will label that handler “onVouchedVerify” which is assigned to a variable named vouchedHandler , and then added it to our webview configuration:
config.userContentController.add(self, name: vouchedHandler)
The implied contract here is that the web application code will post a message using that handler, which the webview will intercept, and act on. In the web application, we would post that message in the JS Plugin onDone callback. Given the JS Plugin example we referenced earlier, the onDone callback would look like this:
// called by the JS Plugin when the verification is completed.
onDone: (job) => {
  console.log("Verification complete", { token: job.token });
  window.webkit.messageHandlers.onVouchedVerify.postMessage(JSON.stringify(job));
},
Since the WKWebView only allows a string to be passed in a Javascript bridge, in the script above, we pass the entire results of the job in back, but you can pass whatever subset of information that makes most sense for your applications interoperability.
We can listen for these messages in a WKScriptMessageHandler which looks like this:
func userContentController(_ userContentController: WKUserContentController, didReceive message: WKScriptMessage) {
        if message.name == vouchedHandler {

            guard let verifyData =
                    convertResponseToDict(payload: message.body as! String),
                  let results = verifyData["result"] as? [String: AnyObject],
                  let successCode = results["success"] as? Bool  else {
                print("Unable to process verification result")
                return
            }
            // todo: navigate according to success code, and/or results
            print("User was successfully verified: \(successCode)")
            print(results)
        }
    }
Since we are passing the entire verification payload as a string, we also add a utility function to turn it into a generic dictionary:
func convertResponseToDict(payload: String) -> [String:AnyObject]? {
        if let data = payload.data(using: .utf8) {
            do {
                let json = try JSONSerialization.jsonObject(with: data, options: .mutableContainers) as? [String:AnyObject]
                return json
            } catch {
                print("Unable to convert verification response")
            }
        }
        return nil
    }
Example UIViewController
Here’s a example view controller for reference that hosts a webview. Note that the appUrl should be changed to point to your endpoint, where the JS Plugin is installed and configured.
import UIKit
import WebKit

class ViewController: UIViewController, WKNavigationDelegate, WKScriptMessageHandler {

    // the handler name injected into the web app for iOS webviews.
    let vouchedHandler = "onVouchedVerify"
    var webView: WKWebView!
    // change the url to point to your instance
    let appUrl = "https://08cc-71-212-138-132.ngrok.io"

    override func loadView() {
        let config = WKWebViewConfiguration()

        config.userContentController.add(self, name: vouchedHandler)
        config.allowsInlineMediaPlayback = true

        webView = WKWebView(frame: .zero, configuration: config)
        webView.navigationDelegate = self

        view = webView

    }

    override func viewDidLoad() {
        let url = URL(string: appUrl)!
        webView.load(URLRequest(url: url))
    }

    // implements WKScriptMessageHandler. For our callback, we will look
    // for messages sent by the vouchedHandler, and operate on them
    func userContentController(_ userContentController: WKUserContentController, didReceive message: WKScriptMessage) {
        if message.name == vouchedHandler {

            guard let verifyData =
                    convertResponseToDict(payload: message.body as! String),
                  let results = verifyData["result"] as? [String: AnyObject],
                  let successCode = results["success"] as? Bool  else {
                print("Unable to process verification result")
                return
            }
            // todo: navigate according to success code, and/or results
            print("User was successfully verified: \(successCode)")
            print(results)
        }
    }

    // if using the iOS SDK, you can decode the payload into SDK objects,
    // but given we are bridging between two platforms, we'll create a
    // generic dictionary from the payload
    func convertResponseToDict(payload: String) -> [String:AnyObject]? {
        if let data = payload.data(using: .utf8) {
            do {
                let json = try JSONSerialization.jsonObject(with: data, options: .mutableContainers) as? [String:AnyObject]
                return json
            } catch {
                print("Unable to convert verification response")
            }
        }
        return nil
    }

}
Other integration considerations
Not discussed in this document is the notion of sharing one plugin configuration with multiple platforms, ie a configuration to cover Android WebView, iOS WKWebView, mobile browser applications, etc. One potential strategy to employ here is to test for the existence of the callback functions for each target, and if it exists, return the data, otherwise, move on to the next target.


