SwiftVideoBackground
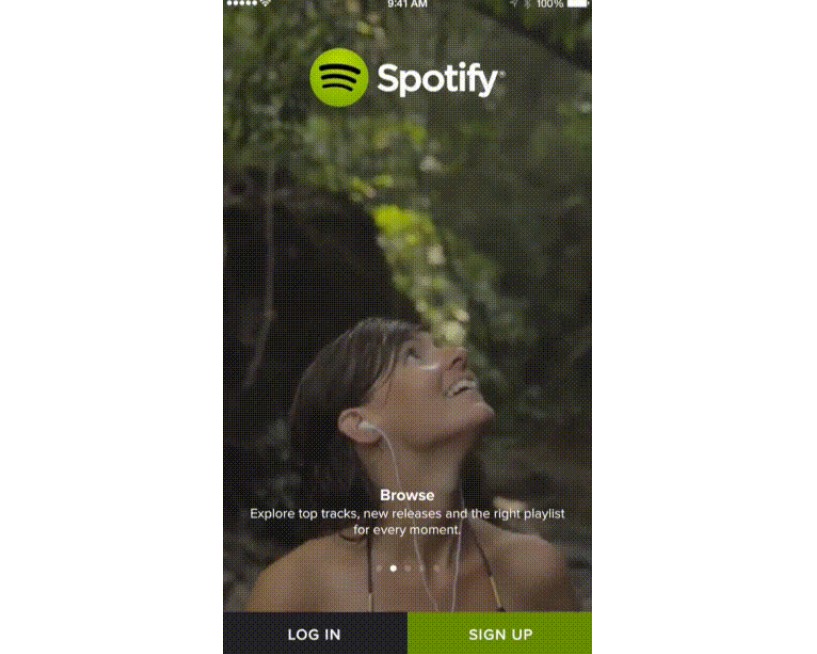
SwiftVideoBackground is an easy to use Swift framework that provides the ability to play a video on any UIView. This provides a beautiful UI for login screens, or splash pages, as implemented by Spotify and many others.

Features
- [x] Play a video with one line of code
- [x] Supports local videos
&&videos from a web URL - [x] Automatically adjusts when device orientation changes
- [x] Automatically resumes video when app re-enters foreground
- [x] Pause, resume, restart, and other controls
- [x] Loop videos (optional)
- [x] Mute sound (optional)
- [x] Darken videos so overlying UI stands out more (optional)
- [x] Documentation
Integration
CocoaPods
You can use CocoaPods to install SwiftVideoBackground by adding it to your Podfile:
For Swift 5:
pod 'SwiftVideoBackground'
For Swift 4:
pod 'SwiftVideoBackground', '~> 3.0'
For Swift 3:
pod 'SwiftVideoBackground', '0.06'
Carthage
You can use Carthage to install SwiftVideoBackground by adding it to your Cartfile:
github "dingwilson/SwiftVideoBackground"
Manually
To use this library in your project manually you may:
- for Projects, just drag VideoBackground.swift to the project tree
- for Workspaces, include the whole SwiftVideoBackground.xcodeproj
Migration Guide
Version 3.0.0
- Passing in an array of videos support removed. You should merge videos in advance instead. Here is a walk through on concatenating media files with FFmpeg.
alpharenamed todarkness
Version 2.0.0
See the quick migration guide.
Usage
Example
import UIKit
import SwiftVideoBackground

class MyViewController: UIViewController {
  override func viewDidLoad() {
    super.viewDidLoad()

    try? VideoBackground.shared.play(view: view, videoName: "myVideo", videoType: "mp4")

    /* or from URL */

    let url = URL(string: "https://coolVids.com/coolVid.mp4")!
    VideoBackground.shared.play(view: view, url: url)
  }
}
Documentation for Version 0.06 (Swift 3) can be found here.
Customization
play() has four additional optional parameters for customization:
darkness: CGFloat - Value between0and1. The higher the value, the darker the video. Defaults to0.isMuted: Bool - Indicates whether video is muted. Defaults totrue.willLoopVideo: Bool - Indicates whether video should restart when finished. Defaults totrue.setAudioSessionAmbient: Bool - Indicates whether to set the sharedAVAudioSessionto ambient. If this is not done, audio played from your app will pause other audio playing on the device. Defaults totrue.
So for example:
VideoBackground.shared.play(
    view: view,
    videoName: "myVideo",
    videoType: "mp4",
    darkness: 0.25,
    isMuted: false,
    willLoopVideo: true,
    setAudioSessionAmbient: true
)
-> will play the video with the sound on, slightly darkened, continuously looping, and without affecting other sources of audio on the device.
Any combination of the parameters can be included or left out.
setAudioSessionAmbientonly has an effect in iOS 10.0+. For more information, see the docs.
Controls
pause()- Pauses the video.resume()- Resumes the video.restart()- Restarts the video.getThumbnailImage(from: URL, at: CMTime)- Generate an image from the video to show as thumbnail.darkness- Change thisCGFloatto adjust the darkness of the video. Value0to1. Higher numbers are darker. Setting to an invalid value does nothing.isMuted- Change thisBoolto mute/unmute the video.willLoopVideo- Change thisBoolto set whether the video restarts when it ends.videoGravity- Default is.resizeAspectFill. Change to.resizeAspect(doesn't fill view) or.resize(doesn't conserve aspect ratio).playerLayer- TheAVPlayerLayerthat can be accessed for advanced control and customization of the video.
Singleton
SwiftVideoBackground includes a singleton instance that can be conveniently accessed with VideoBackground.shared. An instance of VideoBackground can only play one video on one UIView at a time. So if you need to play on multiple UIViews, you need to retain an instance of VideoBackground for each UIView:
let videoBackground1 = VideoBackground()
Adding Videos To Your Project
In order to play local videos, you must add them to your project:
- Open project navigator
- Select your target
- Select
Build Phases - Select
Copy Bundle Resources - Click
+to add a video


