VarnamIME for macOS
Easily type Indian languages on macOS using Varnam transliteration engine.
Built at FOSSUnited’s FOSSHack21.
This project is a hard-fork of lipika-ime. Changes made:
- https://github.com/varnamproject/varnam-macOS/pull/1
- https://github.com/varnamproject/varnam-macOS/pull/2
- https://github.com/varnamproject/varnam-macOS/pull/3
- https://github.com/varnamproject/varnam-macOS/pull/4
Lipika & Varnam is very different in their handling of transliteration. Both are incompatible with each other. Lipika is a good project to hack on to make your IME, it has a settings window, IME and installer. But it’s difficult to get started. This IME removes many complicated code from it and tries to make it easier with improved documentation as well.
There aren’t many documentation on how to make IMEs for macOS, especially in English. Getting started with XCode is also tricky for beginners. Setting up Lipika was also difficult.
Resources that helped in making IME on macOS (ordered by most important to the least):
- https://blog.inoki.cc/2021/06/19/Write-your-own-IME-on-macOS-1/ (The last section is very important!)
- https://jyhong836.github.io/tech/2015/07/29/add-3rd-part-dynamic-library-dylib-to-xcode-target.html
- https://github.com/lennylxx/google-input-tools-macos (An IME made 2 months ago, Has GitHub CI builds)
- https://github.com/nh7a/hiragany (Simple Japanese IME)
- https://github.com/pkamb/NumberInput_IMKit_Sample/issues/1
- API Docs: https://developer.apple.com/documentation/inputmethodkit/imkcandidates
Installation
Download VarnamIME.pkg installer from Releases. Double click to open the installer. You might need to explicitly allow installer to run from security settings.
After installation, you need to codesign manually to run it:
sudo codesign --force --deep --sign - /Library/Input\ Methods/VarnamIME.app
sudo codesign --force --deep --sign - /Applications/VarnamApp.app
/Library/Input\ Methods/VarnamIME.app/Contents/MacOS/VarnamIME -import # Import words
open /Library/Input\ Methods/VarnamIME.app # Run IME
This will get fixed once an Apple Developer account is purchased and the apps are signed with an official certificate.
After this, VarnamIME will be running in the background and you can switch to it from the system tray: https://apple.stackexchange.com/questions/135370/how-can-i-set-up-a-keyboard-shortcut-for-switching-input-source
If the installation didn’t enable IME by default, try this: https://github.com/ratreya/lipika-ime/wiki
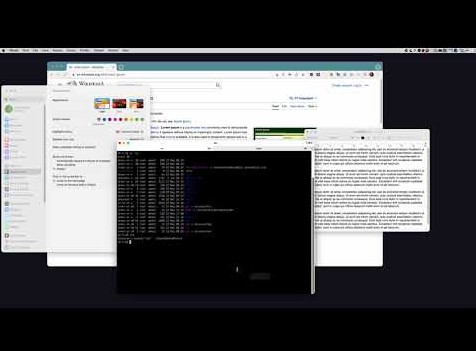
See a demo of how Varnam works: https://www.youtube.com/watch?v=7bvahY0sdWo
Building
- Make sure XCode is installed
- Clone and do
git submodule update --init cd Installation && ./build- Run the newly built
VarnamIME.pkginstaller
License
Copyright (C) 2018 Ranganath Atreya
Copyright (C) 2021 Subin Siby
This program is free software: you can redistribute it and/or modify it under the terms of the GNU
General Public License as published by the Free Software Foundation; either version 3 of the License,
or (at your option) any later version.

This program comes with ABSOLUTELY NO WARRANTY; see LICENSE file.


