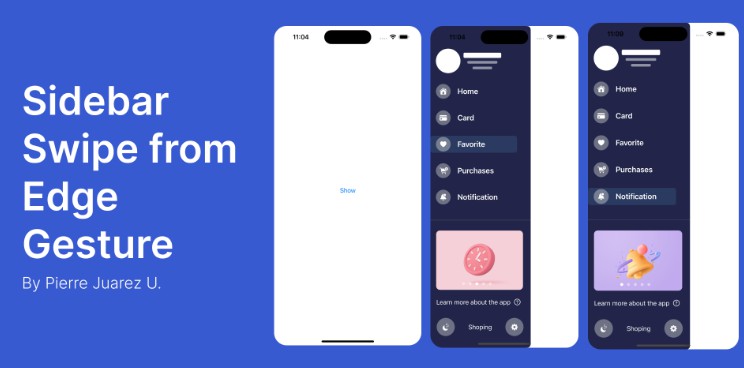
Interactive Side Menu
A customizable, interactive, auto expanding and collapsing side menu for iOS written in Swift.
Here are some of the ways Interactive Side Menu can be customized:
- Animation duration
- Visible content width
- Content scale
- UIView spring animations
- Animation curves
- Customized animation settings for different orientations
Communication
- If you need help or found a bug, please, open an issue.
- If you have a feature request, open an issue.
- If you are ready to contribute, submit a pull request.
- If you like Interactive Side Menu, please, give it a star.
- If you use Interactive Side Menu in your application published to AppStore, send us a link and we'll create the list with applications used our library.
Installation
CocoaPods
To install using CocoaPods, add the following line to your Podfile:
pod 'InteractiveSideMenu'
Please, don't forget to run pod update command to update your local specs repository during migration from one version to another.
Carthage
To install using Carthage, add the following line to your Cartfile:
github "handsomecode/InteractiveSideMenu"
Usage
To implement your side menu you should subclasses the following view controllers: MenuContainerViewController and MenuViewController
MenuContainerViewControlleris the main container that hosts the side menu and content controllerMenuViewControlleris the container controller for the side menu
To add a new menu item, your view controller needs to conform to the SideMenuItemContent protocol.
Setting up the side menu can be done in three steps:
For this, Host = MenuContainerViewController subclass and Menu = MenuViewController subclass
- Assign Menu to the
menuViewControllerproperty of Host - Set the Host's
contentViewControllersarray with an array ofSideMenuItemContentcontrollers - Call
selectContentViewController(_ selectedContentVC: MenuItemContentViewController)from Host
import InteractiveSideMenu

class HostViewController: MenuContainerViewController {

    override func viewDidLoad() {
        super.viewDidLoad()
        menuViewController = self.storyboard!.instantiateViewController(withIdentifier: "NavigationMenu") as! MenuViewController
	contentViewControllers = contentControllers()
        selectContentViewController(contentViewControllers.first!)
    }

    private func contentControllers() -> [MenuItemContentViewController] {
    	var contentList = [MenuItemContentViewController]()
    	contentList.append(self.storyboard?.instantiateViewController(withIdentifier: "First") as! MenuItemContentViewController)
    	contentList.append(self.storyboard?.instantiateViewController(withIdentifier: "Second") as! MenuItemContentViewController)
    	return contentList
    }
}
Items content
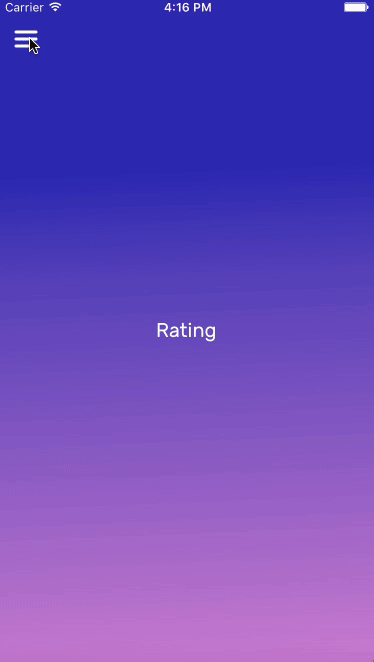
To show menu, call showSideMenu() from any SideMenuItemContent controller.
import InteractiveSideMenu

class KittyViewController: UIViewController, SideMenuItemContent {

    @IBAction func openMenu(_ sender: UIButton) {
        showSideMenu()
    }
}
To change the currently visible controller, pass the desired controller to your MenuContainerViewController:
    let index = 2 // Second menu item
    guard let menuContainerViewController = self.menuContainerViewController else { return }
    let contentController = menuContainerViewController.contentViewControllers[index]
    menuContainerViewController.selectContentViewController(contentController)
    menuContainerViewController.hideSideMenu()
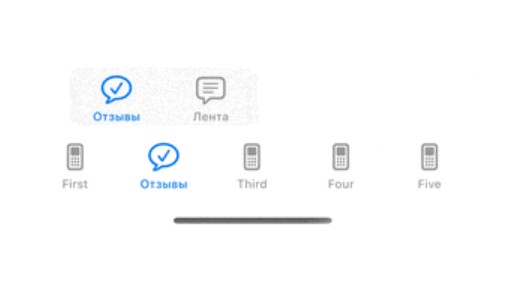
TabBar and Navigation controllers
To use menu with TabBar or NavigationController, ensure that you indicate UITabBarController or UINavigationController as item content directly, not any corresponding ViewControllers.
class NavigationViewController: UINavigationController, SideMenuItemContent {
}

class InnerViewController: UIViewController {

    @IBAction func openMenu(_ sender: Any) {
        if let navigationViewController = self.navigationController as? SideMenuItemContent {
            navigationViewController.showSideMenu()
        }
    }
}
Please, find UITabBarController implementation details in Sample.
Animation Customization
To customize the open and close animations, update the transitionOptions property on your MenuContainerViewColtroller subclass. The sample project does this in viewDidLoad()
override func viewDidLoad() {
   super.viewDidLoad()
   let screenSize: CGRect = UIScreen.main.bounds
   self.transitionOptions = TransitionOptions(duration: 0.4, visibleContentWidth: screenSize.width / 6)
   ...
}
To customize transition options for different orientations, override viewWillTransition(to:with:) and update the transitionOptions. This can also be done with trait collections using traitCollectionDidChange(_:)
override func viewWillTransition(to size: CGSize, with coordinator: UIViewControllerTransitionCoordinator) {
    super.viewWillTransition(to: size, with: coordinator)
    var options = TransitionOptions()
    options.duration = size.width < size.height ? 0.4 : 0.6
    options.visibleContentWidth = size.width / 6
    self.transitionOptions = options
}
Known Issues
There is an issue associated with the content controller's view not properly having the safeAreaInsets set. This causes the view's layout to shift when the side menu is closed. The issue appears to be tied to the transition options contentScale setting. Choosing a value in the range 0.87 - 0.91 causes the safeAreaInsets.top to be set to 0.0. The default value of the library is no longer within this range but be mindful if changing that value for your own application.
Requirements
- iOS 8.0+
- Xcode 8.1+
- Swift 3.0+