Kentico Cloud Swift SDK
The KenticoCloud iOS SDK is a library used for retrieving content. You can use the SDK as a CocoaPod package or add it manually.
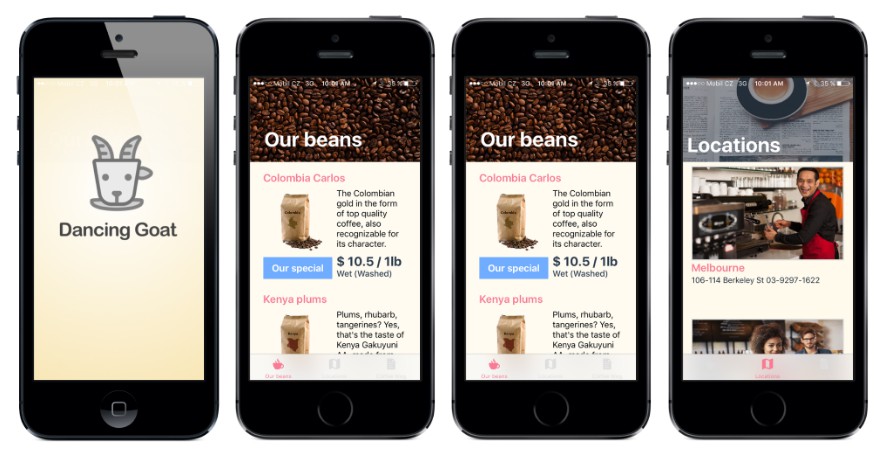
Sample app
The repository contains sample app which demonstrates basic usage of the SDK.
Quick start
1. Add a pod
source 'https://github.com/CocoaPods/Specs.git'
platform :ios, '10.0'
use_frameworks!

target '<Your Target Name>' do
    pod 'KenticoCloud'
end
$ pod install
2. Create a type object - in this example, the type object is Article. It represents a Content type in Kentico Cloud that the retrieved content items are based on. This content type has three elements with following codenames: title (a text element),teaser_image (an asset element) and post_date (a DateTime element).
import ObjectMapper
import KenticoCloud

class Article: Mappable {
    var title: TextElement?
    var asset: AssetElement?
    var postDate: DateTimeElement?

    required init?(map: Map){
        let mapper = MapElement.init(map: map)
        title = mapper.map(elementName: "title", elementType: TextElement.self)
        asset = mapper.map(elementName: "teaser_image", elementType: AssetElement.self)
        postDate = mapper.map(elementName: "post_date", elementType: DateTimeElement.self)
    }

    func mapping(map: Map) {
    }
}
3. Prepare the Delivery client
import KenticoCloud

let client = DeliveryClient.init(projectId: "YOUR_PROJECT_ID")
4. Prepare a query
let articlesQueryParameters = QueryBuilder.params().type(article).language("es-ES")
5. Get and use content items
client.getItems(modelType: Article.self, queryParameters: articleQueryParameters) { (isSuccess, itemsResponse, error) in
    if isSuccess {
        if let articles = itemsResponse?.items {
            // use your articles here
        }
    } else {
        if let error = error {
            print(error)
        }
    }
}
Installation
CocoaPods
CocoaPods is a dependency manager for Cocoa projects. You can install it with the following command:
$ gem install cocoapods
To integrate KenticoCloud into your Xcode project using CocoaPods, specify it in your Podfile:
source 'https://github.com/CocoaPods/Specs.git'
platform :ios, '10.0'
use_frameworks!

target '<Your Target Name>' do
    pod 'KenticoCloud'
end
Then, run the following command:
$ pod install
Using the DeliveryClient
The DeliveryClient class is the main class of the SDK for getting content. Using this class, you can retrieve content from your Kentico Cloud projects.
To create an instance of the class, you need to provide a project ID:
// Initializes an instance of the DeliveryClient client
let cloudClient = DeliveryClient.init("975bf280-fd91-488c-994c-2f04416e5ee3")
Once you create a DeliveryClient, you can start querying your project repository by calling methods on the client instance. See Basic querying for details.
Previewing unpublished content
To retrieve unpublished content, you need to create a DeliveryClient with both Project ID and Preview API key. Each Kentico Cloud project has its own Preview API key.
import KenticoCloud

let client = DeliveryClient.init(projectId: "YOUR_PROJECT_ID", previewApiKey:"PREVIEW_API_KEY")
For more details, see Previewing unpublished content using the Delivery API.
Getting content from secured project
To retrieve content from secured project, you need to create a DeliveryClient with both Project ID and Secure API key.
import KenticoCloud

let client = DeliveryClient.init(projectId: "YOUR_PROJECT_ID", secureApiKey:"SECURE_API_KEY")
For more details, see Securing the Delivery API.
Getting items
Using strongly typed models
In order to receive strongly typed items you need to implement your item model. It's necessary to conform to Mappable protocol and implement mapping functionality. You can use your own mapping or our strongly typed element types.
- Element types mapping:
import ObjectMapper

class Article: Mappable {
    var title: TextElement?
    var asset: AssetElement?
    var postDate: DateTimeElement?

    required init?(map: Map){
        let mapper = MapElement.init(map: map)
        title = mapper.map(elementName: "title", elementType: TextElement.self)
        asset = mapper.map(elementName: "teaser_image", elementType: AssetElement.self)
        postDate = mapper.map(elementName: "post_date", elementType: DateTimeElement.self)
    }

    func mapping(map: Map) {

    }
- Custom mapping:
import ObjectMapper

public class Cafe: Mappable {
    public var city: String?
    public var street: String?
    public var country: String?

    public required init?(map: Map){

    }

    public func mapping(map: Map) {
        city <- map["elements.city.value"]
        street <- map["elements.street.value"]
        country <- map["elements.country.value"]
    }
Basic items querying
Once you have a DeliveryClient instance, you can start querying your project repository by calling methods on the instance. You need to pass your item model and query. You can create a query for a listing in two ways:
- creating a custom string query:
let customQuery = "items?system.type=article&order=elements.post_date[desc]"
client.getItems(modelType: Article.self, customQuery: customQuery) { (isSuccess, itemsResponse, error) in ...
- using a query parameters array:
let coffeesQueryParameters = QueryBuilder.params().type(contentType).language("es-ES")
client.getItems(modelType: Coffee.self, queryParameters: coffeesQueryParameters) { (isSuccess, itemsResponse, error) in ...
Then you can use your obtained items in the completetion handler:
// Retrieves a list of all content items of certain type
let coffeesQueryParameters = QueryBuilder.params().type("coffee")
client.getItems(modelType: Coffee.self, queryParameters: coffeesQueryParameters) { (isSuccess, itemsResponse, error) in
       if isSuccess {
           if let coffees = itemsResponse?.items {
               // Use your items here
           }
       } else {
           if let error = error {
               print(error)
           }
       }
You can also retrieve just a single item:
// Retrieves a single content item
let client = DeliveryClient.init(projectId: "YOUR_PROJECT_ID")
client.getItem(modelType: Cafe.self, itemName: "boston") { (isSuccess, deliveryItem, error) in
    if isSuccess {
        if let cafe = deliveryItem.item {
            // Use your item here
        }
    } else {
        if let error = error {
            print(error)
        }
    }
}
Getting linked items
You can get linked content items from itemResponse or itemsResponse object:
let client = DeliveryClient.init(projectId: "YOUR_PROJECT_ID")
client.getItem(modelType: Article.self, itemName: "on_roasts", completionHandler: { (isSuccess, itemResponse, error) in
	if isSuccess {
		let relatedArticle = itemResponse?.getLinkedItems(codename: "on_roasts", type: Article.self)
	}
}
Getting content types
Get one content type
client.getContentType(name: "coffee", completionHandler: { (isSuccess, contentType, error) in
    if !isSuccess {
        fail("Response is not successful. Error: \(String(describing: error))")
    }

    if let type = contentType {
	// use content type here
    }
})
Get multiple content types
client.getContentTypes(skip: 2, limit: 4, completionHandler: { (isSuccess, contentTypesResponse, error) in
    if !isSuccess {
        fail("Response is not successful. Error: \(String(describing: error))")
    }

    if let response = contentTypesResponse {
	// use content types here
    }
})
Getting taxonomies
Get taxonomy group
let client = DeliveryClient.init(projectId: "YOUR_PROJECT_ID")
client.getTaxonomyGroup(taxonomyGroupName: "personas", completionHandler: { (isSuccess, deliveryItem, error) in
   if isSuccess {
       if let taxonomyGroup = deliveryItems.item {
        // use your taxonomy group here
       }
    } else {
         if let error = error {
             print(error)
         }
    }
})
Get all taxonomies
let client = DeliveryClient.init(projectId: "YOUR_PROJECT_ID")
client.getTaxonomies(completionHandler: { (isSuccess, deliveryItems, error) in
   if isSuccess {
       if let taxonomies = deliveryItems?.items {
        // use your taxonomies here
       }
    } else {
         if let error = error {
             print(error)
         }
    }
})
Local Development
For running SDK with sample app locally follow the next steps.
- Download the repository.
- In terminal navigate to /Example.
- Run
pod install(Cocoapods must be installed). - Open
KenticoCloud.xcworkspacein XCode. - Run.
Debug
If you want to view debug info from both clients set client's enableDebugLogging attribute:
let deliveryClient = DeliveryClient.init(projectId: "YOUR_PROJECT_ID", enableDebugLogging = true)
Updating generated documentation
We use Jazzy which is a command-line utility that generates documentation for Swift. For updating documentation perform the next steps:
- Install Jazzy
[sudo] gem install jazzy - Run
jazzyfrom the root of the repository. - Commit changes from /Docs directory.