SwiftLingo
Localization is time-consuming so I made a package to automate the task.
Steps to setup, only take a few minutes!
- Import the pacakge
https://github.com/kumarneel/SwiftLingo - Setup a folder where you would like to store your localized information
-
Create a
.swiftfile calledLocalizableStrings -
Create a
.stringfile calledLocalizable, Xcode will automatically call it by this name
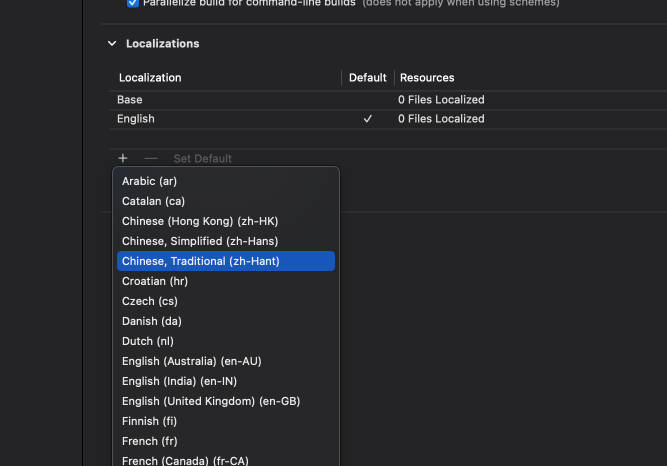
- Go to Project Settings tab
Info
- Go to the Localization Section

- Click
+and add any Language that you would like to translate into
- NOTE, these language codes are important and will passed into SwiftPackage Initializer

- Go back to your
Localizable.stringsfile. Go to the navigation tab on the right and click Localize...

- Check the languages you just added to be localized

- They will now appear under the file you have created

Usage
Create your first key in your English Translation file
"log_in_title" = "Login";
Import SwiftLingo
Initialize in AppDelegate or anywhere AND RUN ON SIMULATOR
// Path to root directory where files are stored
// 'fr' is the French Language Code
SL.initialize(
    directoryPath: "/Users/photos/Desktop/Localization/SwiftLingoTest/SwiftLingoTest/Localization",
    desiredLanguages: ["en", fr"],
    openAPIKey: "your_API_KEY"
)
Watch as files auto-populate once logs are complete

Use localized string variable in View
struct ContentView: View {
    var body: some View {
        VStack {
            Text(LocalizableStrings.log_in_title)
        }
        .padding()
    }
}