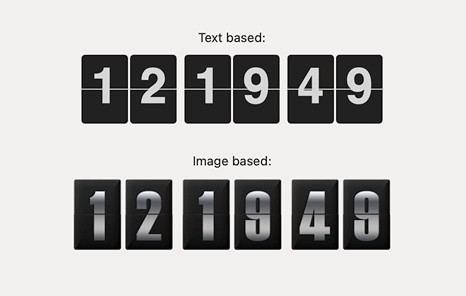
Splitflap
Splitflap is a simple to use component to present changeable alphanumeric text like often used as a public transport timetable in airports or railway stations or with some flip clocks.

Requirements
- iOS 8.0+ / tvOS 9.0+
- Xcode 9.0+
- Swift 4.2+
Usage
Hello World
The first example is the simplest way to use the Splitflap component. Here how to display this "Hello" text:

import Splitflap

let splitflapView        = Splitflap(frame: CGRect(x: 0, y: 0, width: 370, height: 53))
splitflapView.datasource = self

// Set the text to display by animating the flaps
splitflapView.setText("Hello", animated: true)

// MARK: - Splitflap DataSource Methods

// Defines the number of flaps that will be used to display the text
func numberOfFlapsInSplitflap(_ splitflap: Splitflap) -> Int {
  return 5
}
Theming
Splitflap allows you to customize each flap individually by providing a splitflap:builderForFlapAtIndex: delegate method:

let splitflapView        = Splitflap(frame: CGRect(x: 0, y: 0, width: 370, height: 53))
splitflapView.delegate   = self
splitflapView.datasource = self

// Set the text with an emoji
splitflap.text = "Cat \u{1F63B}"

// MARK: - Splitflap Delegate Methods

// Configure the appearance for each flaps
func splitflap(_ splitflap: Splitflap, builderForFlapAtIndex index: Int) -> FlapViewBuilder {
  return FlapViewBuilder { builder in
    builder.backgroundColor = UIColor(red: 251/255, green: 249/255, blue: 243/255, alpha: 1)
    builder.cornerRadius    = 5
    builder.font            = UIFont(name: "Avenir-Black", size:45)
    builder.textAlignment   = .center
    builder.textColor       = UIColor(red: 0, green: 0, blue: 0, alpha: 0.5)
    builder.lineColor       = UIColor(red: 0, green: 0, blue: 0, alpha: 0.3)
  }
}

// MARK: - Splitflap DataSource Methods

func tokensInSplitflap(_ splitflap: Splitflap) -> [String] {
  return " Cat\u{1F63B}".characters.map { String($0) }
}
And many more...
To go further, take a look at the documentation and the example project.
Note: All contributions are welcome
Installation
CocoaPods
Install CocoaPods if not already available:
$ [sudo] gem install cocoapods
$ pod setup
Go to the directory of your Xcode project, and Create and Edit your Podfile and add Splitflap:
$ cd /path/to/MyProject
$ touch Podfile
$ edit Podfile
source 'https://github.com/CocoaPods/Specs.git'
platform :ios, '8.0'

use_frameworks!
pod 'Splitflap', '~> 4.1.0'
Install into your project:
$ pod install
Open your project in Xcode from the .xcworkspace file (not the usual project file):
$ open MyProject.xcworkspace
You can now import Splitflap framework into your files.
Carthage
Carthage is a decentralized dependency manager that automates the process of adding frameworks to your Cocoa application.
You can install Carthage with Homebrew using the following command:
$ brew update
$ brew install carthage
To integrate Splitflap into your Xcode project using Carthage, specify it in your Cartfile file:
github "yannickl/Splitflap" >= 4.1.0
Swift Package Manager
You can use The Swift Package Manager to install Splitflap by adding the proper description to your Package.swift file:
import PackageDescription

let package = Package(
    name: "YOUR_PROJECT_NAME",
    targets: [],
    dependencies: [
        .Package(url: "https://github.com/yannickl/Splitflap.git", versions: "4.1.0" ..< Version.max)
    ]
)
Note that the Swift Package Manager is still in early design and development, for more information checkout its GitHub Page.
Manually
Download the project and copy the Splitflap folder into your project to use it in.