TaggerKit
TaggerKit is a straightforward library that helps you implement tags in your iOS project.
TaggerKit helps you quickly integrate tags into your iOS projects. It provides a collection view for displaying tags and a text field for adding them to another collection view. The custom layout used by TaggerKit is based on TagCellLayout by Ritesh Gupta.
Example
To run the example project, clone the repo, and run pod install from the Example directory first.
Requirements
TaggerKit runs on Swift 4.2 and iOS 11.
Installation
TaggerKit is available through CocoaPods. To install
it, just add the following line to your Podfile:
pod 'TaggerKit'
Setup
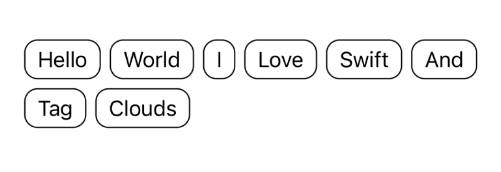
Static tags
Tags can be implemented in a couple of ways. Let's start simple: you have a bunch of tags (Strings) that you want to show to the user. A static collection view is just what we need.
- In Interface Builder, create a container view in your ViewController and then delete its child from the storyboard:

-
Import TaggerKit into your view controller and create an outlet for the container view
import TaggerKit class ViewController: UIViewController { @IBOutlet var containerView: UIView! -
Instantiate and a
TKCollectionView()and give it to the container with:var tagCollection: TKCollectionView() override func viewDidLoad() { super.viewDidLoad() add(tagCollection, toView: containerView) -
Give the collection view some tags:
tagCollection.tags = ["Some", "Tag", "For", "You"] -
Done!
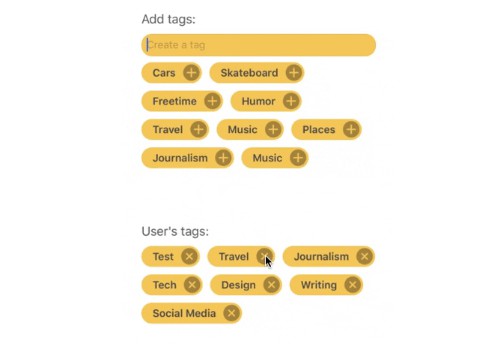
Dynamic tags
Do this if you want what you saw in the preview GIF.
-
Follow the instructions above and create two collection views, putting them into two different containers
-
For both collection views set their
.actionproperty accordingly. For example: if you are in a view displaying a product to which your user has already added some tags, these tags should be removable, hence that collection's action should be.removeAction(more on how to be notified of tags events later).productTagsCollection.action = .removeTag -
Create a Text Field outlet and set its custom class to
TKTextField -
Set the text field's
.senderand.receiverproperties. This enables the text field to add tags to a collection. The sender is a collection view that is displaying tags from the textfield (tags that should be filtered), while the receiver is the collection receiving the tags:textField.sender = allTagsCollection textField.receiver = productTagsCollection -
If you want the "filter" collection to be able to add tags, set these properties:
allTagsCollection.action = .addTag allTagsCollection.receiver = productTagsCollection -
Lastly, you probably want to be notified and act upon tags being added or removed from a collection. For this purpose, TaggerKit lets you override these two methods in order to add your functionality (your controller must the delegate of the collections):
allTagsCollection.delegate 	= self
productTagsCollection.delegate 	= self


override func tagIsBeingAdded(name: String?) {
	// Example: save testCollection.tags to UserDefault
	print("added \(name!)")
}

override func tagIsBeingRemoved(name: String?) {
	print("removed \(name!)")
}
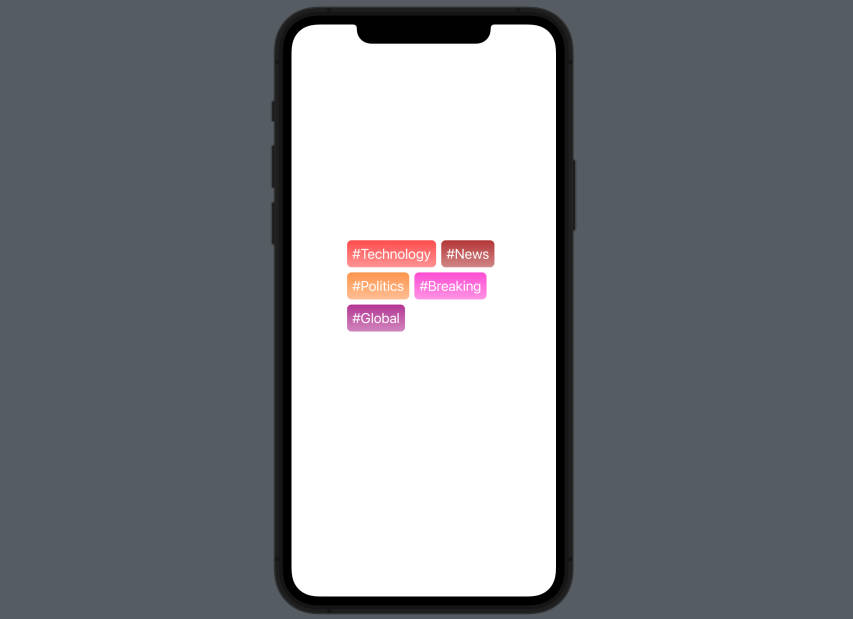
Customisation
TKCollectionView has some properties you can set to modify the tag's appearance:
// Custom font
	tagCollection.customFont = UIFont.boldSystemFont(ofSize: 14)
// Corner radius of tags
	tagCollection.customCornerRadius = 14.0
// Spacing between cells
	tagCollection.customSpacing = 20.0
// Background of cells
	tagCollection.customBackgroundColor = UIColor.red