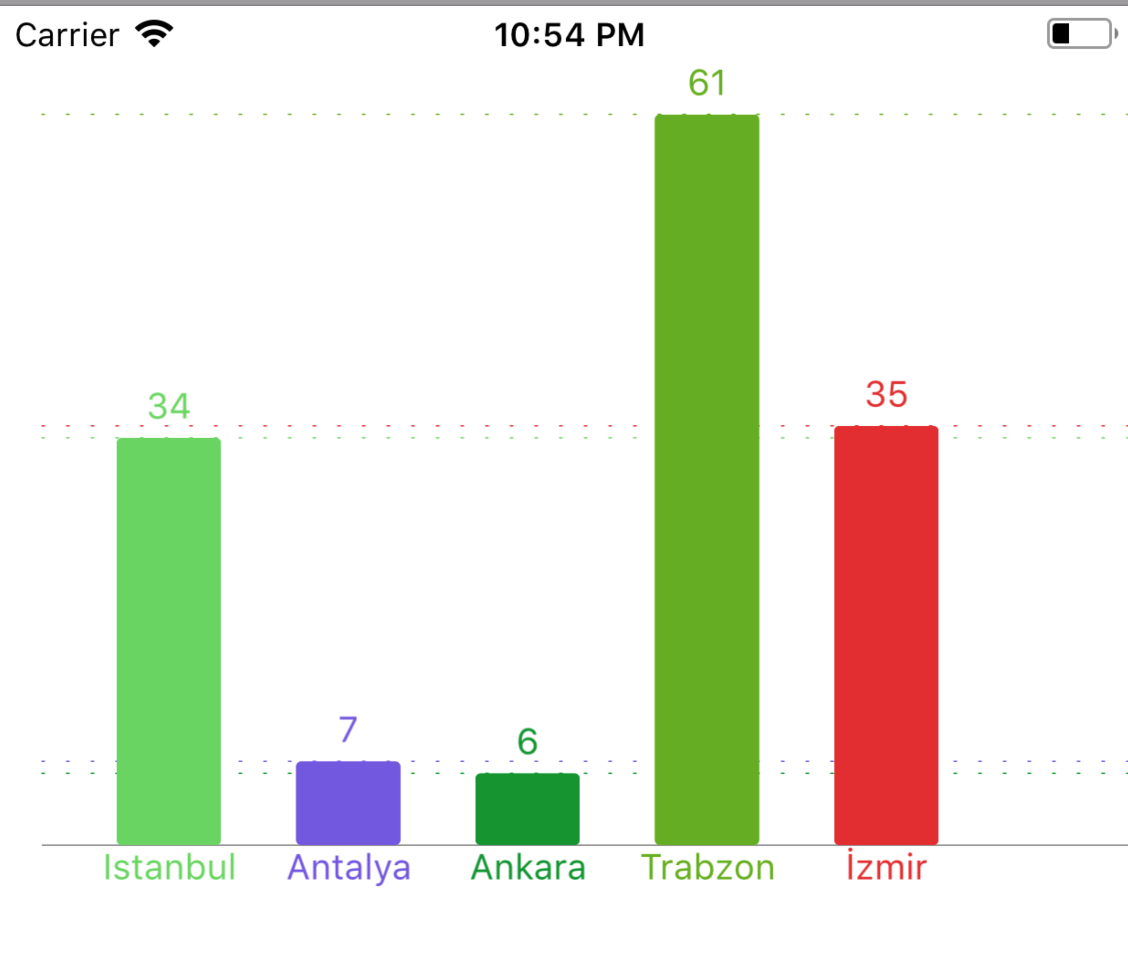
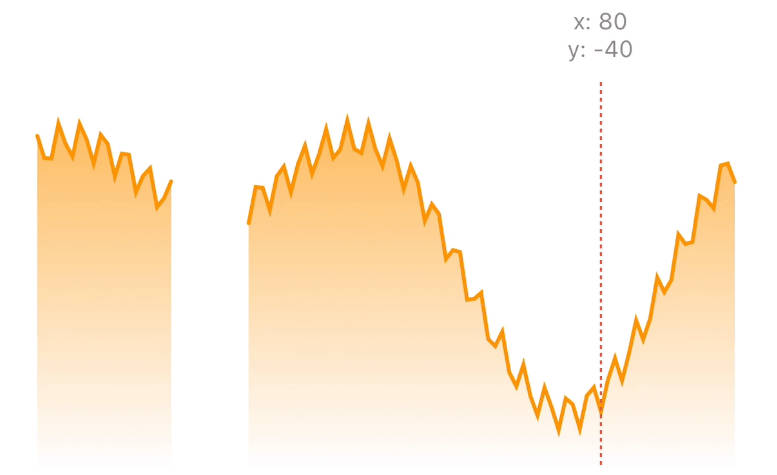
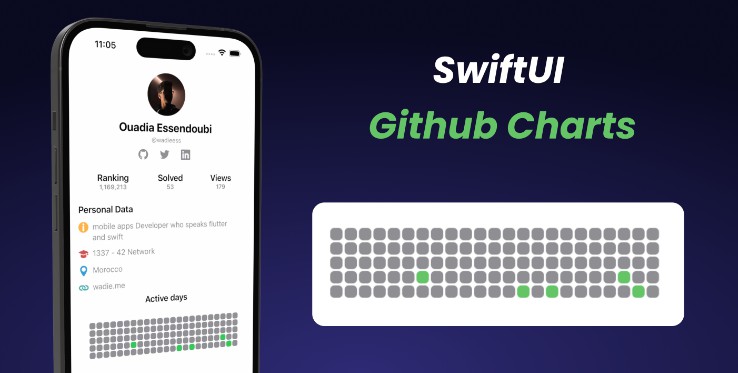
CoreCharts
Elegant way to use charts on iOS with CoreCharts.
Getting Started
You need a Cocoapods installed mac, if you are not familiar that visit here CocoaPods.
Requirements
- XCode 8.3+
- iOS 9.3+
Installation
Add your pod file
pod 'CoreCharts'
and than hit the your command line
pod install
now you are ready to use CoreCharts
Usage
import where you want to use
import CoreCharts
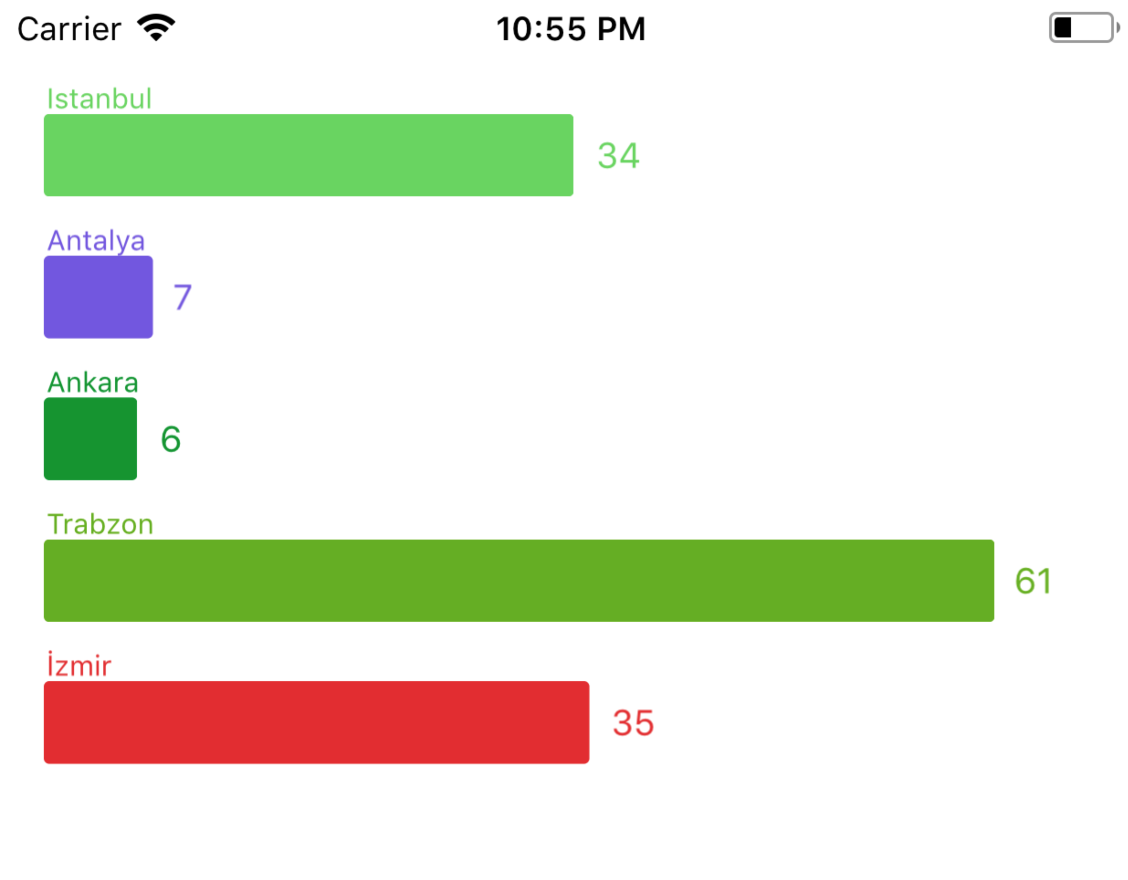
and than open up your storyboard or xib file and add new UIView drop your main view. afterwards change subclass to Vertical for VCoreBarChart or Horizontal chart for HCoreBarChart

referance it!
@IBOutlet weak var barChart: VCoreBarChart!
most important setup is ready, now you can use some of featuristic CoreChart's properties.
firstly you need conform your class to data source protocol,
class DemoViewController: UIViewController,CoreChartViewDataSource {

    @IBOutlet weak var barChart: VCoreBarChart!

    override func viewDidLoad() {
        super.viewDidLoad()

        barChart.dataSource = self
    }
now, you have two methods, implement it.
func loadCoreChartData() -> [CoreChartEntry]

optional func didTouch(entryData: CoreChartEntry)
loadCoreChartData method is fill your bar charts, you need to convert your data to CoreChartEntry type
func loadCoreChartData() -> [CoreChartEntry] {

        var allCityData = [CoreChartEntry]()

        let cityNames = ["Istanbul","Antalya","Ankara","Trabzon","İzmir"]

        let plateNumber = [34,07,06,61,35]

        for index in 0..<cityNames.count {

            let newEntry = CoreChartEntry(id: "\(plateNumber[index])",
                                          barTitle: cityNames[index],
                                          barHeight: Double(plateNumber[index]),
                                          barColor: rainbowColor())


            allCityData.append(newEntry)

        }

        return allCityData

}
CoreChartEntry properties
- id = when you are use didTouch method and you want to access some data level for bar selection you need here.
- barTitle = ... you now what it is :)
- ..and the rest..
One more thing..
optional func didTouch(entryData: CoreChartEntry)
this method is optional and when you want to navigate your chart screens each other through selected your data level
data level means: Running a query on your data structures with id
Finish.
Here is the full code as you have just been told, and already in the demo project.
import CoreCharts

class DemoViewController: UIViewController,CoreChartViewDataSource {

    @IBOutlet weak var barChart: VCoreBarChart!

    override func viewDidLoad() {
        super.viewDidLoad()

        barChart.dataSource = self
    }

    func didTouch(entryData: CoreChartEntry) {
        print(entryData.barTitle)
    }

    func loadCoreChartData() -> [CoreChartEntry] {

        return getTurkeyFamouseCityList()

    }


    func getTurkeyFamouseCityList()->[CoreChartEntry] {
        var allCityData = [CoreChartEntry]()
        let cityNames = ["Istanbul","Antalya","Ankara","Trabzon","İzmir"]
        let plateNumber = [34,07,06,61,35]

        for index in 0..<cityNames.count {

            let newEntry = CoreChartEntry(id: "\(plateNumber[index])",
                                          barTitle: cityNames[index],
                                          barHeight: Double(plateNumber[index]),
                                          barColor: rainbowColor())


            allCityData.append(newEntry)

        }

        return allCityData

    }

}
Appearance Customization
CoreBarChartsDisplayConfig Class
You can change ui appearance for charts with CoreBarChartsDisplayConfig class and there have properties, here is the how to do this.
Direct use
You can use one shot initializer
import CoreCharts

class DemoViewController: UIViewController,CoreChartViewDataSource {

    @IBOutlet weak var barChart: VCoreBarChart!

    override func viewDidLoad() {
        super.viewDidLoad()

        barChart.dataSource = self

        barChart.displayConfig = CoreBarChartsDisplayConfig(barWidth: 40.0,
                                                            barSpace: 20.0,
                                                            bottomSpace: 20.0,
                                                            topSpace: 20.0,
                                                            backgroundColor: UIColor.black,
                                                            titleFontSize: 12,
                                                            valueFontSize: 14,
                                                            titleFont: UIFont(),
                                                            valueFont: UIFont(),
                                                            titleLength: 12)
    }
Spesific use
You can use only what you just need.
import CoreCharts

class DemoViewController: UIViewController,CoreChartViewDataSource {

    @IBOutlet weak var barChart: VCoreBarChart!

    override func viewDidLoad() {
        super.viewDidLoad()

        barChart.dataSource = self

        bbarChart.displayConfig.barWidth = 10
        barChart.displayConfig.barSpace = 20
        barChart.displayConfig.titleFontSize = 15
    }
