Modern API for Timer
Easy to use yet powerful Timer library. Keep your code clean

Timer is a free and open-source library dedicated for Swift that makes the process of handling timers easier and much cleaner.
- Improves code quality. Start timer using the
publish().start()method. Stop the timer withstop(). Simple as never. - Run your timer in both directions. Our Timer can operate in both modes (increasing or decreasing).
- Supports background mode. Don't worry about the timer when the app goes into the background. We handled it!
- And much more. Our library allows you to convert the current time to a string or to display the timer progress in no time.
Getting Started
✋ Requirements
| Platforms | Minimum Swift Version |
|---|---|
| iOS 13+ | 5.0 |
⏳ Installation
Swift package manager
Swift package manager is a tool for automating the distribution of Swift code and is integrated into the Swift compiler.
Once you have your Swift package set up, adding Timer as a dependency is as easy as adding it to the dependencies value of your Package.swift.
dependencies: [
    .package(url: "https://github.com/Mijick/Timer", branch(“main”))
]
Usage
1. Initialise the timer
Call the publish() method that has three parameters:
- time - The number of seconds between firings of the timer.
- tolerance - The number of seconds after the update date that the timer may fire.
- currentTime - The current timer time.
try! MTimer.publish(every: 1, currentTime: $currentTime)2. Start the timer
Start the timer using the start() method. You can customise the start and end time using the parameters of this method.
  try! MTimer
      .publish(every: 1, currentTime: $currentTime)
      .start(from: .init(minutes: 21, seconds: 37), to: .zero)
3. (Optional) Observe TimerStatus and TimerProgress
You can observe changes in both values by calling either of the methods
  try! MTimer
      .publish(every: 1, currentTime: $currentTime)
      .bindTimerStatus(isTimerRunning: $isTimerRunning)
      .bindTimerProgress(progress: $timerProgress)
      .start(from: .init(minutes: 21, seconds: 37), to: .zero)
4. Stop the timer
Timer can be stopped with stop() method.
MTimer.stop()5. Additional timer controls
- Once stopped, the timer can be resumed - simply use the
resume()method.
try! MTimer.resume()- To stop and reset the timer to its initial values, use the
reset()method.
MTimer.reset()6. Displaying the current time as String
You can convert the current MTime to String by calling the toString() method. Use the formatter parameter to customise the output.
  currentTime.toString {
      $0.unitsStyle = .full
      $0.allowedUnits = [.hour, .minute]
      return $0
  }
7. Creating more timer instances
Create a new instance of the timer and assign it to a new variable. Use the above functions directly with it
  let newTimer = MTimer.createNewInstance()

  try! newTimer
      .publish(every: 1, currentTime: $currentTime)
      .start()

  newTimer.stop()
Try our demo
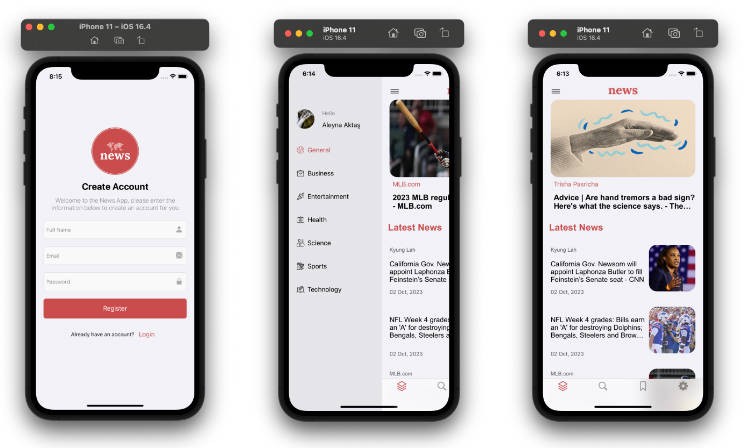
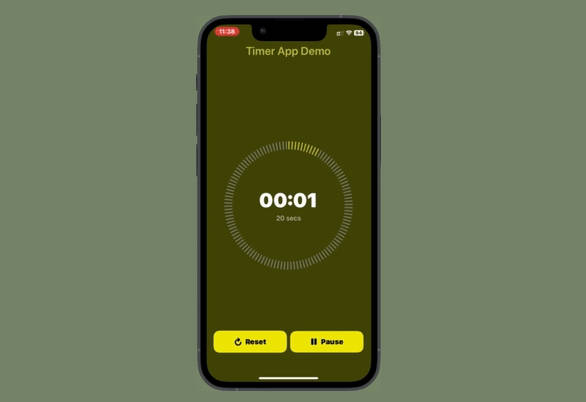
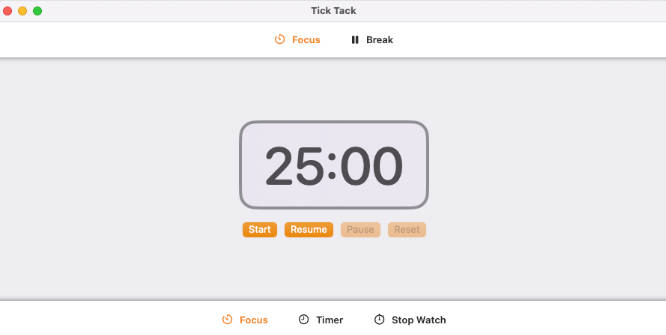
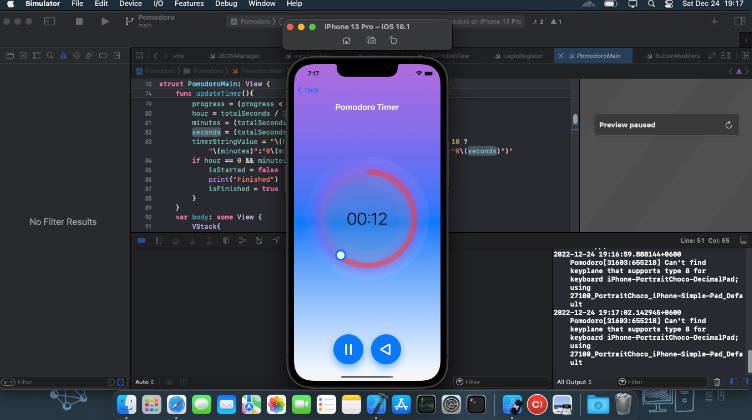
See for yourself how does it work by cloning project we created
License
Timer is released under the MIT license. See LICENSE for details.