AppState
AppState is a Swift Package that simplifies the management of application state in a thread-safe, type-safe, and SwiftUI-friendly way. Featuring dedicated struct types for managing state, AppState provides easy and coordinated access to this state across your application. Added to this, the package incorporates built-in logging mechanisms to aid debugging and error tracking. The AppState package also boasts a cache-based system to persistently store and retrieve any application-wide data at any given time.
Key Features
-
Application: Centralized class housing all application-wide data, equipped with built-in observability for reactive changes.
-
State: Dedicated struct type for encapsulating and broadcasting value changes within the app’s scope.
-
Scope: Representation of a specific context within an app, defined by a unique name and ID.
-
AppState (property wrapper): A property wrapper that elegantly bridges
Application.StatewithSwiftUIfor seamless integration.
Requirements
- Swift 5.7 or later
- iOS 16.0 or later
- watchOS 9.0 or later
- macOS 13.0 or later
- tvOS 16.0 or later
Getting Started
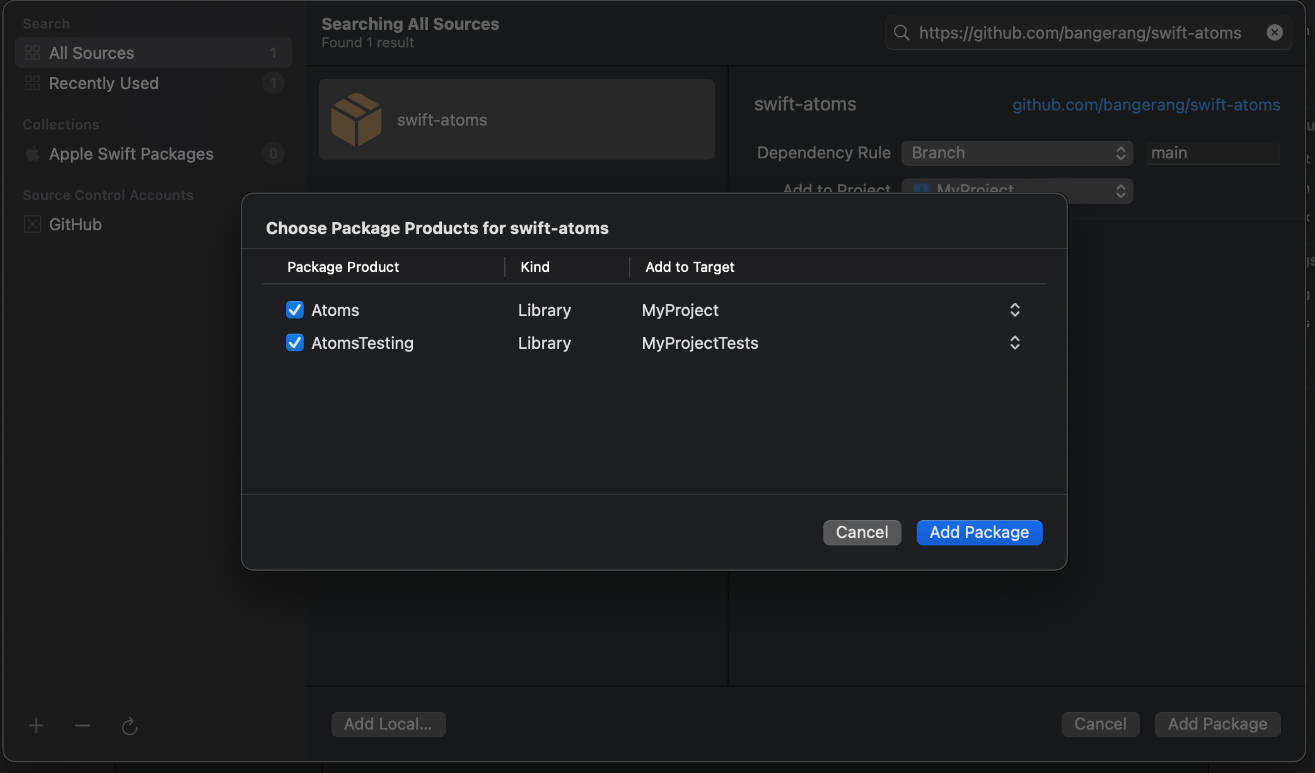
To add AppState to your Swift project, use the Swift Package Manager. This involves adding a package dependency to your Package.swift file.
dependencies: [
    .package(url: "https://github.com/0xLeif/AppState.git", from: "0.1.0")
]
For App projects, open your project in Xcode and navigate to File > Swift Packages > Add Package Dependency… and enter https://github.com/0xLeif/AppState.git.
Usage
AppState is designed to uphold application state management ease and intuitiveness. Here’s how to use it:
Define Application State
Defining an application-wide state requires extending the Application and declaring the variables that retain the state. Each state corresponds to an instance of the generic Application.State struct:
extension Application {
    var isLoading: State<Bool> {
        state(initial: false)
    }

    var username: State<String> {
        state(initial: "Leif")
    }

    var colors: State<[String: CGColor]> {
        state(initial: ["primary": CGColor(red: 1, green: 0, blue: 1, alpha: 1)])
    }
}
Read and Write Application States
Once you define the state, it is straightforward to read and write it within your application:
var appState: Application.State = Application.state(\.username)

// Read the value
print(appState.value) // Output: "Leif"

// Modify the value
appState.value = "0xL"

print(Application.state(\.username).value) // Output: "0xL"
Using the AppState Property Wrapper
The AppState property wrapper can directly bridge State of an Application to SwiftUI:
struct ContentView: View {
    @AppState(\.username) var username

    var body: some View {
        Button(
            action: { username = "Hello!" }.
            label: { Text("Hello, \(username)!") }
        )
    }
}
You can also use AppState in a SwiftUI ObservableObject:
class UserSettings: ObservableObject {
    @AppState(\.username) var username

    func updateUsername(newUsername: String) {
        username = newUsername
    }
}

struct ContentView: View {
    @ObservedObject private var settings = UserSettings()

    var body: some View {
        VStack {
            Text("User name: \(settings.username)")
            Button("Update Username") {
                settings.updateUsername(newUsername: "NewUserName")
            }
        }
    }
}
License
AppState is released under the MIT License. See LICENSE for more information.
Communication and Contribution
- If you found a bug, open an issue.
- If you have a feature request, open an issue.
- If you want to contribute, submit a pull request.
This README is a work in progress. If you found any inaccuracies or areas that require clarification, please don’t hesitate to create a pull request with improvements!


