RTRootNavigationController
How many lines of code should I write to fit in iPhone X? Zero.

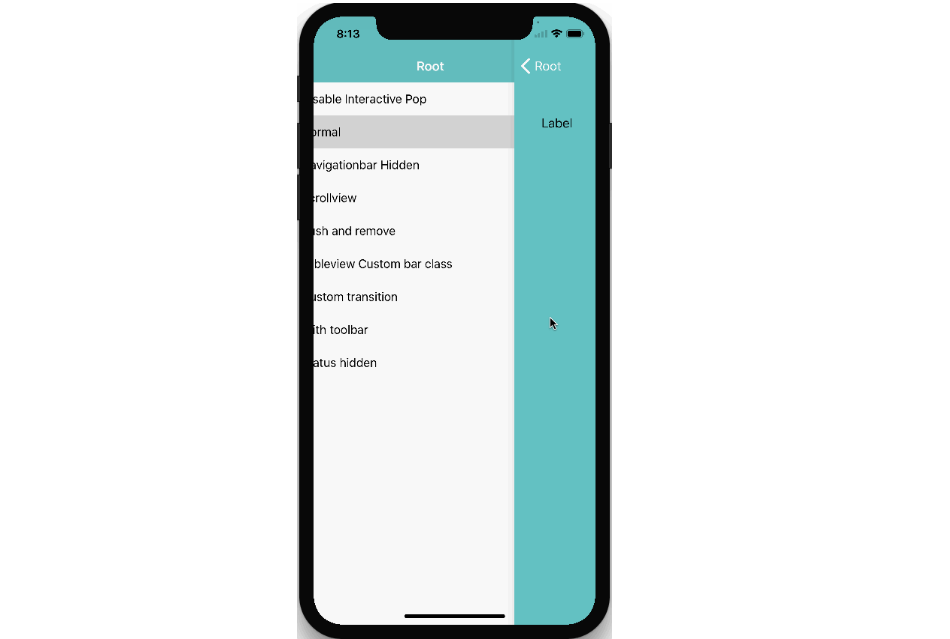
More and more apps use custom navigation bar for each different view controller, instead of one common, global navigation bar.
This project just help develops to solve this problem in a tricky way, develops use this navigation controller in a farmilar way just like you used to be, and you can have each view controller a individual navigation bar.


Usage
As an advise, please set RTRootNavigationController as your rootViewController:
- (BOOL)application:(UIApplication *)application didFinishLaunchingWithOptions:(NSDictionary *)launchOptions
{

    UIViewController *yourController = ...;
    self.window.rootViewController = [[RTRootNavigationController alloc] initWithRootViewController:yourController];
    return YES;
}
you can implement following method to customize back bar button item (Recommended):
- (UIBarButtonItem *)rt_customBackItemWithTarget:(id)target
                                          action:(SEL)action
{
    return [[UIBarButtonItem alloc] initWithTitle:NSLocalizedString(@"Back", nil)
                                            style:UIBarButtonItemStylePlain
                                           target:target
                                           action:action];
}
or just set useSystemBackBarButtonItem to YES and use the default one.
To run the example project, clone the repo, and run pod install from the Example directory first.
Notice(Only for below v0.6)
Your ViewController hierarchy will change to:
RTRootNavigationController
    `- RTContainerViewController
    |       `- RTContainerNavigationController
    |               `- YourViewController1
    `- RTContainerViewController
            `- RTContainerNavigationController
                    `- YourViewController2
So, if you access self.navigationController it returns a container navigation controller, and its viewControllers will always be 1, i.e. self. Instead, your have to use self.rt_navigationController.rt_viewController to get all siblings, as metioned Here and Here.
Requirements
- iOS 7 and up
- Xcode 7 and up
Installation
RTRootNavigationController is available through CocoaPods. To install
it, simply add the following line to your Podfile:
pod "RTRootNavigationController"


