OverlayContainer
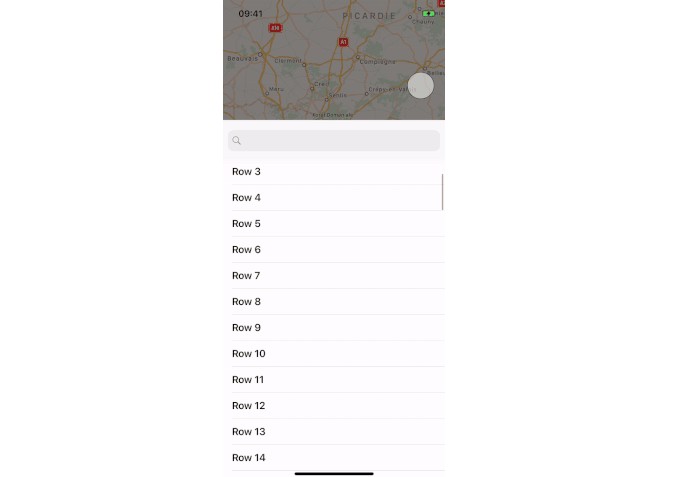
OverlayContainer is a UI library written in Swift. It makes it easier to develop overlay based interfaces, such as the one presented in the Apple Maps, Stocks or Shortcuts apps.
Features
There are currently several alternatives like :
OverlayContainer uses a different approach. It tries to be as lightweight and non-intrusive as possible. The layout and the UI customization are done by you to avoid to corrupt your project. OverlayContainer adapts to it. See the provided examples for help or feel free to ask directly.
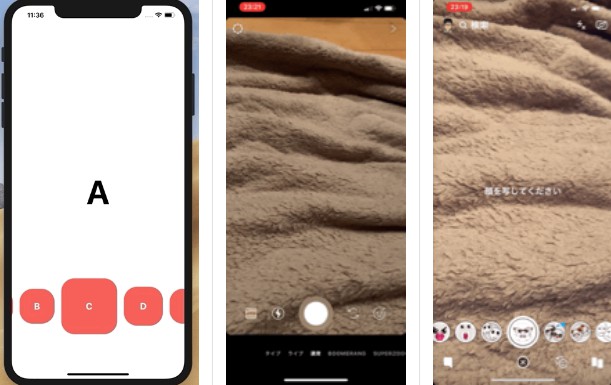
The library focuses its effort on the hard part, the overlay translation. It perfectly mimics the overlay presented in the Shotcuts app.
- [x] Unlimited notches
- [x] Adaptive to any custom layouts
- [x] Fluid transitions between scroll & translation
- [x] Rubber band effect
- [x] Animations and target notch policy fully customizable
Requirements
OverlayContainer is written in Swift 4.2. Compatible with iOS 10.0+.
Installation
OverlayContainer is available through CocoaPods. To install it, simply add the following line to your Podfile:
Cocoapods
pod 'OverlayContainer'
Usage
Setup
The main component of the library is the OverlayContainerViewController. It defines an area where a view controller can be dragged up and down, hidding or revealing the content underneath it.
Thus, your first step is to create a custom view controller container which combines the OverlayContainerViewController and the content you wish to overlay.
It could be as simple as a view controller stacking all its children :
class StackViewController: UIViewController {

    var viewControllers: [UIViewController] = [] {
        didSet {
            guard isViewLoaded else { return }
            loadChildren()
        }
    }

    override func viewDidLoad() {
        super.viewDidLoad()
        loadChildren()
    }

    private func loadChildren() {
        viewControllers.forEach { addChild($0, in: view) }
    }
}
A startup sequence might look like this :
let mapsController = MapsViewController()
let searchController = SearchViewController()

let containerController = OverlayContainerViewController()
containerController.delegate = self
containerController.viewControllers = [searchController]

let stackController = StackViewController()
stackController.viewControllers = [
    mapsController,
    containerController
]
window?.rootViewController = stackController
The last step is to define the overlay's notches. By default, the overlay container view controller does not display anything.
Implement OverlayContainerViewControllerDelegate to specify the number of notches wished :
enum OverlayNotch: Int, CaseIterable {
    case minimum, medium, maximum
}

func numberOfNotches(in containerViewController: OverlayContainerViewController) -> Int {
    return OverlayNotch.allCases.count
}

func overlayContainerViewController(_ containerViewController: OverlayContainerViewController,
                                    heightForNotchAt index: Int,
                                    availableSpace: CGFloat) -> CGFloat {
    switch OverlayNotch.allCases[index] {
        case .maximum:
            return availableSpace * 3 / 4
        case .medium:
            return availableSpace / 2
        case .minimum:
            return availableSpace * 1 / 4
    }
}
Overlay style
The overlay style defines how the overlay view controllers will be constrained in the OverlayContainerViewController.
enum OverlayStyle {
    case flexibleHeight // default
    case rigid
}

let overlayContainer = OverlayContainerViewController(style: .rigid)
- rigid
The overlay view controller will be constrained with a height equal to the highest notch. The overlay won't be fully visible until the user drags it up to this notch.
- flexibleHeight
The overlay view controller will not be height-constrained. It will grow and shrink as the user drags it up and down.
Note though that while the user is dragging the overlay, the overlay's view may perform some extra layout computations. This is specially true for the table views or the collection views : some cells may be dequeued or removed when its frame changes. Try .rigid if you encounter performance issues.
Be careful to always provide a minimum height higher than the intrinsic content of your overlay.
Scroll view support
The container view controller can coordinate the scrolling of a scroll view with the overlay translation.

Use the associated delegate method :
func overlayContainerViewController(_ containerViewController: OverlayContainerViewController,
                                    scrollViewDrivingOverlay overlayViewController: UIViewController) -> UIScrollView? {
    return (overlayViewController as? DetailViewController)?.tableView
}
Or directly set the dedicated property :
let containerController = OverlayContainerViewController()
containerController.drivingScrollView = myScrollView
Pan gesture support
The container view controller detects pan gestures on its own view.
Use the dedicated delegate method to check that the specified starting pan gesture location corresponds to a grabbable view in your custom overlay.
func overlayContainerViewController(_ containerViewController: OverlayContainerViewController,
                                    shouldStartDraggingOverlay overlayViewController: UIViewController,
                                    at point: CGPoint,
                                    in coordinateSpace: UICoordinateSpace) -> Bool {
    guard let header = (overlayViewController as? DetailViewController)?.header else {
        return false
    }
    let convertedPoint = coordinateSpace.convert(point, to: header)
    return header.bounds.contains(convertedPoint)
}
Examples
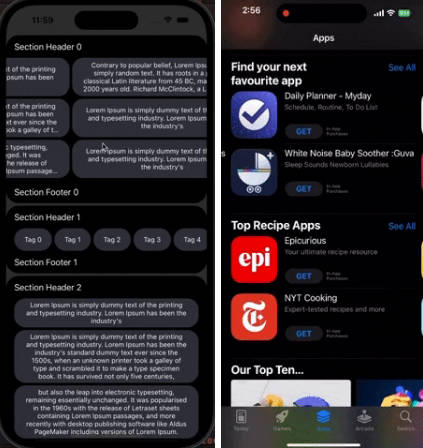
- Maps Like: A custom layout which adapts its hierachy on rotations.

- Shortcuts: A custom layout which adapts its hierachy on trait collection changes : Moving from a
UISplitViewControlleron regular environment to a simpleStackViewControlleron compact environment. Visualize it on iPad Pro.
Advanced usage
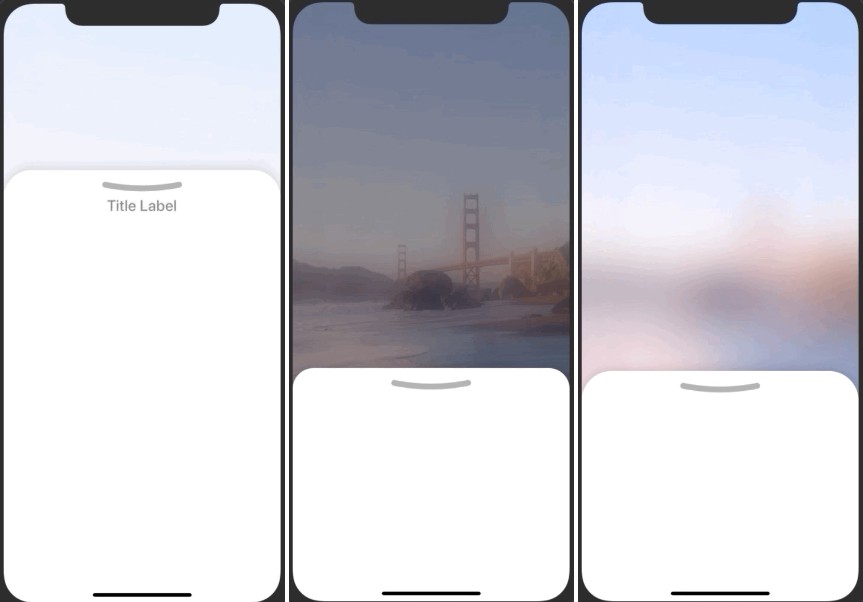
Backdrop view
Coordinate the overlay movements to the aspect of a view using the dedicated delegate methods. See the backdrop view example.
func overlayContainerViewController(_ containerViewController: OverlayContainerViewController,
                                    didDragOverlay overlayViewController: UIViewController,
                                    toHeight height: CGFloat,
                                    availableSpace: CGFloat) {
    backdropView.alpha = // compute alpha based on height
}

func overlayContainerViewController(_ containerViewController: OverlayContainerViewController,
                                    didEndDraggingOverlay overlayViewController: UIViewController,
                                    transitionCoordinator: OverlayContainerTransitionCoordinator) {
    backdropView.alpha = // compute alpha based on the transitionCoordinator
    transitionCoordinator.animate(alongsideTransition: { context in
        self.backdropView.alpha =  // compute the final alpha value on the transitionCoordinator
    }, completion: nil)
}
Safe Area
Be careful when using safe areas. As described in the WWDC "UIKit: Apps for Every Size and Shape" video, the safe area insets will not be updated if your views exceeds the screen bounds. This is specially the case when using the OverlayStyle.flexibleHeight.
The simpliest way to handle the safe area correctly is to compute your notch heights using the safeAreaInsets provided by the container and avoid the safeAreaLayoutGuide bottom anchor in your overlay :
func overlayContainerViewController(_ containerViewController: OverlayContainerViewController,
                                    heightForNotchAt index: Int,
                                    availableSpace: CGFloat) -> CGFloat {
    let bottomInset = containerViewController.view.safeAreaInsets.bottom
    switch OverlayNotch.allCases[index] {

        // ...

        case .minimum:
            return bottomInset + 100
    }
}
Custom Translation
Adopt OverlayTranslationFunction to modify the relation between the user's finger translation and the actual overlay translation.
By default, the overlay container uses a RubberBandOverlayTranslationFunction that provides a rubber band effect.

func overlayContainerViewController(_ containerViewController: OverlayContainerViewController,
                                    overlayTranslationFunctionForOverlay overlayViewController: UIViewController) -> OverlayTranslationFunction? {
    let function = RubberBandOverlayTranslationFunction()
    function.factor = 0.7
    function.bouncesAtMinimumHeight = false
    return function
}
Custom Translation Animations
Adopt OverlayTranslationTargetNotchPolicy & OverlayAnimatedTransitioning protocols to define where the overlay should go once the user's touch is released and how to animate the translation.
By default, the overlay container uses a SpringOverlayTranslationAnimationController that mimics the behavior of a spring.
The associated target notch policy RushingForwardTargetNotchPolicy will always try to go forward if the user's finger reachs a certain velocity. It might also decide to skip some notches if the user goes too fast.
Tweak the provided implementations or implement our own objects to modify the overlay translation behavior.
func overlayTargetNotchPolicy(for overlayViewController: UIViewController) -> OverlayTranslationTargetNotchPolicy? {
    let policy = RushingForwardTargetNotchPolicy()
    policy.minimumVelocity = 0
    return policy
}

func animationController(for overlayViewController: UIViewController) -> OverlayAnimatedTransitioning? {
    let controller = SpringOverlayTranslationAnimationController()
    controller.damping = 0.2
    return controller
}