SDWebImageSwiftUI


What’s for
SDWebImageSwiftUI is a SwiftUI image loading framework, which based on SDWebImage.
It brings all your favorite features from SDWebImage, like async image loading, memory/disk caching, animated image playback and performances.
Features
Since SDWebImageSwiftUI is built on top of SDWebImage, it provide both the out-of-box features as well as advanced powerful features you may want in real world Apps. Check our Wiki when you need:
- Animated Image full-stack solution, with balance of CPU && RAM
- Progressive image loading, with animation support
- Reusable download, never request single URL twice
- URL Request / Response Modifier, provide custom HTTP Header
- Image Transformer, apply corner radius or CIFilter
- Multiple caches system, query from different source
- Multiple loaders system, load from different resource
You can also get all benefits from the existing community around with SDWebImage. You can have massive image format support (GIF/APNG/WebP/HEIF/AVIF/SVG/PDF) via Coder Plugins, PhotoKit support via SDWebImagePhotosPlugin, Firebase integration via FirebaseUI, etc.
Besides all these features, we do optimization for SwiftUI, like Binding, View Modifier, using the same design pattern to become a good SwiftUI citizen.
Contribution
This framework is under heavily development, it’s recommended to use the latest release as much as possible (including SDWebImage dependency).
Note we do not guarantee the public API stable for current status until v1.0 version, to follow Semantic Versioning.
All issue reports, feature requests, contributions, and GitHub stars are welcomed. Hope for active feedback and promotion if you find this framework useful.
Requirements
- Xcode 11+
- iOS 13+
- macOS 10.15+
- tvOS 13+
- watchOS 6+
- Swift 5.1+
Installation
CocoaPods
SDWebImageSwiftUI is available through CocoaPods. To install
it, simply add the following line to your Podfile:
pod 'SDWebImageSwiftUI'
Carthage
SDWebImageSwiftUI is available through Carthage.
github "SDWebImage/SDWebImageSwiftUI"
Swift Package Manager
SDWebImageSwiftUI is available through Swift Package Manager.
let package = Package(
    dependencies: [
        .package(url: "https://github.com/SDWebImage/SDWebImageSwiftUI.git", from: "0.10")
    ],
)
Usage
Using WebImage to load network image
- Supports placeholder and detail options control for image loading as SDWebImage
- Supports progressive image loading (like baseline)
- Supports success/failure/progress changes event for custom handling
- Supports indicator with activity/progress indicator and customization
- Supports built-in animation and transition, powered by SwiftUI
- Supports animated image as well! (from v0.9.0)
var body: some View {
    WebImage(url: URL(string: "https://nokiatech.github.io/heif/content/images/ski_jump_1440x960.heic"))
        .onSuccess { image, cacheType in
            // Success
        }
        .resizable() // Resizable like SwiftUI.Image
        .placeholder(Image(systemName: "photo")) // Placeholder Image
        // Supports ViewBuilder as well
        .placeholder {
            Rectangle().foregroundColor(.gray)
        }
        .animated() // Supports Animated Image
        .indicator(.activity) // Activity Indicator
        .animation(.easeInOut(duration: 0.5)) // Animation Duration
        .transition(.fade) // Fade Transition
        .scaledToFit()
        .frame(width: 300, height: 300, alignment: .center)
}
Note: This WebImage using Image for internal implementation, which is the best compatible for SwiftUI layout and animation system. In previous version, WebImage supports static image format only, because unlike UIImageView in UIKit, SwiftUI’s Image does not support animated image or vector image.
Note: From v0.9.0, WebImage supports animated image as well! You can use .animated() to start animation. This is done by using the native SwiftUI rendering system and SDWebImage’s powerful Animated Player. But it’s still recommend to use AnimatedImage for advanced controls like progressive animation rendering, runloop mode, playback rate, etc.
Using AnimatedImage to play animation
- Supports network image as well as local data and bundle image
- Supports animated image format as well as vector image format
- Supports animated progressive image loading (like web browser)
- Supports animation control using the SwiftUI Binding
- Supports indicator and transition, powered by SDWebImage and Core Animation
- Supports advanced control like loop count, playback rate, buffer size, runloop mode, etc
- Supports coordinate with native UIKit/AppKit view
var body: some View {
    Group {
        // Network
        AnimatedImage(url: URL(string: "https://raw.githubusercontent.com/liyong03/YLGIFImage/master/YLGIFImageDemo/YLGIFImageDemo/joy.gif"), options: [.progressiveLoad]) // Progressive Load
        .onFailure { error in
            // Error
        }
        .resizable() // Actually this is not needed unlike SwiftUI.Image
        .placeholder(UIImage(systemName: "photo")) // Placeholder Image
        .indicator(SDWebImageActivityIndicator.medium) // Activity Indicator
        .transition(.fade) // Fade Transition
        .scaledToFit() // Attention to call it on AnimatedImage, but not `some View` after View Modifier

        // Data
        AnimatedImage(data: try! Data(contentsOf: URL(fileURLWithPath: "/tmp/foo.webp")))
        .customLoopCount(1) // Custom loop count
        .playbackRate(2.0) // Playback speed rate

        // Bundle (not Asset Catalog)
        AnimatedImage(name: "animation1", isAnimating: $isAnimating)) // Animation control binding
        .maxBufferSize(.max)
        .onViewUpdate { view, context in // Advanced native view coordinate
            view.toolTip = "Mouseover Tip"
        }
    }
}
Note: AnimatedImage supports both image url or image data for animated image format. Which use the SDWebImage’s Animated ImageView for internal implementation. Pay attention that since this base on UIKit/AppKit representable, some advanced SwiftUI layout and animation system may not work as expected. You may need UIKit/AppKit and Core Animation to modify the native view.
Note: From v0.9.0, AnimatedImage on watchOS drop the supports on watchOS, because of using hacks and private APIs. For watchOS user, choose WebImage instead.
Note: From v0.8.0, AnimatedImage on watchOS support all features the same as iOS/tvOS/macOS, including Animated WebP rendering, runloop mode, pausable, purgeable, playback rate, etc. It use the SDWebImage’s Animated Player, which is the same backend engine for iOS/tvOS/macOS’s Animated ImageView.
Which View to choose
Why we have two different View types here, is because of current SwiftUI limit. But we’re aimed to provide best solution for all use cases.
If you don’t need animated image, prefer to use WebImage firstly. Which behaves the seamless as built-in SwiftUI View. If SwiftUI works, it works.
If you need simple animated image, use v0.9.0 above with WebImage. Which provide the basic animated image support. But it does not support progressive animation rendering, playback rate, etc.
If you need powerful animated image, AnimatedImage is the one to choose. Remember it supports static image as well, you don’t need to check the format, just use as it.
But, because AnimatedImage use UIViewRepresentable and driven by UIKit, currently there may be some small incompatible issues between UIKit and SwiftUI layout and animation system, or bugs related to SwiftUI itself. We try our best to match SwiftUI behavior, and provide the same API as WebImage, which make it easy to switch between these two types if needed.
Customization and configuration setup
This framework is based on SDWebImage, which supports advanced customization and configuration to meet different users’ demand.
You can register multiple coder plugins for external image format. You can register multiple caches (different paths and config), multiple loaders (URLSession and Photos URLs). You can control the cache expiration date, size, download priority, etc. All in our wiki.
The best place to put these setup code for SwiftUI App, it’s the AppDelegate.swift:
func application(_ application: UIApplication, didFinishLaunchingWithOptions launchOptions: [UIApplication.LaunchOptionsKey: Any]?) -> Bool {
    // Add WebP/SVG/PDF support
    SDImageCodersManager.shared.addCoder(SDImageWebPCoder.shared)
    SDImageCodersManager.shared.addCoder(SDImageSVGCoder.shared)
    SDImageCodersManager.shared.addCoder(SDImagePDFCoder.shared)

    // Add default HTTP header
    SDWebImageDownloader.shared.setValue("image/webp,image/apng,image/*,*/*;q=0.8", forHTTPHeaderField: "Accept")

    // Add multiple caches
    let cache = SDImageCache(namespace: "tiny")
    cache.config.maxMemoryCost = 100 * 1024 * 1024 // 100MB memory
    cache.config.maxDiskSize = 50 * 1024 * 1024 // 50MB disk
    SDImageCachesManager.shared.addCache(cache)
    SDWebImageManager.defaultImageCache = SDImageCachesManager.shared

    // Add multiple loaders with Photos Asset support
    SDImageLoadersManager.shared.addLoader(SDImagePhotosLoader.shared)
    SDWebImageManager.defaultImageLoader = SDImageLoadersManager.shared
    return true
}
For more information, it’s really recommended to check our demo, to learn detailed API usage. You can also have a check at the latest API documentation, for advanced usage.
Documentation
FAQ
Common Problems
Using Image/WebImage/AnimatedImage in Button/NavigationLink
SwiftUI’s Button apply overlay to its content (except Text) by default, this is common mistake to write code like this, which cause strange behavior:
// Wrong
Button(action: {
    // Clicked
}) {
    WebImage(url: url)
}
// NavigationLink create Button implicitly
NavigationView {
    NavigationLink(destination: Text("Detail view here")) {
        WebImage(url: url)
    }
}
Instead, you must override the .buttonStyle to use the plain style, or the .renderingMode to use original mode. You can also use the .onTapGesture modifier for touch handling. See How to disable the overlay color for images inside Button and NavigationLink
// Correct
Button(action: {
    // Clicked
}) {
    WebImage(url: url)
}
.buttonStyle(PlainButtonStyle())
// Or
NavigationView {
    NavigationLink(destination: Text("Detail view here")) {
        WebImage(url: url)
        .renderingMode(.original)
    }
}
Using for backward deployment and weak linking SwiftUI
SDWebImageSwiftUI from v0.10.0, supports to use when your App Target has a deployment target version less than iOS 13/macOS 10.15/tvOS 13/watchOS 6. Which will weak linking of SwiftUI(Combine) to allows writing code with available check at runtime.
To use backward deployment, you have to do the follow things:
- Add
-weak_framework SwiftUI -weak_framework Combinein your App Target’sOther Linker Flagsbuild setting
You should notice that all the third party SwiftUI frameworks should have this build setting as well, not only just SDWebImageSwiftUI (we already added in v0.10.0). Or when running on iOS 12 device, it will trigger the runtime dyld error on startup.
- Use CocoaPods or Carthage (SwiftPM does not support weak linking nor backward deployment currently)
For Carthage user, the built binary framework will use Library Evolution to support for backward deployment.
For CocoaPods user, you can skip the platform version validation in Podfile with:
platform :ios, '13.0' # This does not effect your App Target's deployment target version, just a hint for CocoaPods
- Add all the SwiftUI code with the available annotation and runtime check, like this:
// AppDelegate.swift
func application(_ application: UIApplication, didFinishLaunchingWithOptions launchOptions: [UIApplication.LaunchOptionsKey: Any]?) -> Bool {
    // ...
    if #available(iOS 13, *) {
        window.rootViewController = UIHostingController(rootView: ContentView())
    } else {
        window.rootViewController = ViewController()
    }
    // ...
}

// ViewController.swift
class ViewController: UIViewController {
    var label: UILabel = UILabel()
    override func viewDidLoad() {
        super.viewDidLoad()
        view.backgroundColor = .white
        view.addSubview(label)
        label.text = "Hello World iOS 12!"
        label.sizeToFit()
        label.center = view.center
    }
}

// ContentView.swift
@available(iOS 13.0, OSX 10.15, tvOS 13.0, watchOS 6.0, *)
struct ContentView : View {
    var body: some View {
        Group {
            Text("Hello World iOS 13!")
            WebImage(url: URL(string: "https://i.loli.net/2019/09/24/rX2RkVWeGKIuJvc.jpg"))
        }
    }
}
Demo
To run the example using SwiftUI, following the steps:
cd Example
pod install
Then open the Xcode Workspace to run the demo application.
Since SwiftUI is aimed to support all Apple platforms, our demo does this as well, one codebase including:
- iOS (iPhone/iPad/Mac Catalyst)
- macOS
- tvOS
- watchOS
Demo Tips:
- Use
Switch(right-click on macOS/force press on watchOS) to switch betweenWebImageandAnimatedImage. - Use
Reload(right-click on macOS/force press on watchOS) to clear cache. - Use
Swipeto delete one image item. - Pinch gesture (Digital Crown on watchOS, play button on tvOS) to zoom-in detail page image.
- Clear cache and go to detail page to see progressive loading.
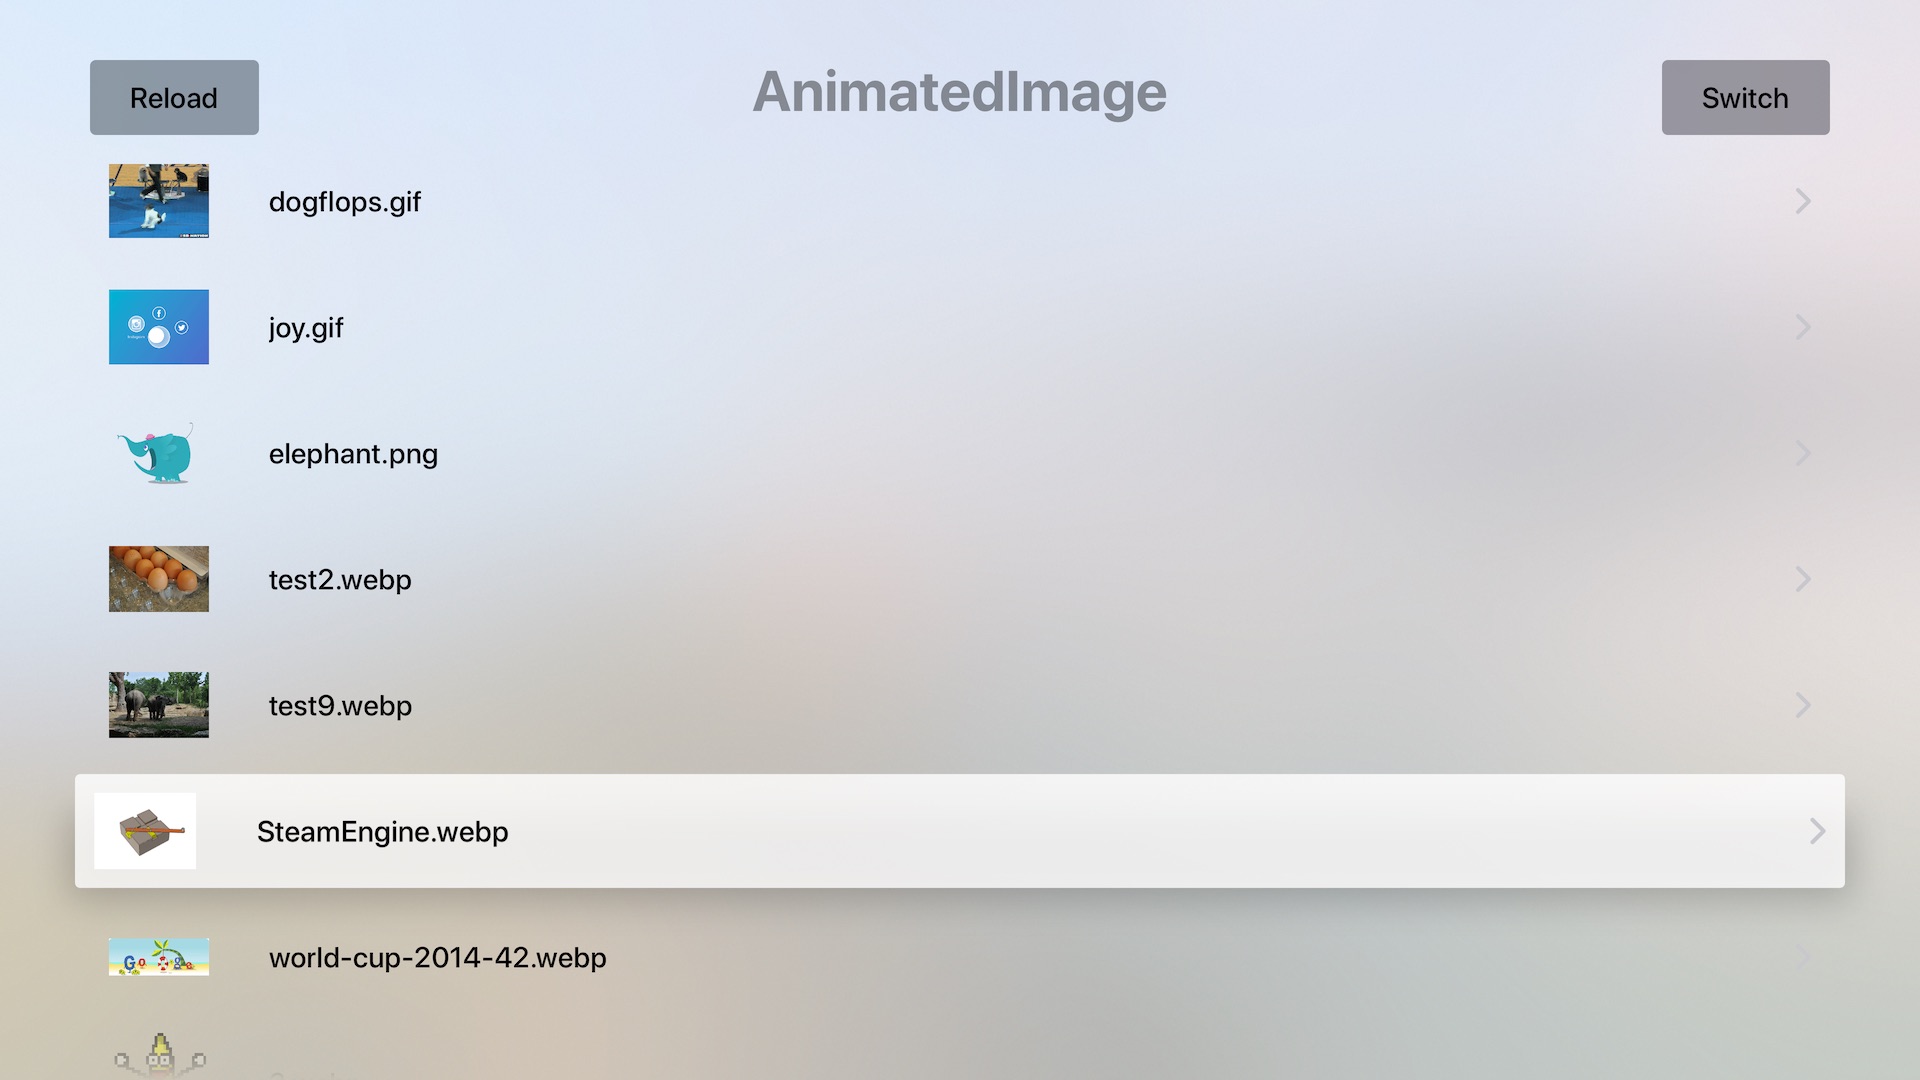
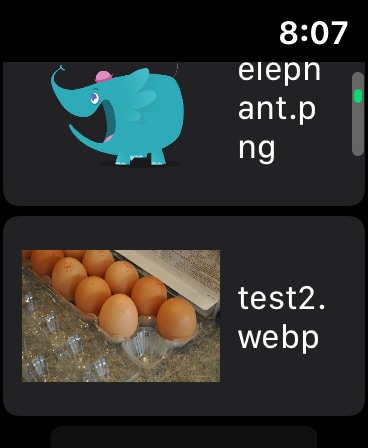
Screenshot
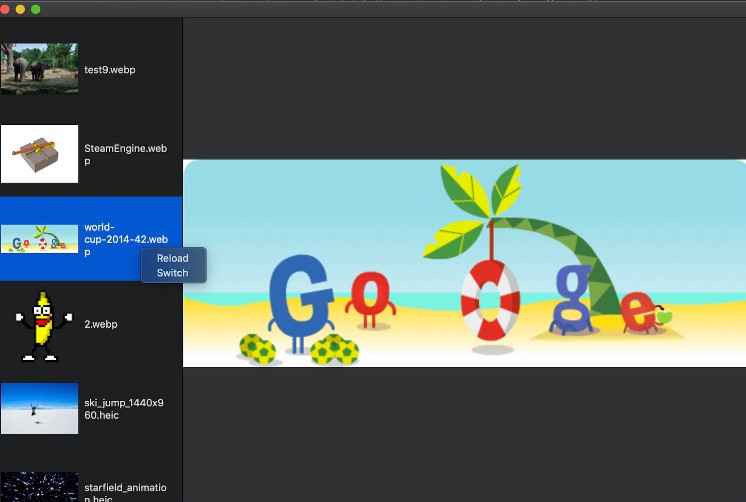
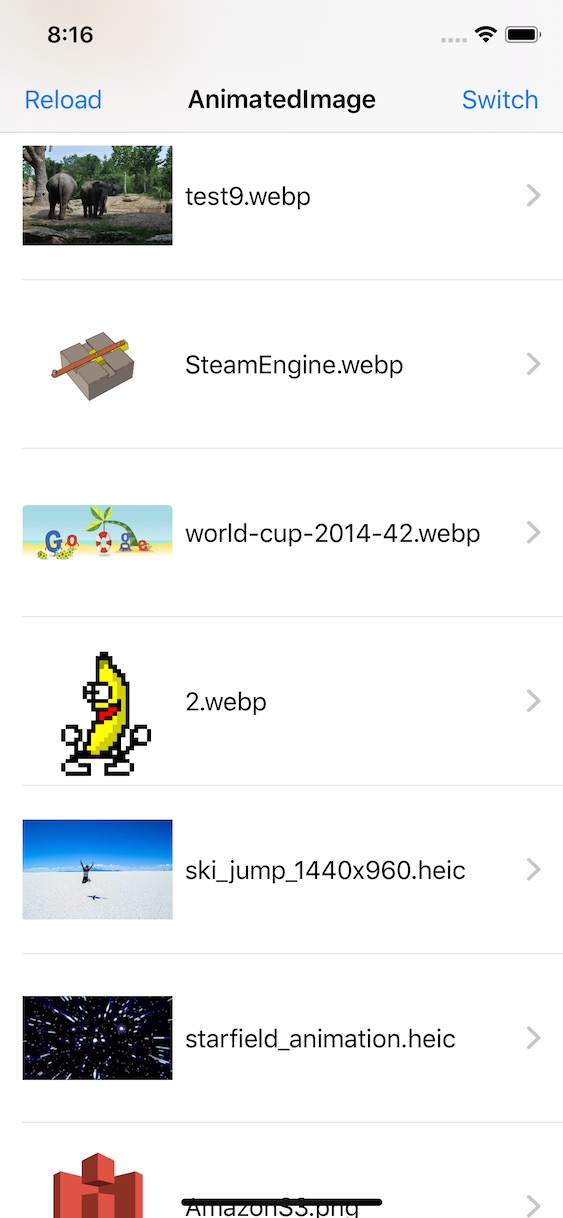
- iOS Demo
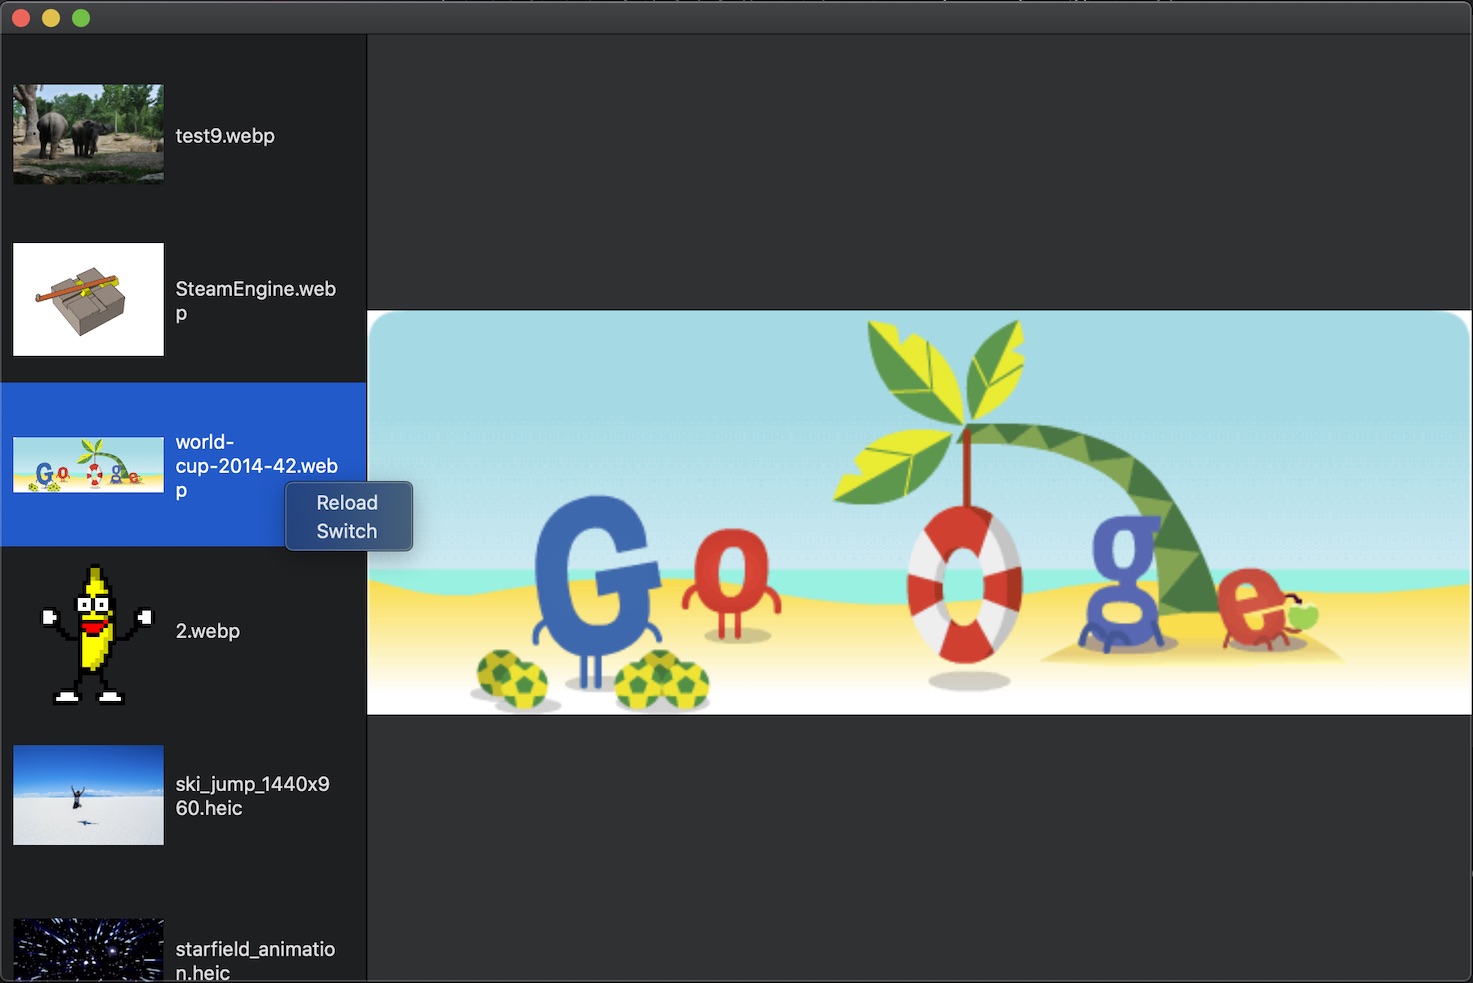
- macOS Demo
- tvOS Demo
- watchOS Demo
Extra Notes
Besides all above things, this project can also ensure the following function available on Swift platform for SDWebImage itself.
- SwiftUI compatibility
- Swift Package Manager integration
- Swift source code compatibility and Swifty
Which means, this project is one core use case and downstream dependency, which driven SDWebImage itself future development.
Author
License
SDWebImageSwiftUI is available under the MIT license. See the LICENSE file for more info.