TipJar
Simple app showing how to implement a Tip jar with RevenueCat and SwiftUI
Step 1
- Install RevenueCat package in your project
Go to File > Add Packages > Search for https://github.com/RevenueCat/purchases-ios.git

- Select RevenueCat in the list

Step 2
- Create project in App Store Connect

-
Create In-App Purchases
-
Go to Features > In-App Purchases and add a new one

Once inside choose Availability, Price, Localization and very important Review information with an image and save it. Create as many Inn-App purchases as you want

NOTE: If your In-App purchase has the status of Missing Metadata, it means something is missing and this could prevent RevenueCat from getting it
- Create an App-Specific Shared Secret
Go to General > App Information under App-Specific Shared Secret click on Manage

And then in Generate

This key will be used when we configure the RevenueCat project
Step 3
- Create project in RevenueCat


- Select App Store app, App Bundle ID is the one you find in your Xcode project under Signing & Capabilities and then set the previously created secret key in your project from App Store Connect


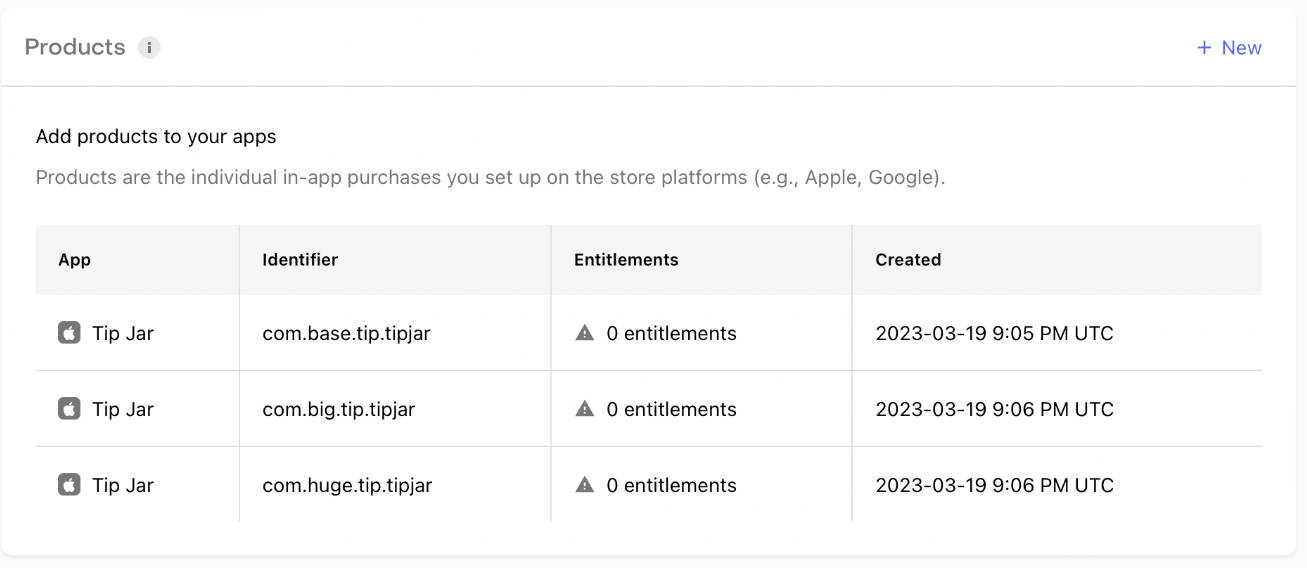
- Create Products
Go to Products and create a new one
Identifier should be the same as the Product ID in the App Store Connect
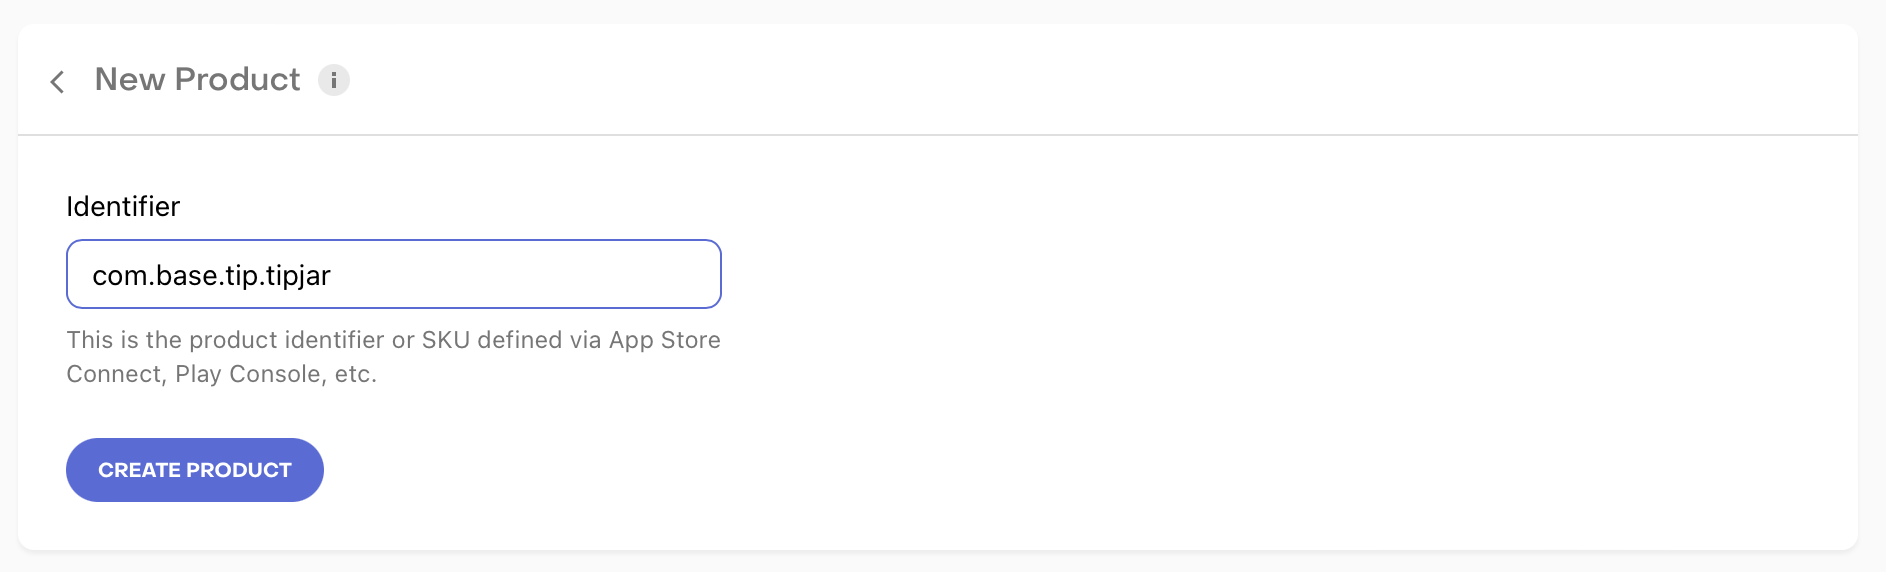
Create a Product for each In-App purchase you have created

- Create Offerings
Identifier and description could be anything

Click on your new Offering and create a New Package

You can select a default identifier depending on the recurrence of your In-App purchase but in this case as we are creating a tip jar, I will put a custom identifier with the title of each In-App purchase

After creating all the necessary Packages
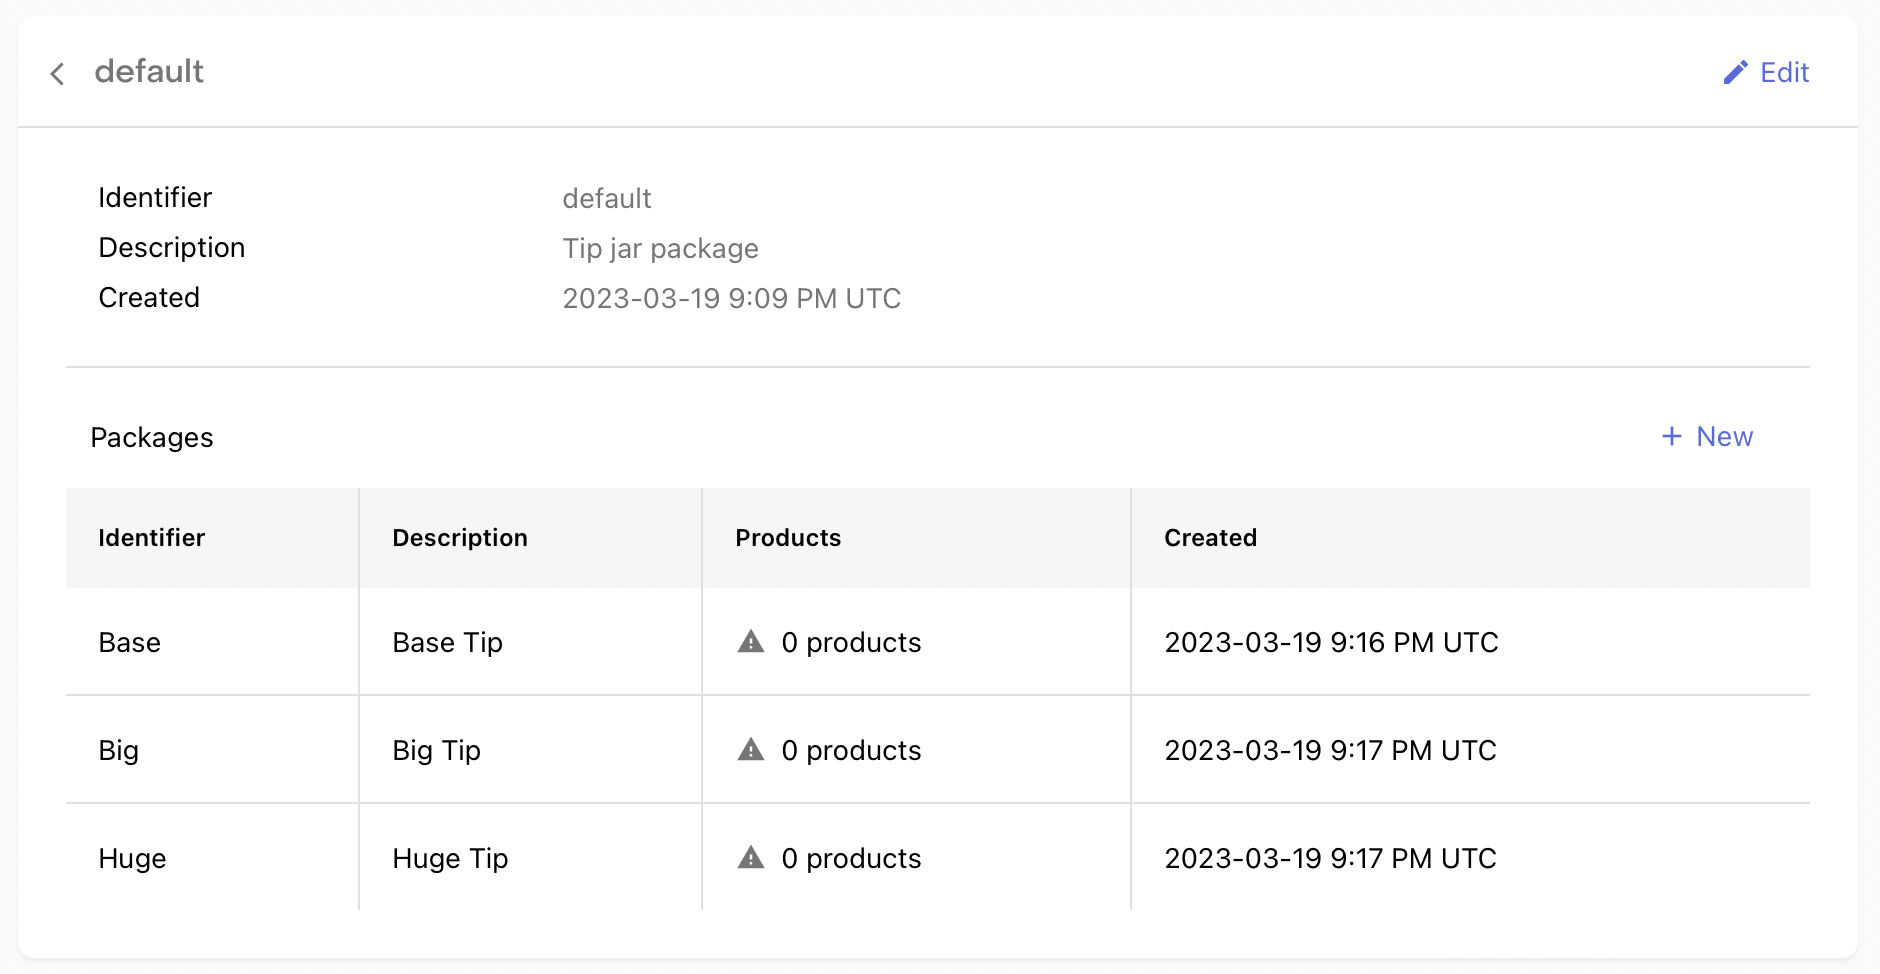
You will need to assign your Products to each Package
Select a Package and click on Attach

Select the corresponding Product

Now you will be able to see all the Products attached to your Packages

- Create an Entitlement
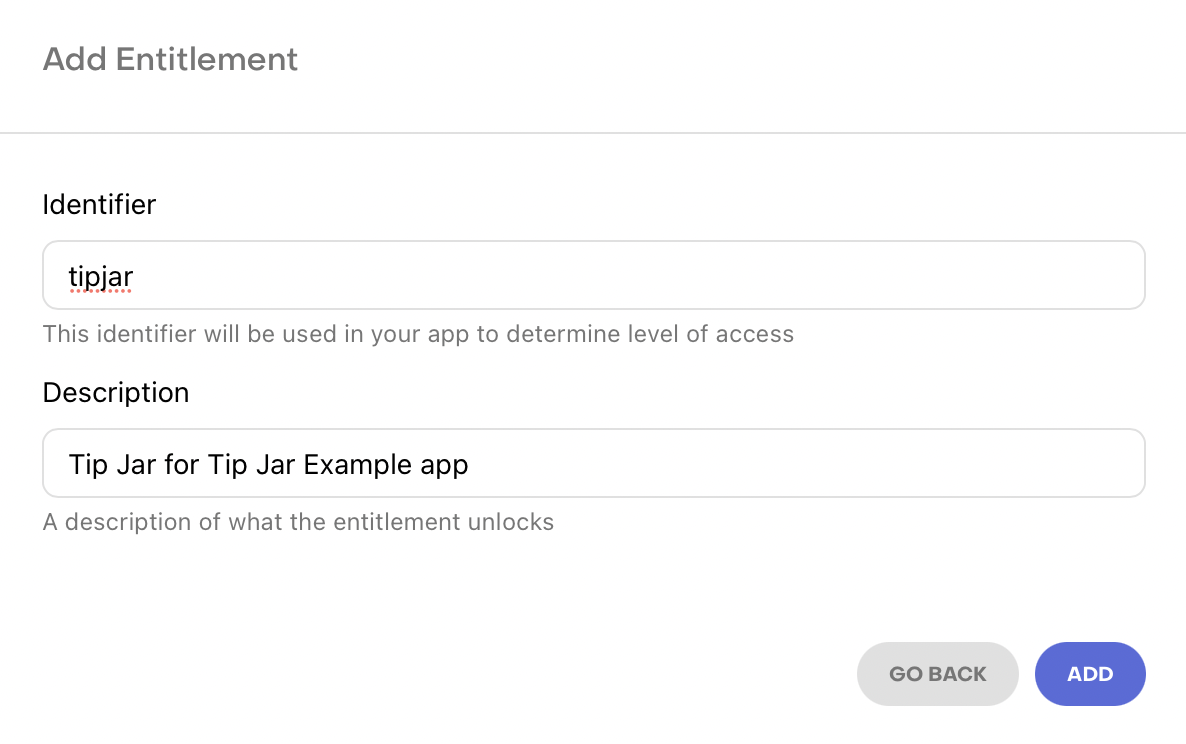
Click on your created Entitlement
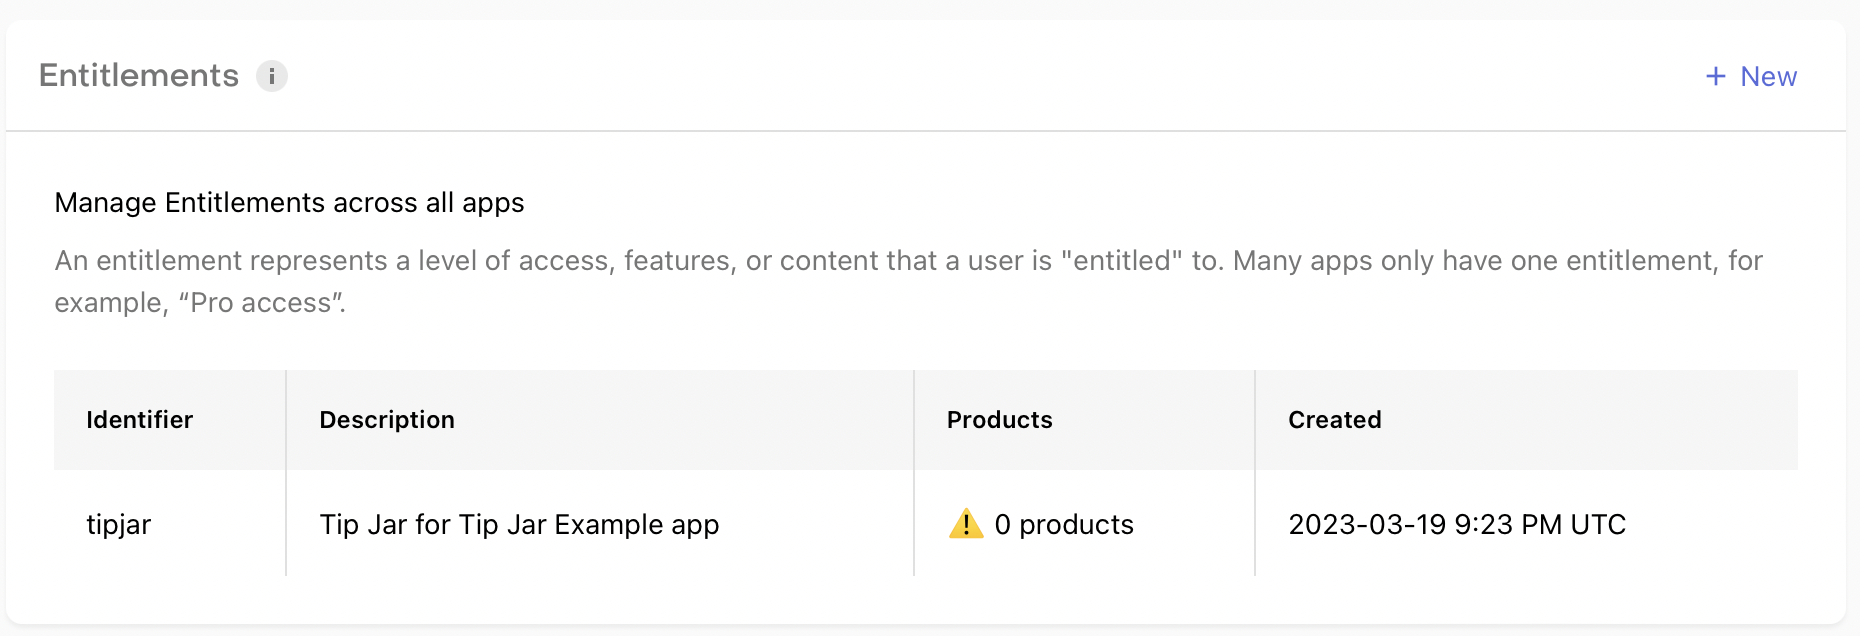
And Attach all your Products

Step 4
Configure your RevenueCat public key in your Xcode project
Go to API Keys in RevenueCat and copy the Public app-specific API keys

And then paste that key into you app

Step 5
Testing your app
If you run your app, you should be able to see all your In-App Purchases that are in status Ready to Submit in the App Store Connect

And that is it, to test your In-App Purchases you have to create a Sandbox Tester in App Store Connect and toggle to Sandbox Data in RevenueCat