IconGeneratorUI
Simple code to generate your Icons using SwiftUI.
How to use it
To start, please add this package to your project. After this, create a Playground into your project. Make sure the Playground target is the same as your project (macOS or iOS).
Click on top of your Playground and check its properties in the right panel (Inspector), into the section Playground Settings. You will find a Platform selector where you could select your project one.
I will recommend to create a simple project targeted to macOS (a simple App
in SwiftUI will be enough). Doing this, you will have easy access to the
generated Icon at your user folder: ~/Documents/Shared Playground Data/Icon.png.
Inside your playground, write something like this:
import IconGeneratorUI
import PlaygroundSupport
import SwiftUI

struct IconGeneratorView: View {
    var body: some View {
        ZStack {
            Color.blue
            Text("Hello world!")
                .foregroundColor(.white)
        }
        .frame(width: 1024, height: 1024)
        .clipShape(RoundedRectangle(cornerRadius: 200))
        .onTapGesture {
            let fileUrl = playgroundSharedDataDirectory.appendingPathComponent("Icon.png")
            do {
                try saveSnapshot(targetSize: CGSize(width: 1024, height: 1024), to: fileUrl)
            } catch {
                print("Cannot save \(error.localizedDescription)")
            }
        }
    }
}

PlaygroundPage.current.setLiveView(IconGeneratorView().scaleEffect(x: 0.5, y: 0.5))
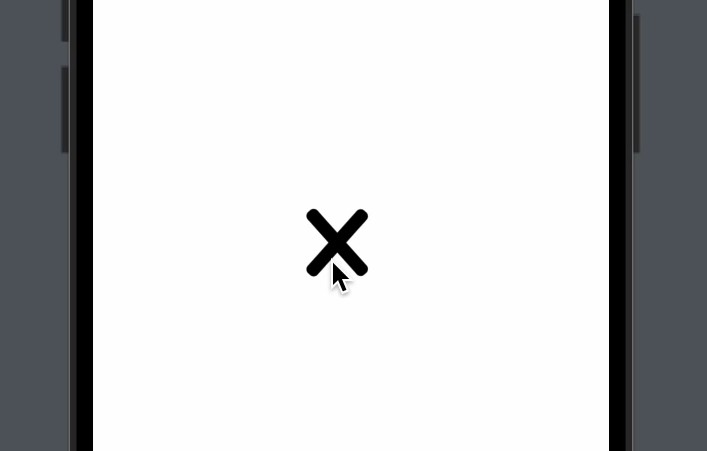
And everytime you click on top of the icon, the playground will try to save the icon on a folder called Shared Playground Data into your Document folder.
Important: The folder Shared Playground Data is not created by default. If you don’t have it, you will need to create this folder.
If you don’t want to create the macOS app, you can use your iOS app and your Icon will be generated in a folder similar to this one:
file:///Users/your-name/Library/Developer/XCPGDevices/25C1DC92-24E2-xxxx-xxxx-CF78751DA8ED/data/Containers/Data/Application/24451F9E-xxxx-xxxx-84E7-A1F1CF509E3E/Documents/Shared%20Playground%20Data/Icon.png


