sRouting
The lightweight navigation framework for SwiftUI.
Overview
sRouting using the native navigation mechanism in SwiftUI.
It's easy to handle navigation between screens by sRouting.
The Router can trigger a transition from inside(view) or outside(view model) the view.
Requirements
- iOS 14 or above
- Xcode 13 or above
? Documentation
Explore DocC to find the rich tutorials and getting started with sRouting.
See this WWDC presentation about more information.
From xCode select Product -> Build Doccumentation -> Explore.
Or downloads the doccument archive from release
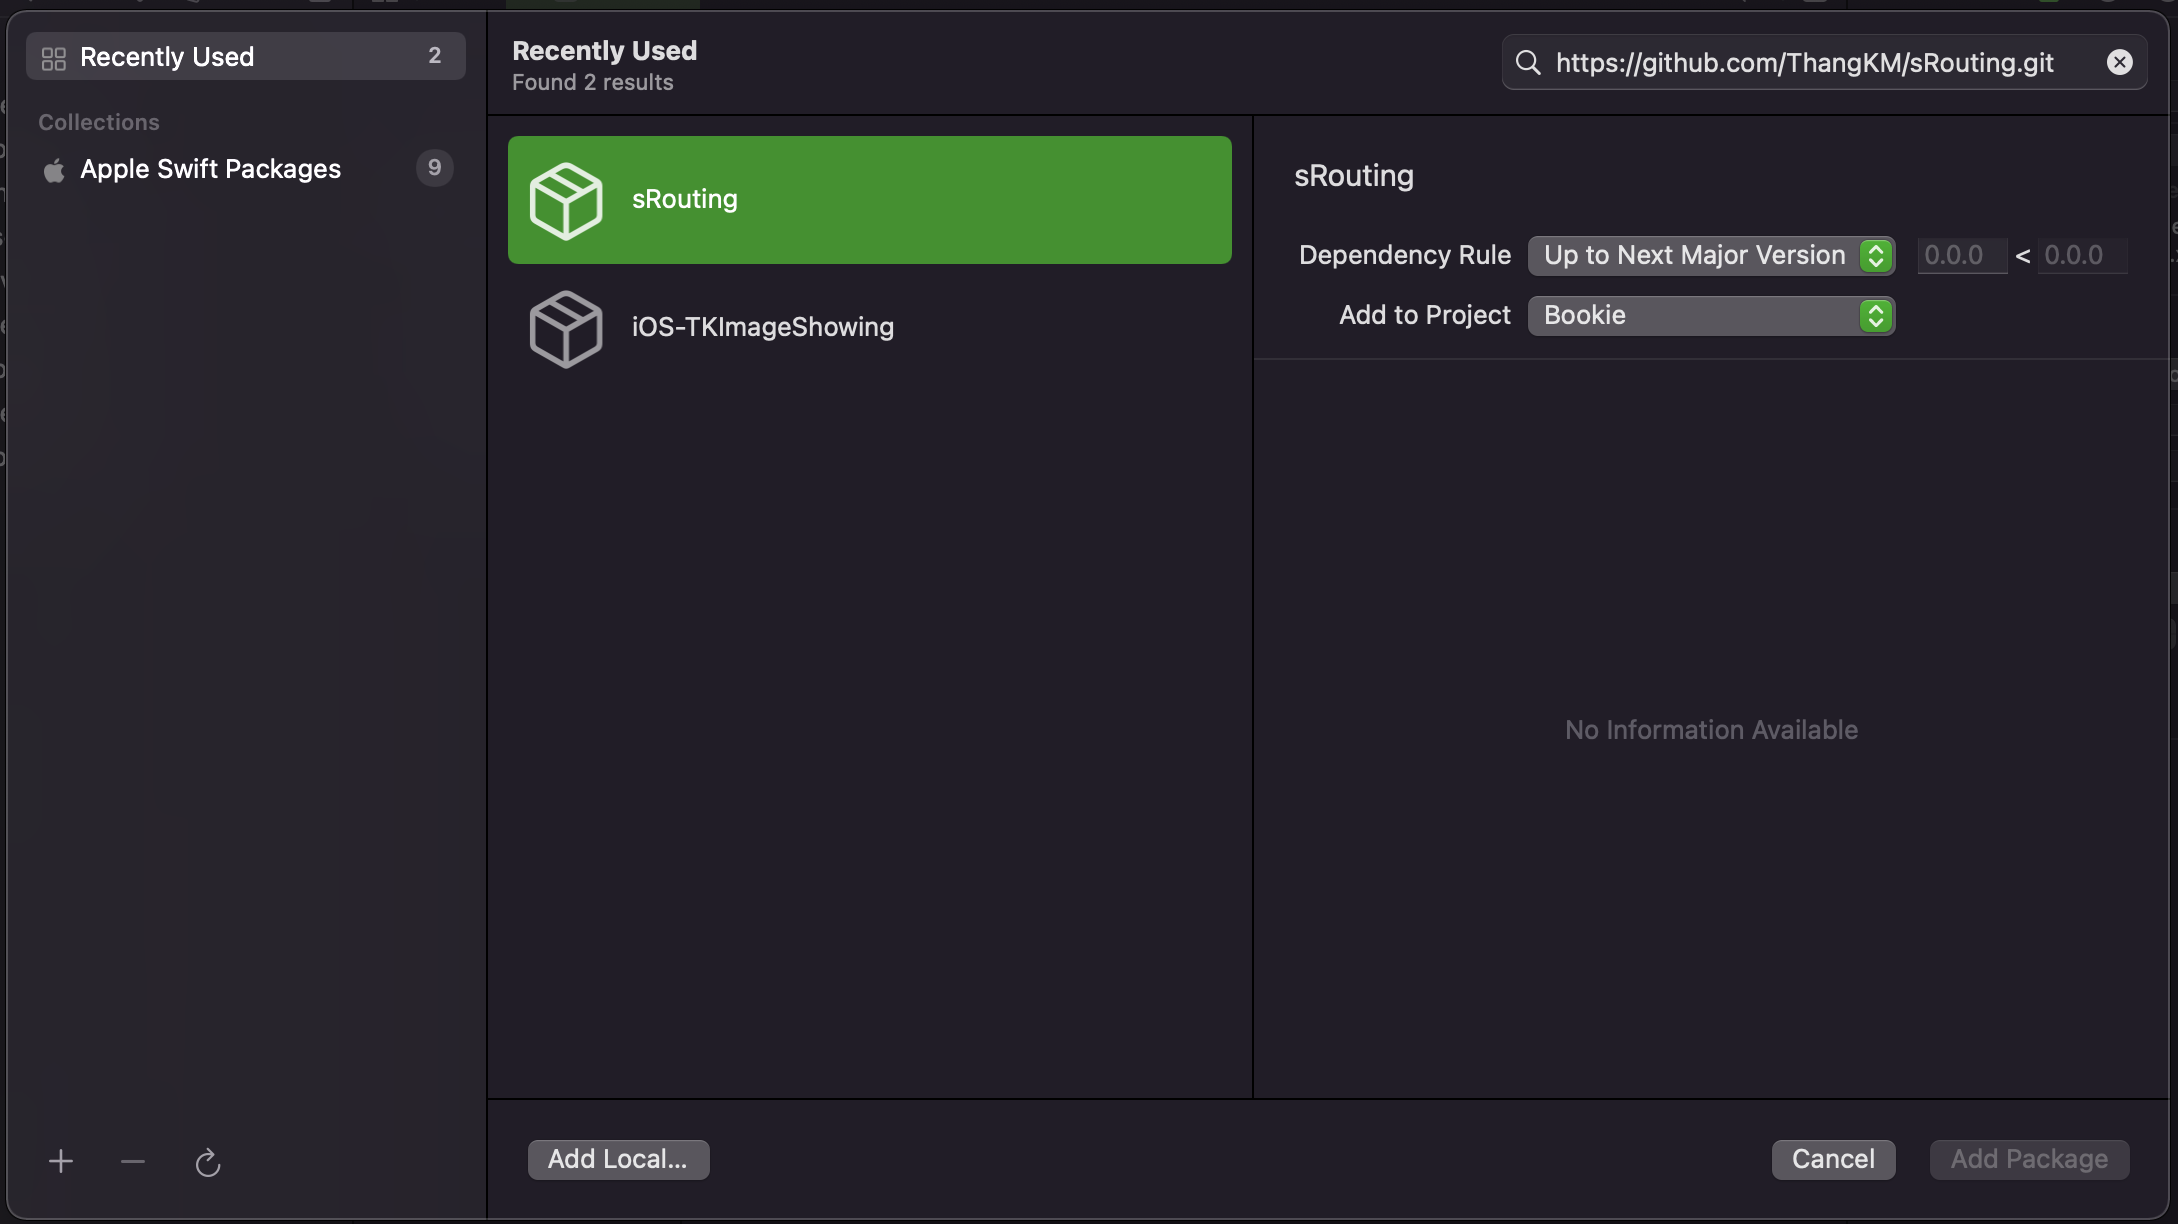
? Installation
Add sRouting as a dependency to the project.
See this WWDC presentation about more information how to adopt Swift packages in your app.
Specify https://github.com/ThangKM/sRouting.git as the sRouting package link.
?♂️ Getting Started with sRouting
Set up RootView and working with Router
Overview
Create your root view with RootView.
Declares your Route.
Working with ScreenView and Router.
Create a Route
To create a Route we have to conform the Route Protocol.
enum AppRoute: Route {
    case login
    case home

    var screen: some View {
        switch self {
            case .login: LoginScreen()
            case .home: HomeScreen()
        }
    }
}
Make your Root View
Setup the RootView for your app
@main
struct BookieApp: App {
    ...
    @SceneBuilder
    var body: some Scene {
        WindowGroup {
            RootView(rootRouter: .init()) {
                NavigationView {
                    AppRoute.home.screen
                }
                .navigationViewStyle(.stack)
            }
        }
    }
}
Make a Screen and working with Router
Build a screen with ScreenView, ScreenView will create a hidden NavigatorView at below content view
in a ZStack.
The NavigatorView will handle transactions that are emited by Router
struct HomeScreen: View {

    @Environment(\.presentationMode)
    private var presentationMode

    @StateObject
    private var router: Router<AppRoute> = .init()

    var body: some View {
        ScreenView(router: router, presentationMode: presentationMode) {
        ...
        }
    }
To navigate to a screen that must be in AppRoute
we use the Router/trigger(to:with:) function in the Router
Push:
router.trigger(to: .loginScreen, with: .push)
Present full screen:
router.trigger(to: .loginScreen, with: .present)
Sheet:
router.trigger(to: .loginScreen, with: .sheet)
To show an alert we use the Router/show(alert:) function.
 router.show(alert:  Alert.init(title: Text("Alert"),
                                message: Text("Message"),
                                dismissButton: .cancel(Text("OK")))
To show an error message we use the Router/show(error:and:) function.
router.show(error:NetworkingError.lossConnection)
To dismiss or pop screen we use the Router/dismiss() function.
router.dismiss()
To dismiss to root view we use the Router/dismissAll() function.
Required the root view is a RootView
router.dismissAll()
To seclect the Tabbar item we use the Router/selectTabbar(at:) function.
Required the TabView selection binding from RootRouter.
router.selectTabbar(at:0)
Using Router in a ViewModel
Also the router can be used in a ViewModel.
class HomeViewModel: Router<AppRoute> {
...
}
struct HomeScreen: View {

    @Environment(\.presentationMode)
    private var presentationMode

    @StateObject
    private var viewModel: HomeViewModel = .init()

    var body: some View {
        ScreenView(router: viewModel, presentationMode: presentationMode) {
        ...
        }
    }
Now you can navigate to new screen in HomeViewModel, that's cool right?
Note
Make sure the transition is performed on MainThread.
Conclusion
sRouting is a lightweight framework and flexiable, so you can handle the
navigations by whatever you want.