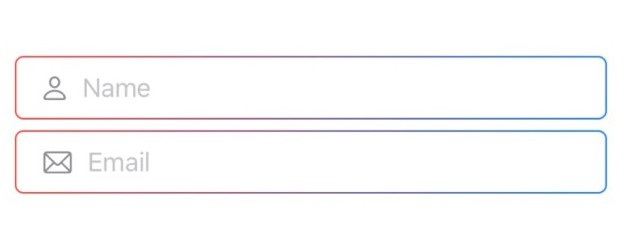
UITextField-Navigation
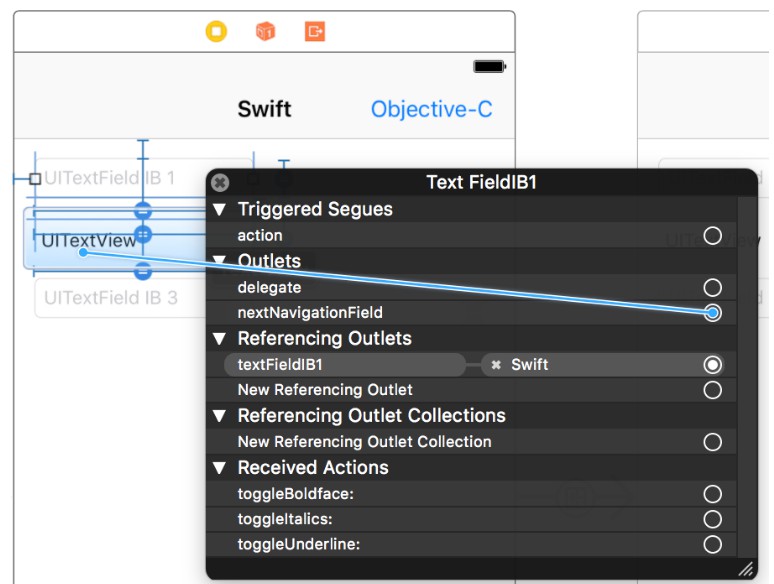
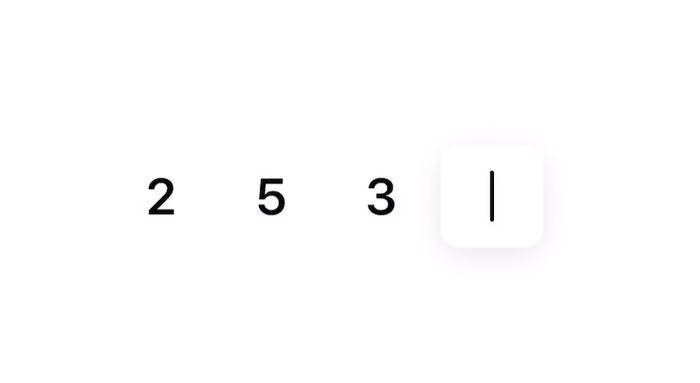
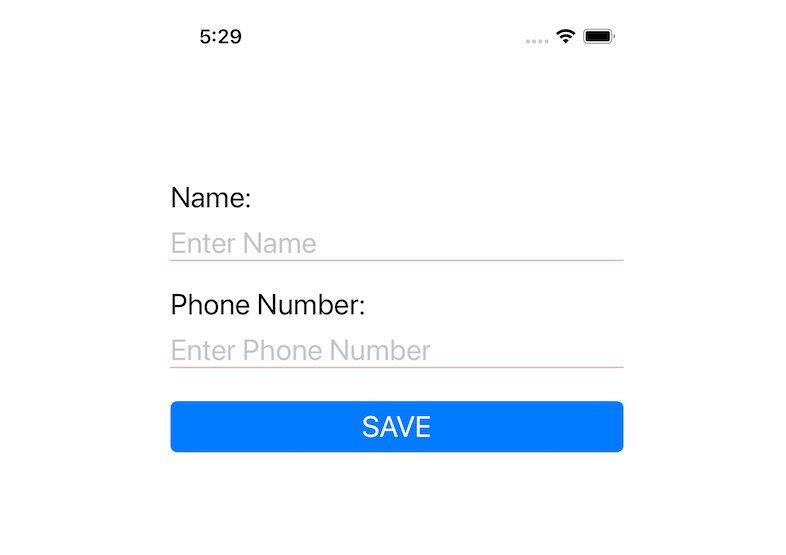
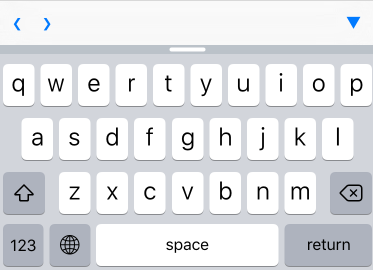
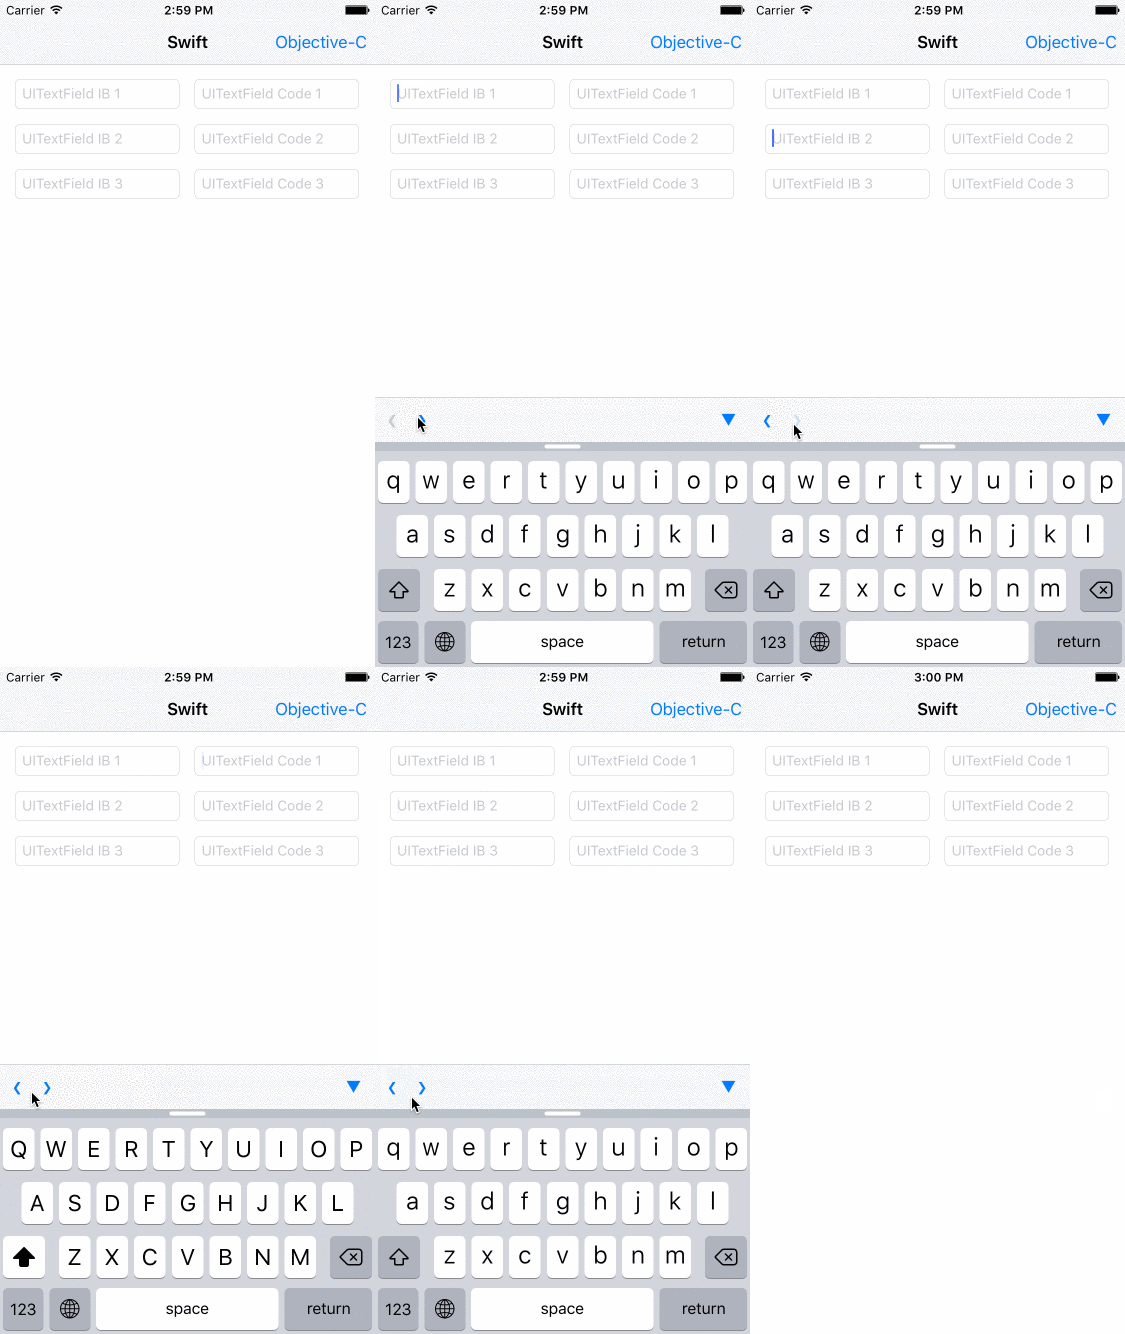
UITextField-Navigation adds next, previous and done buttons to the keyboard for your UITextFields and UITextViews. It allows you to specify a next field either on the Interface Builder or programmatically. Then, you can access next and previous fields of each UITextField or UITextView easily.
The UI is highly customizable. RTL languages are supported.
To run the example project:
pod try UITextField-Navigation
Usage
Basic
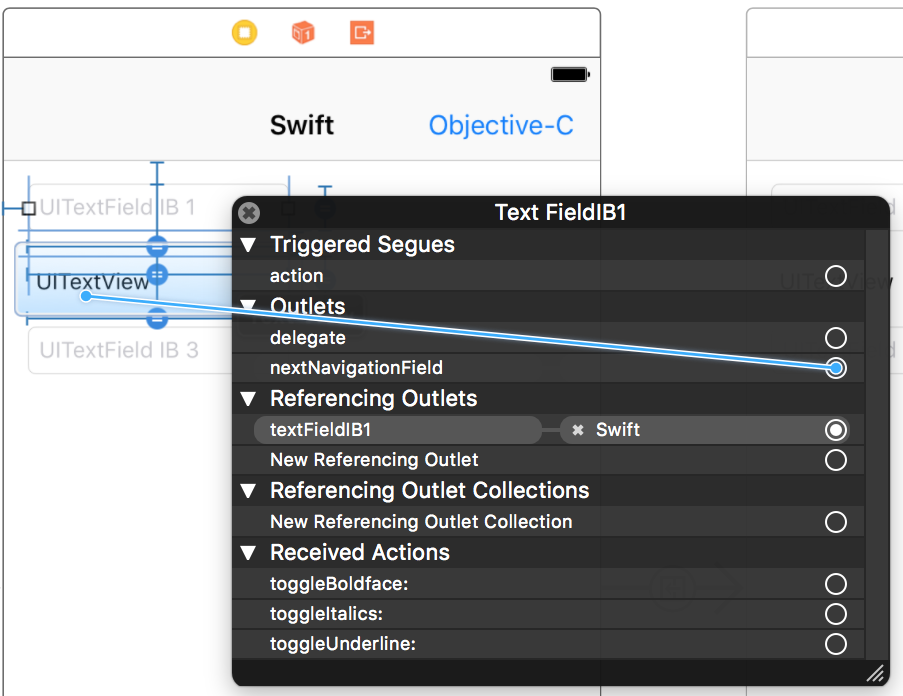
You can set the nextNavigationField property for each UITextField and UITextView either on the Interface Builder or programmatically. The previousNavigationField property will be set on the other UITextField or UITextView automatically for you.
Example:
import UITextField_Navigation

...
let textField = UITextField()
let textView = UITextView()
textField.nextNavigationField = textView

assert(textView == textField.nextNavigationField)
assert(textField == textView.previousNavigationField)
Please note that the nextNavigationField and previousNavigationField properties are not retained.
Capturing taps
To capture taps on the next, previous and done buttons, assign a delegate to your NavigationField, which is a UITextField or UITextView, also either on the Interface Builder or programmatically. Then implement the NavigationFieldDelegate protocol (in addition to the UITextFieldDelegate or UITextViewDelegate protocol) for the delegate.
Please note that you have to explicitly declare that the delegate conforms to the NavigationFieldDelegate protocol to make it work.
Swift:
import UIKit
import UITextField_Navigation

...
extension ViewController: NavigationFieldDelegate { // explicitly protocol conforming declaration

    func navigationFieldDidTapPreviousButton(_ navigationField: NavigationField) {
        navigationField.previousNavigationField?.becomeFirstResponder()
        // your custom work
    }

    func navigationFieldDidTapNextButton(_ navigationField: NavigationField) {
        navigationField.nextNavigationField?.becomeFirstResponder()
        // your custom work
    }

    func navigationFieldDidTapDoneButton(_ navigationField: NavigationField) {
        navigationField.resignFirstResponder()
        // your custom work
    }
}
Objective-C:
@import UITextField_Navigation;
#import "ViewController.h"

@interface ViewController () <NavigationFieldDelegate> // explicitly protocol conforming declaration

...
#pragma mark - NavigationFieldDelegate

- (void)navigationFieldDidTapPreviousButton:(id<NavigationField>)navigationField {
    [navigationField.previousNavigationField becomeFirstResponder];
    // your custom work
}

- (void)navigationFieldDidTapNextButton:(id<NavigationField>)navigationField {
    [navigationField.nextNavigationField becomeFirstResponder];
    // your custom work
}

- (void)navigationFieldDidTapDoneButton:(id<NavigationField>)navigationField {
    [navigationField resignFirstResponder];
    // your custom work
}
Set button titles
The titles of the previous, next and done buttons can be modified for each instant by setting the title property of each corresponding button.
navigationField.navigationFieldToolbar?.previousButton.title = "Previous"
navigationField.navigationFieldToolbar?.nextButton.title = "Next"
navigationField.navigationFieldToolbar?.doneButton.title = "Dismiss"
Or they can be set globally for all instances using Config.
func application(_ application: UIApplication, didFinishLaunchingWithOptions launchOptions: [UIApplicationLaunchOptionsKey: Any]?) -> Bool {
    UITextField_Navigation.Config.previousButtonTitle = "Previous"
    UITextField_Navigation.Config.nextButtonTitle = "Next"
    UITextField_Navigation.Config.doneButtonTitle = "Done"
    return true
}
UI Customization
Using UIAppearance
Modify the appearance proxy of the NavigationFieldToolbar and NavigationFieldToolbarButtonItem classes to customize the navigation view's UI for all fields.
NavigationFieldToolbar.appearance().barStyle = .black
NavigationFieldToolbar.appearance().backgroundColor = .purple
if #available(iOS 11.0, *) {
    UIButton.appearance(whenContainedInInstancesOf: [NavigationFieldToolbar.self]).tintColor = .white
} else {
    NavigationFieldToolbarButtonItem.appearance().tintColor = .white
}

Directly and adding more buttons
Alternatively, you can directly modify the UI of each navigation view by accessing the navigationFieldToolbar property of a UITextField or UITextView.
...
navigationField.navigationFieldToolbar?.barStyle = .default
navigationField.navigationFieldToolbar?.backgroundColor = .red

// Add a custom button
let customButton = UIBarButtonItem(title: "Custom", style: .plain, target: nil, action: nil)
let flexibleSpace = UIBarButtonItem(barButtonSystemItem: .flexibleSpace, target: nil, action: nil)
navigationField.navigationFieldToolbar?.items = [navigationField.navigationFieldToolbar!.previousButton, navigationField.navigationFieldToolbar!.nextButton, customButton, flexibleSpace, navigationField.navigationFieldToolbar!.doneButton]

Installation
Carthage
Add the line below to your Cartfile:
github "T-Pham/UITextField-Navigation"
CocoaPods
Add the line below to your Podfile:
pod 'UITextField-Navigation'
Manually
- Download and drop
/UITextField-Navigation/Classesfolder in your project. - Congratulations!
Compatibility
- Swift 4, 5: please use the latest version
- Swift 3: please use version 3.0.0
- Swift 2: please use version 1.4.3
Apps that use UITextField-Navigation
Hello fellow developers. I can see that the library has been adopted in some apps. If your app also uses the library, it would be great if you can share it here. Please add it to the list below. Thanks!
License
UITextField-Navigation is available under the MIT license. See the LICENSE file for more info.
