✨Weather Project SwiftUI
This app is very simple project, which designed to understand SwiftUI. It includes Main screen and Welcome screen.

Keyword
- SwiftUI
- Stacks
- Images and Text
- JSON & Codable
Prerequisites
- A valid API key from Openweathermap
- A Mac running macOS Catalina
- Xcode 14
What I’ve learned
So, the main goal of this project was to learn more about using SwiftUI, as well as get to know the API and Jason better.
It turned out to be the easiest to draw a UI, but the most important problem was displaying the weather based on location. The data in my app is only calculated for the weather at the moment (thanks to the Open Weather API), but there are no forecasts in the app.
A structure was created with all the requested elements. To make this structure encoded and decoded, we will conform to the Codable protocol. After that I created decodable nested objects
struct ResponseBody: Decodable {
    var coord: CoordinatesResponse
    var weather: [WeatherResponse]
    var main: MainResponse
    var name: String
    var wind: WindResponse

    struct CoordinatesResponse: Decodable {
        var lon: Double
        var lat: Double
    }

    struct WeatherResponse: Decodable {
        var id: Double
        var main: String
        var description: String
        var icon: String
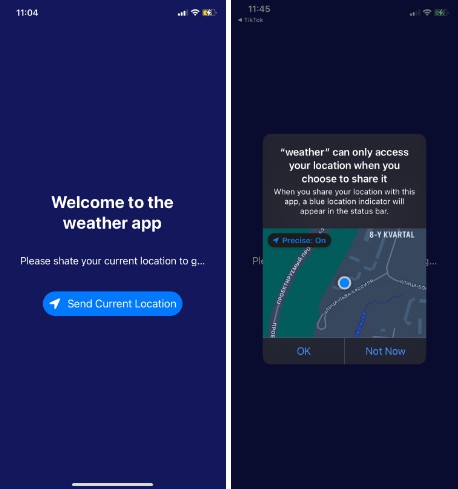
To begin with, we worked with two main indicators – longitude and latitude, in order not to enter this data every time, a welcome screen was created on which there is a share geolocation button, after which using CoreLocationUI and CoreLocation.
LocationButton(.sendCurrentLocation) {
                locationManager.requestLocation()
            }
To decode the received data, we call the API and use JSONDecoder. Initially, the URL cannot be used just like that, in order to solve this problem I needed to convert it to a URL type before you can make a call. To do this, you can use a simple guard operator. Also to check that the data is coming in without errors.
if let weather = weather {
                    WeatherView(weather: weather)
                } else {
                    LoadingView()
                        .task {
                            do {
                                weather = try await weatherManager.getCurrentWeather(latitude: location.latitude, longitude: location.longitude)
                            } catch {
                                print("Error getting weather: \(error)")
                            }
                        }
                }
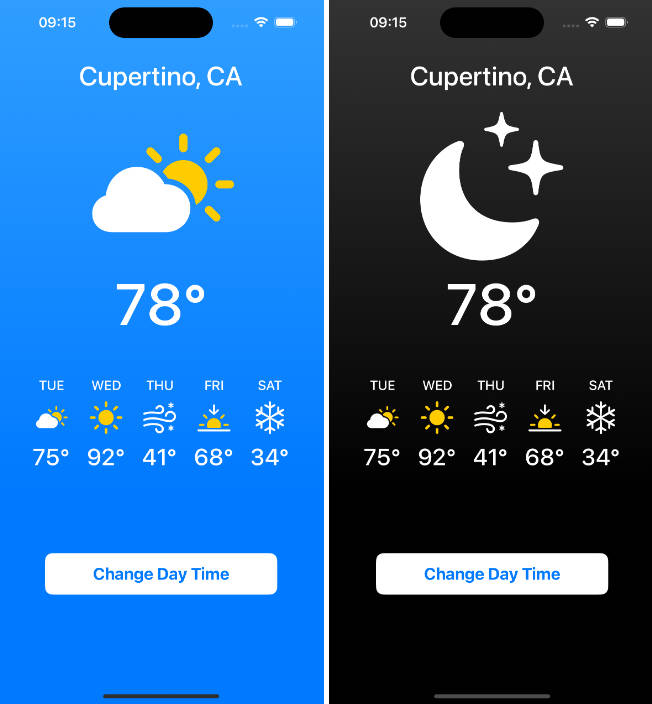
After that, the User Interface was drawn in more detail. ☀️ ☔ ☁️ ❄️ ⚡


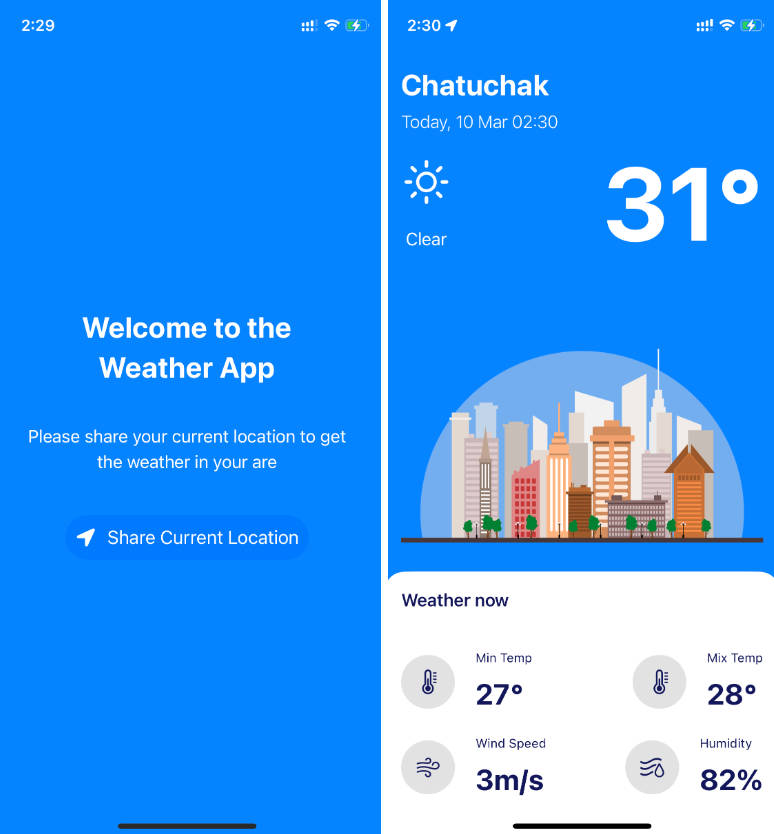
? Welcome screen. It is on it that the user’s geolocation is requested in order to provide the weather exactly in the territory where he is currently located
Installation
- Clone or download the project to your local machine
- Open the project in Xcode
- Replace
YOURAPIKEYwith your valid Open Weather API key inWeatherManager
class WeatherManager {
    func getCurrentWeather(
        latitude: CLLocationDegrees,
        longitude: CLLocationDegrees) async throws -> ResponseBody {

        guard let url = URL(
            string: "https://api.openweathermap.org/data/2.5/weather?lat=\(latitude)&lon=\(longitude)&appid=\(YOURAPIKEY)&units=metric")
            else {fatalError("Missing URL ")}
- Run the simulator