
FaceLivenessDetection-iOS
Introduction
This demo showcases a 3D passive liveness detection technique for detecting spoofed faces.
In real-time, a single image captured from the Android camera computes a liveness score.
Additionally, the demo can also calculate the liveness score from gallery images and display the results.
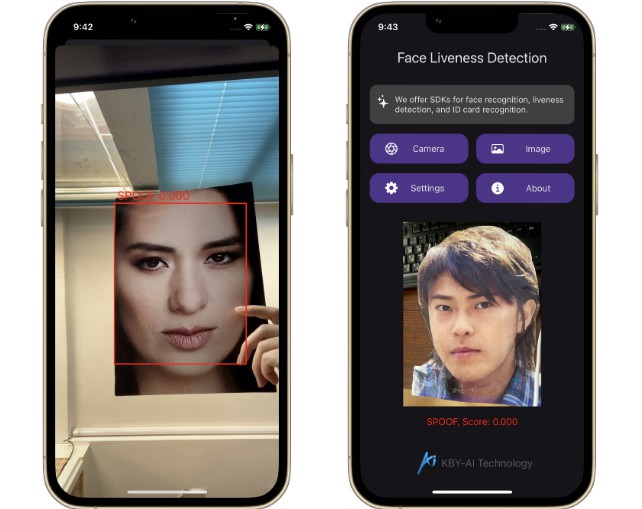
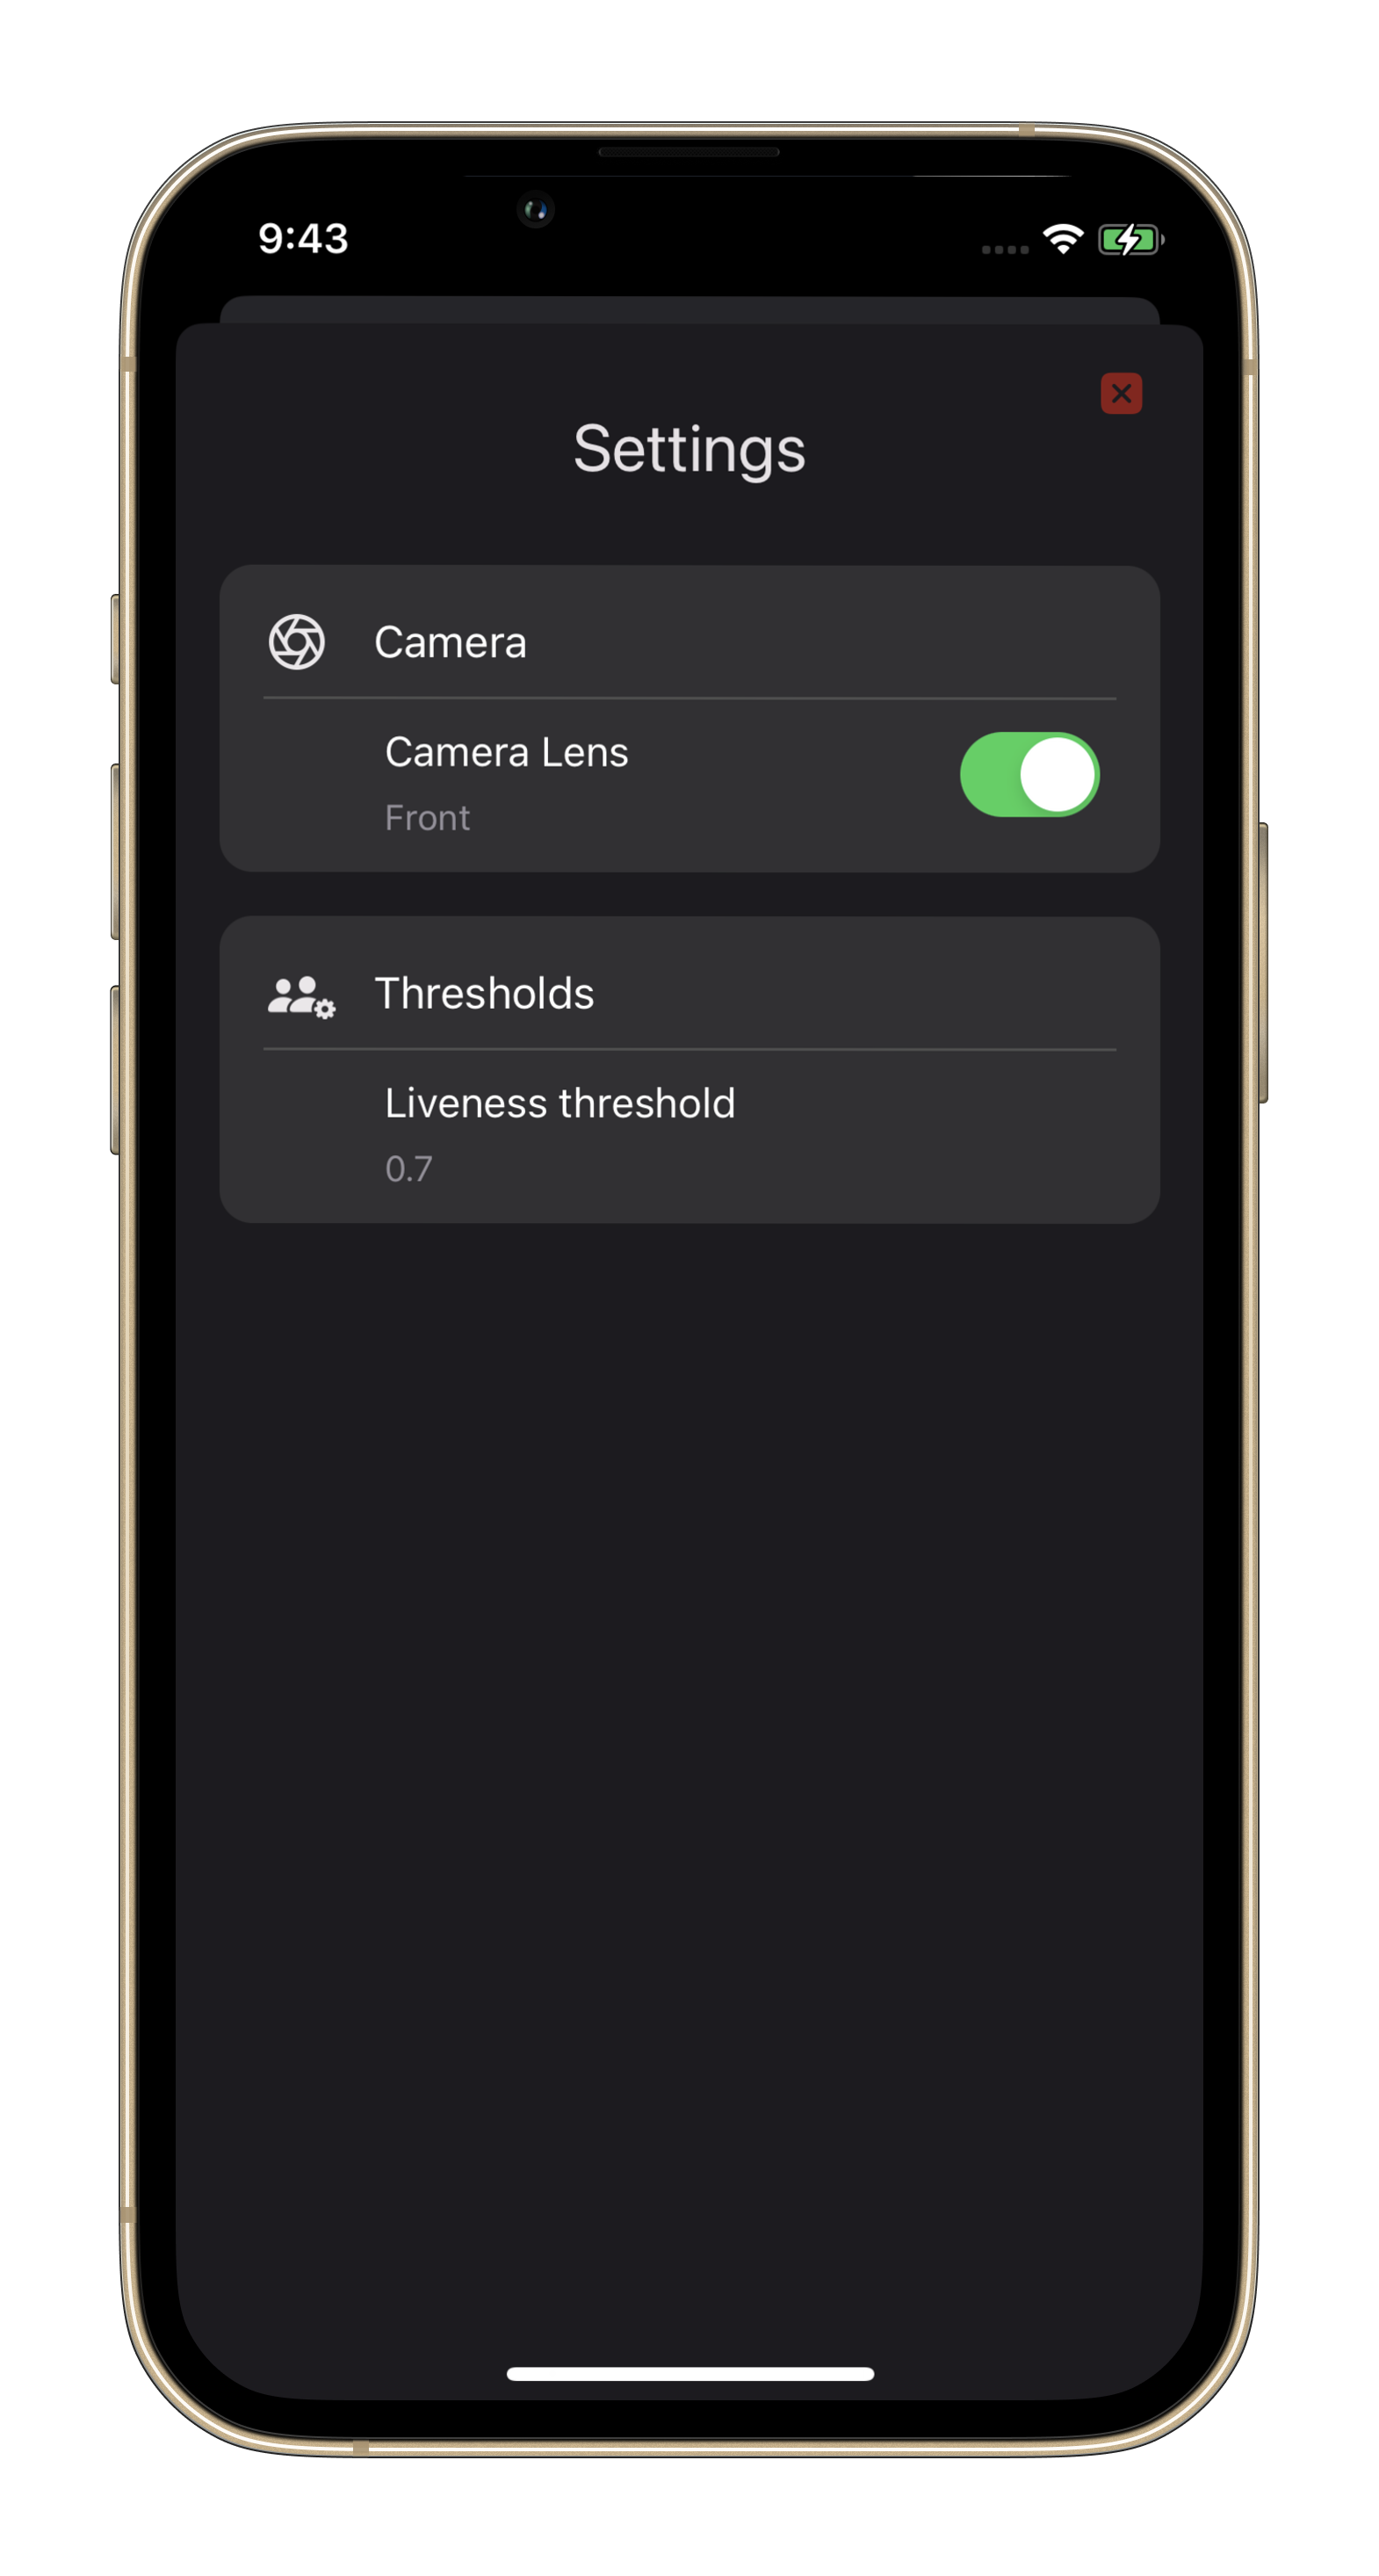
Screenshots


SDK License
This project uses kby-ai’s liveness detection SDK. The SDK requires a license per bundle ID.
-
The code below shows how to use the license:
FaceLivenessDetection-iOS/FaceLivenessDetection/ViewController.swift
Lines 18 to 27 in ff6722b
-
To request a license, please contact us:
Email: [email protected]

Telegram: @kbyai

WhatsApp: +19092802609

Skype: live:.cid.66e2522354b1049b
About SDK
Set up
-
Copy the SDK (facesdk.framework folder) to the root folder of your project.
-
Add SDK framework to the project in xcode
Project Navigator -> General -> Frameworks, Libraries, and Embedded Content

- Add the bridging header to your project settings
Project Navigator -> Build Settings -> Swift Compiler – General

Initializing an SDK
- Step One
To begin, you need to activate the SDK using the license that you have received.
FaceSDK.setActivation("...")
If activation is successful, the return value will be SDK_SUCCESS. Otherwise, an error value will be returned.
- Step Two
After activation, call the SDK’s initialization function.
FaceSDK.initSDK()
If initialization is successful, the return value will be SDK_SUCCESS. Otherwise, an error value will be returned.
Face Detection and Liveness Detection
The FaceSDK offers a single function for detecting face and liveness detection, which can be used as follows:
let faceBoxes = FaceSDK.faceDetection(image)
This function takes a single parameter, which is a UIImage object. The return value of the function is a list of FaceBox objects. Each FaceBox object contains the detected face rectangle, liveness score, and facial angles such as yaw, roll, and pitch.