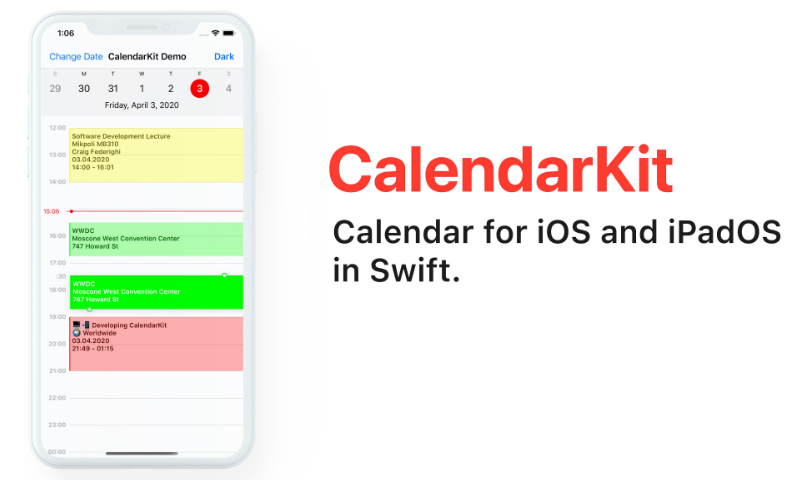
CalendarKit
CalendarKit is a fully customizable calendar library written in Swift. It was designed to look similar to the iOS Calendar app, but allow customization if needed. To make modifications easier, CalendarKit is composed of multiple small modules. They can be used together, or on their own.
Demo
You can try CalendarKit with CocoaPods. Just enter in Terminal:
pod try CalendarKit
Installation
Swift Package Manager (Xcode 11 or higher)
The preferred way of installing CalendarKit is via the Swift Package Manager.
Xcode 11 integrates with libSwiftPM to provide support for iOS, watchOS, and tvOS platforms.
- In Xcode, open your project and navigate to File → Swift Packages → Add Package Dependency...
- Paste the repository URL (
https://github.com/richardtop/CalendarKit.git) and click Next. - For Rules, select Branch (with branch set to
master). - Click Finish.
A more detailed guide can be found here: Adding Package Dependencies to Your App
CocoaPods
To install it, add the following line to your Podfile:
pod 'CalendarKit'
Usage
Subclass DayViewController and implement EventDataSource protocol to show events.
CalendarKit requires EventDataSource to return an array of objects conforming to EventDescriptor protocol, specifying all the information needed to display a particular event:
// Return an array of EventDescriptors for particular date
override func eventsForDate(_ date: Date) -> [EventDescriptor] {
  var models = // Get events (models) from the storage / API

  var events = [Event]()

  for model in models {
      // Create new EventView
      let event = Event()
      // Specify StartDate and EndDate
      event.startDate = model.startDate
      event.endDate = model.endDate
      // Add info: event title, subtitle, location to the array of Strings
      var info = [model.title, model.location]
      info.append("\(datePeriod.beginning!.format(with: "HH:mm")) - \(datePeriod.end!.format(with: "HH:mm"))")
      // Set "text" value of event by formatting all the information needed for display
      event.text = info.reduce("", {$0 + $1 + "\n"})
      events.append(event)
  }
  return events
}
There is no need to do layout, CalendarKit will take care of it. CalendarKit also creates EventViews for you and reuses them.
If needed, implement DayViewDelegate to handle user input
override func dayViewDidSelectEventView(_ eventView: EventView) {
  print("Event has been selected: \(eventview.data)")
}

override func dayViewDidLongPressEventView(_ eventView: EventView) {
  print("Event has been longPressed: \(eventView.data)")
}
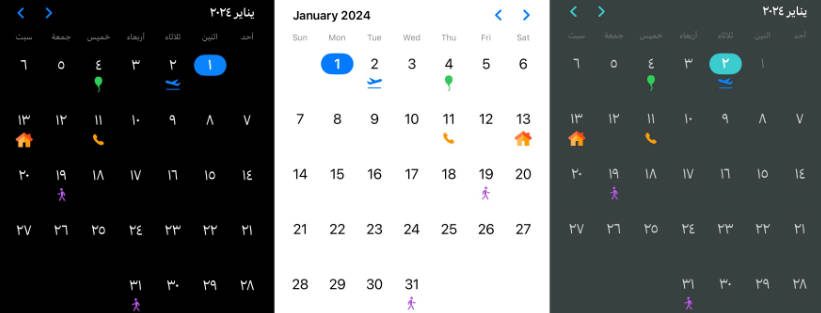
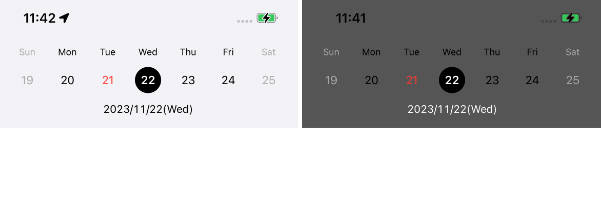
Localization
CalendarKit supports localization and uses iOS default locale to display month and day names. First day of the week is also selected according to iOS locale. Here are few examples:


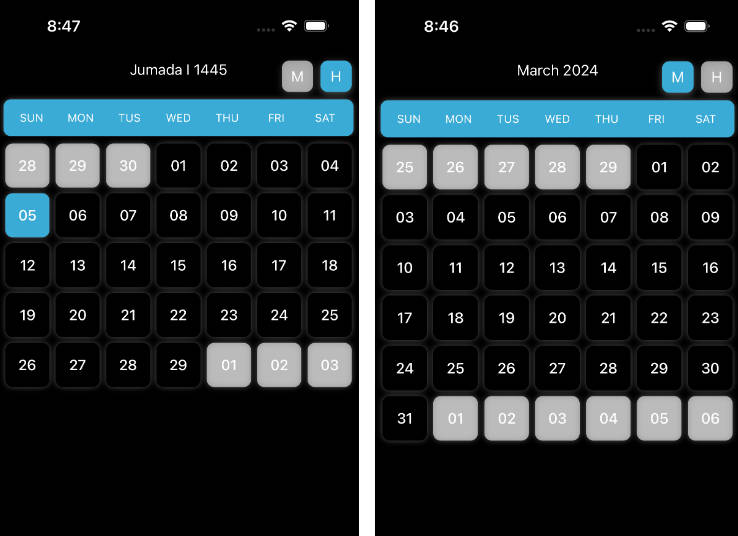
Styles
CalendarKit's look can be easily customized. The steps needed for customizations are as follows:
- Create a new
CalendarStyleobject (or copy existing one) - Change style by updating the properties.
- Invoke
updateStylemethod with the newCalendarStyle.
let style = CalendarStyle()
style.backgroundColor = UIColor.black
dayView.updateStyle(style)


Requirements
- iOS 9.0+
- Swift 4+ (Library is written in Swift 5)
Dependencies
- DateTools is used for date manipulation
Contributing
The list of features currently in development can be viewed on the issues page.
Before contributing, please review guidelines and code style.
Author
Richard Topchii