QRCodeReader.swift
QRCodeReader.swift is a simple code reader (initially only QRCode) for iOS in Swift. It is based on the AVFoundation framework from Apple in order to replace ZXing or ZBar for iOS 8.0 and over. It can decodes these format types.
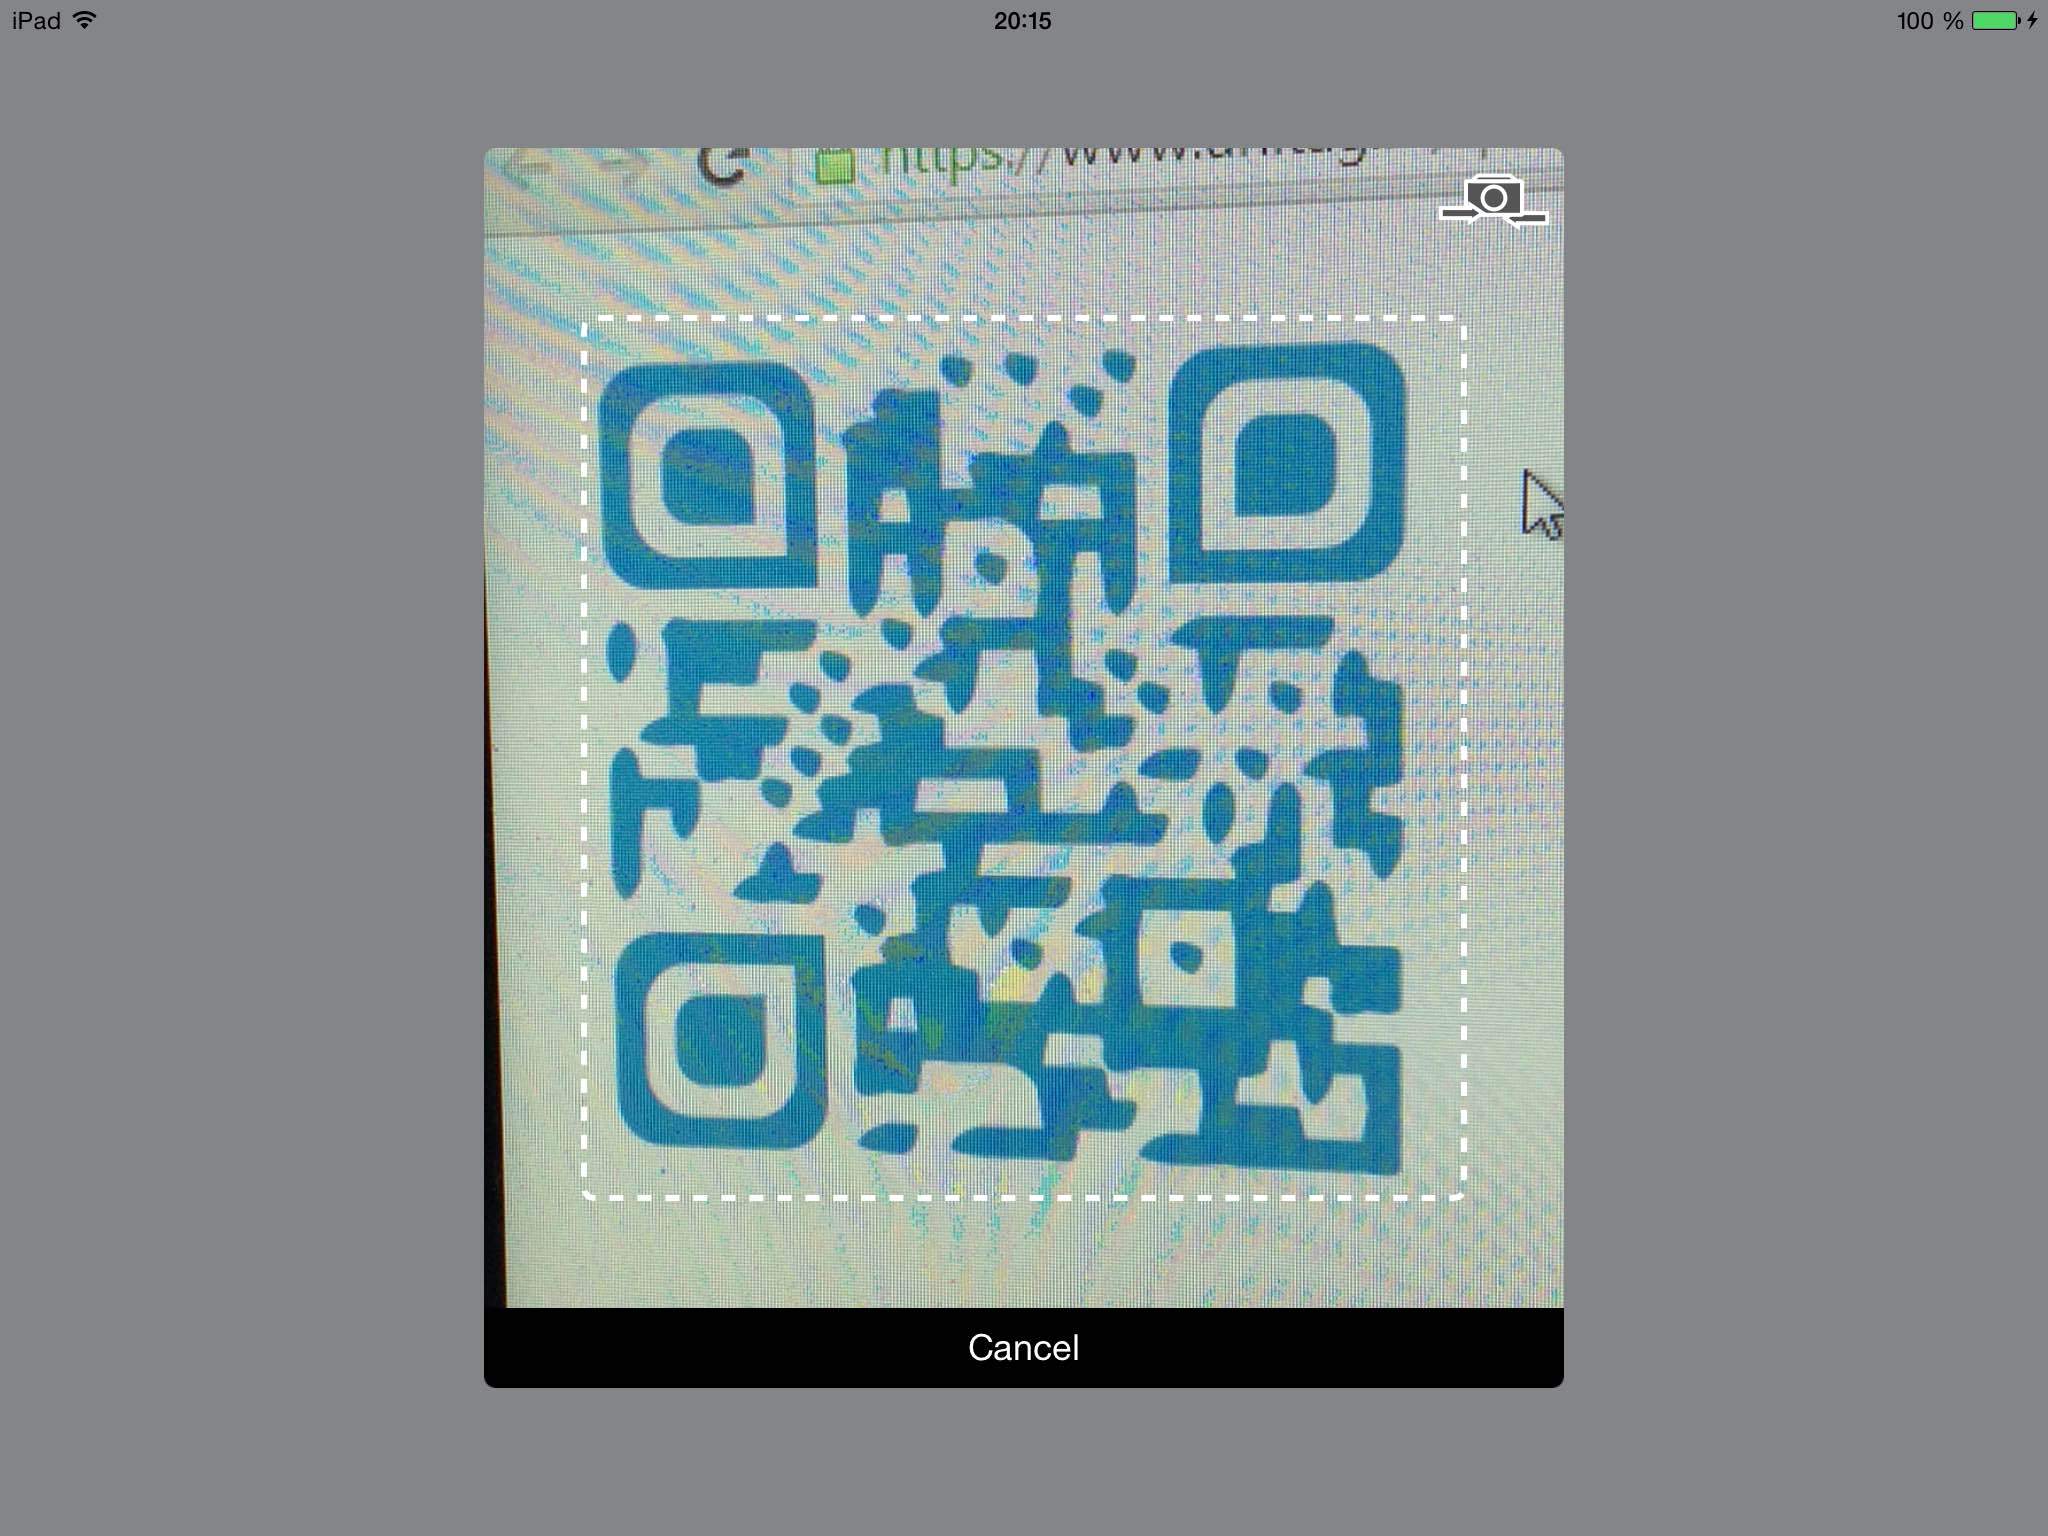
It provides a default view controller to display the camera view with the scan area overlay and it also provides a button to switch between the front and the back cameras.
Requirements
- iOS 8.0+
- Xcode 10.0+
- Swift 5.0+
Usage
In iOS10+, you will need first to reasoning about the camera use. For that you'll need to add the Privacy - Camera Usage Description (NSCameraUsageDescription) field in your Info.plist:
![]()
Then just follow these steps:
- Add delegate
QRCodeReaderViewControllerDelegate - Add
import AVFoundation - Add
import QRCodeReader - The
QRCodeReaderViewControllerDelegateimplementations is:
// Good practice: create the reader lazily to avoid cpu overload during the
// initialization and each time we need to scan a QRCode
lazy var readerVC: QRCodeReaderViewController = {
let builder = QRCodeReaderViewControllerBuilder {
$0.reader = QRCodeReader(metadataObjectTypes: [.qr], captureDevicePosition: .back)
// Configure the view controller (optional)
$0.showTorchButton = false
$0.showSwitchCameraButton = false
$0.showCancelButton = false
$0.showOverlayView = true
$0.rectOfInterest = CGRect(x: 0.2, y: 0.2, width: 0.6, height: 0.6)
}
return QRCodeReaderViewController(builder: builder)
}()
@IBAction func scanAction(_ sender: AnyObject) {
// Retrieve the QRCode content
// By using the delegate pattern
readerVC.delegate = self
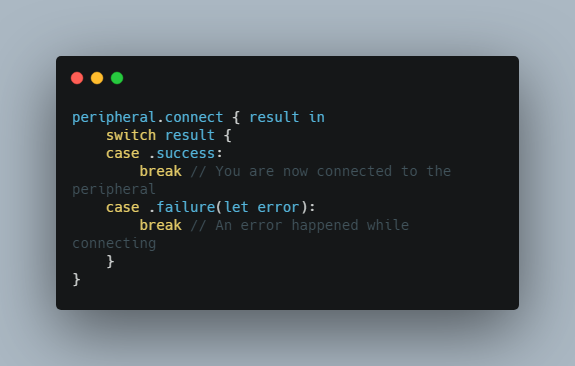
// Or by using the closure pattern
readerVC.completionBlock = { (result: QRCodeReaderResult?) in
print(result)
}
// Presents the readerVC as modal form sheet
readerVC.modalPresentationStyle = .formSheet
present(readerVC, animated: true, completion: nil)
}
// MARK: - QRCodeReaderViewController Delegate Methods
func reader(_ reader: QRCodeReaderViewController, didScanResult result: QRCodeReaderResult) {
reader.stopScanning()
dismiss(animated: true, completion: nil)
}
//This is an optional delegate method, that allows you to be notified when the user switches the cameraName
//By pressing on the switch camera button
func reader(_ reader: QRCodeReaderViewController, didSwitchCamera newCaptureDevice: AVCaptureDeviceInput) {
if let cameraName = newCaptureDevice.device.localizedName {
print("Switching capture to: \(cameraName)")
}
}
func readerDidCancel(_ reader: QRCodeReaderViewController) {
reader.stopScanning()
dismiss(animated: true, completion: nil)
}
Note that you should check whether the device supports the reader library by using the QRCodeReader.isAvailable() or the QRCodeReader.supportsMetadataObjectTypes() methods.
Interface customization
You can create your own interface to scan your 1D/2D codes by using the QRCodeReaderDisplayable protocol and the readerView property in the QRCodeReaderViewControllerBuilder:
class YourCustomView: UIView, QRCodeReaderDisplayable {
  let cameraView: UIView            = UIView()
  let cancelButton: UIButton?       = UIButton()
  let switchCameraButton: UIButton? = SwitchCameraButton()
  let toggleTorchButton: UIButton?  = ToggleTorchButton()
  var overlayView: UIView?          = UIView()

  func setupComponents(with builder: QRCodeReaderViewControllerBuilder) {
    // addSubviews
    // setup constraints
    // etc.
  }
}

lazy var reader: QRCodeReaderViewController = {
    let builder = QRCodeReaderViewControllerBuilder {
      let readerView = QRCodeReaderContainer(displayable: YourCustomView())

      $0.readerView = readerView
    }

    return QRCodeReaderViewController(builder: builder)
  }()
Installation
The recommended approach to use QRCodeReaderViewController in your project is using the CocoaPods package manager, as it provides flexible dependency management and dead simple installation.
CocoaPods
Install CocoaPods if not already available:
$ [sudo] gem install cocoapods
$ pod setup
Go to the directory of your Xcode project, and Create and Edit your Podfile and add QRCodeReader.swift to your corresponding TargetName:
$ cd /path/to/MyProject
$ touch Podfile
$ edit Podfile
source 'https://github.com/CocoaPods/Specs.git'
platform :ios, '8.0'
use_frameworks!

target 'TargetName' do
    pod 'QRCodeReader.swift', '~> 10.1.0'
end
Install into your project:
$ pod install
Open your project in Xcode from the .xcworkspace file (not the usual project file):
$ open MyProject.xcworkspace
You can now import QRCodeReader framework into your files.
Carthage
Carthage is a decentralized dependency manager that automates the process of adding frameworks to your Cocoa application.
You can install Carthage with Homebrew using the following command:
$ brew update
$ brew install carthage
To integrate QRCodeReader into your Xcode project using Carthage, specify it in your Cartfile file:
github "yannickl/QRCodeReader.swift" >= 10.1.0
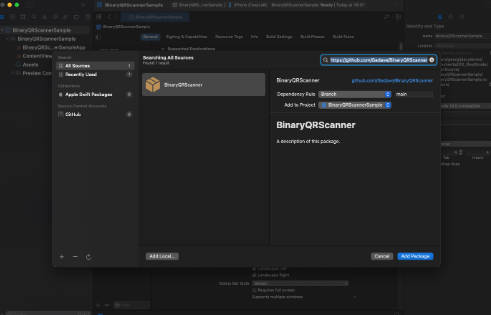
Swift Package Manager
You can use The Swift Package Manager to install QRCodeReader.swift by adding the proper description to your Package.swift file:
import PackageDescription

let package = Package(
    name: "YOUR_PROJECT_NAME",
    targets: [],
    dependencies: [
        .Package(url: "https://github.com/yannickl/QRCodeReader.swift.git", versions: "10.1.0" ..< Version.max)
    ]
)
Note that the Swift Package Manager is still in early design and development, for more information checkout its GitHub Page.
Manually
Download the project and copy the QRCodeReader folder into your project to use it in.