MagicPie
Powerful pie layer for creating your own pie view. PieLayer provide great animation with simple usage.
The main advantage of that control that there is no worry about displaying of animation. Animation will display correctly even if you will add new elements during execution of another slice deleting animation. That's amazing! And here is no delegates. I like delegates, but in this case I think they are excess.
Installation
Edit your PodFile to include the following line:
pod 'MagicPie'
Then import the main header.
#import <MagicPieLayer.h>
Have a fun!
Swift Swift Swift Swift Swift
Okay, now when you are reading this, I recommend to you look the example #2 in Swift.
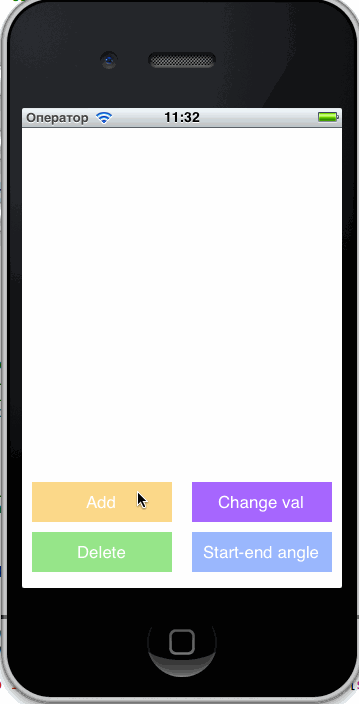
Example Usage
Create pie:
Obj-C
PieLayer* pieLayer = [[PieLayer alloc] init];
pieLayer.frame = CGRectMake(0, 0, 200, 200);
[self.view.layer addSublayer:pieLayer];
Swift
let pieLayer = PieLayer()
pieLayer.frame = CGRectMake(0, 0, 200, 200)
view.layer.addSublayer(pieLayer)
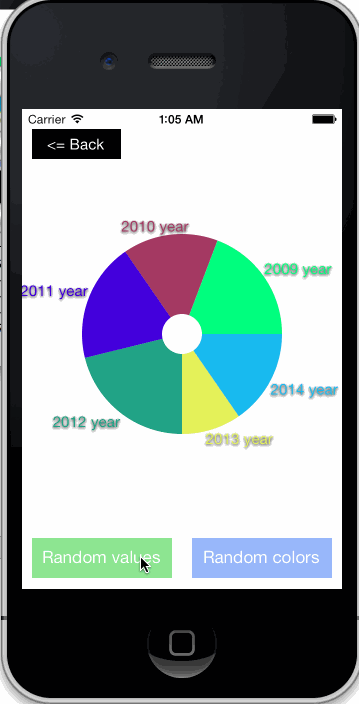
Add slices:
Obj-C
[pieLayer addValues:@[[PieElement pieElementWithValue:5.0 color:[UIColor redColor]],
                      [PieElement pieElementWithValue:4.0 color:[UIColor blueColor]],
                      [PieElement pieElementWithValue:7.0 color:[UIColor greenColor]]] animated:YES];
Swift
pieLayer.addValues([PieElement(value: 5.0, color: UIColor.redColor()),
                    PieElement(value: 4.0, color: UIColor.blueColor()),
                    PieElement(value: 7.0, color: UIColor.greenColor())], animated: true)
Change value with animation:
Obj-C
PieElement* pieElem = pieLayer.values[0];
[PieElement animateChanges:^{
	pieElem.val = 13.0;
	pieElem.color = [UIColor yellowColor];
}];
Swift
let pieElem = pieLayer.values[0]
PieElement.animateChanges {
	pieElem.val = 13.0
	pieElem.color = UIColor.yellowColor()
}
Delete slices:
Obj-C
[pieLayer deleteValues:@[pieLayer.values[0], pieLayer.values[1]] animated:YES];
Swift
pieLayer.deleteValues([pieLayer.values[0], pieLayer.values[1]], animated: true)