JTAppleCalendar
The Unofficial Apple iOS Swift Calendar View. iOS calendar Library. iOS calendar Control. 100% Customizable.


Features
- [x] Range selection - select dates in a range. The design is entirely up to you.
- [x] Boundary dates - limit the calendar date range
- [x] Week/month mode - show 1 row of weekdays. Or 2, 3 or 6
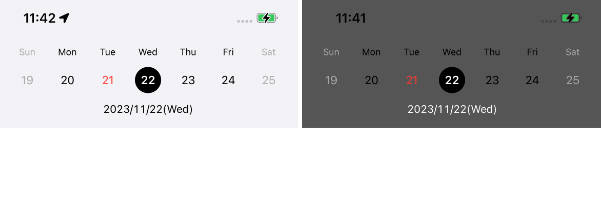
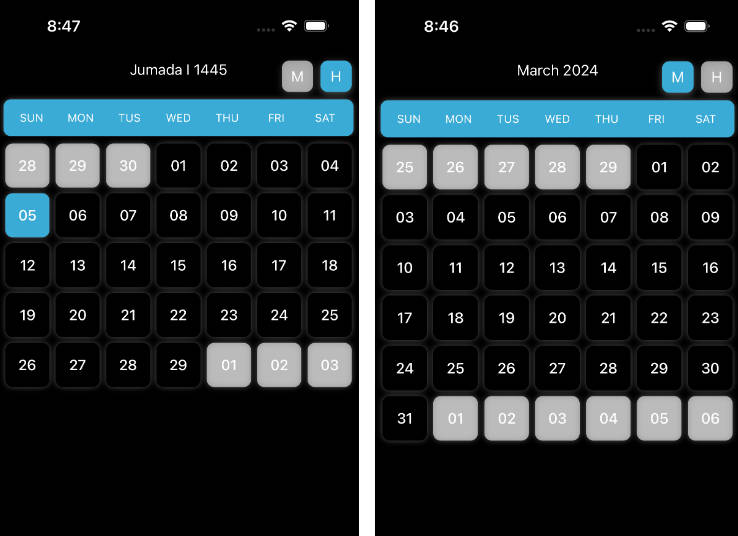
- [x] Custom cells - make your day-cells look however you want, with any functionality you want
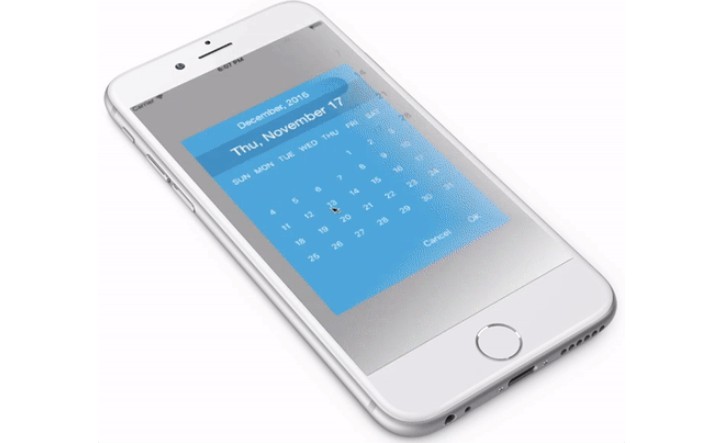
- [x] Custom calendar view - make your calendar look however you want, with what ever functionality you want
- [x] First Day of week - pick anyday to be first day of the week
- [x] Horizontal or vertical mode
- [x] Ability to add month headers in varying sizes/styles of your liking
- [x] Ability to scroll to any month by simply using the date
- [x] Ability to design your calendar however you want. You want it, you build it
- [x] Complete Documentation
Installation
1. Installing via CocoaPods
CocoaPods is a dependency manager for Cocoa projects. You can install it with the following command:
$ gem install cocoapods
CocoaPods 1.1.0+ is required to build JTApplecalendar.
To integrate JTAppleCalendar into your Xcode project using CocoaPods, specify it in your Podfile:
source 'https://github.com/CocoaPods/Specs.git'
platform :ios, '10.0'
use_frameworks!

target '<Your Target Name>' do
    pod 'JTAppleCalendar', '~> 7.0'
end
Then, run the following command:
$ pod install
Completed!
New to Cocoapods? Did the steps above fail? Then read on.
If you're new to CocoaPods, simply search how to integrate Cocoapods into your project. Trust me that 5-7 minutes of research will bring you much benefit. CocoaPods one of the top dependency manager for integrating 3rd party frameworks into your project. But in a nut-shell, here is how I did my installation with a sample project called test
- Install Cocoapods.
- Create a new xcode project. Save the name as: test
- Go to your console in the directory location where your project is located.
- Type and run the command: pod init
- This will create a file called: Podfile in that same location.
- Edit that Podfile so that it looks like the following:
# Uncomment the next line to define a global platform for your project
# platform :ios, '9.0'

target 'test' do
  use_frameworks!
  pod 'JTAppleCalendar', '~> 7.0'
end
Save, and head back to terminal and run: pod install. If all Went well, installation should be complete. Close the XCodeproject, and instead reopen it using the workspace file which generated when installation was completed. Done.
2. Installing via Carthage
Carthage is a decentralized dependency manager that builds your dependencies and provides you with binary frameworks.
You can install Carthage with Homebrew using the following command:
$ brew update
$ brew install carthage
To integrate JTAppleCalendar into your Xcode project using Carthage, specify it in your Cartfile:
github "patchthecode/JTAppleCalendar" ~> 7.0
Run carthage update to build the framework and drag the built JTApplecalendar.framework into your Xcode project.
3. Installing manually
Simply drag the source files into your project.