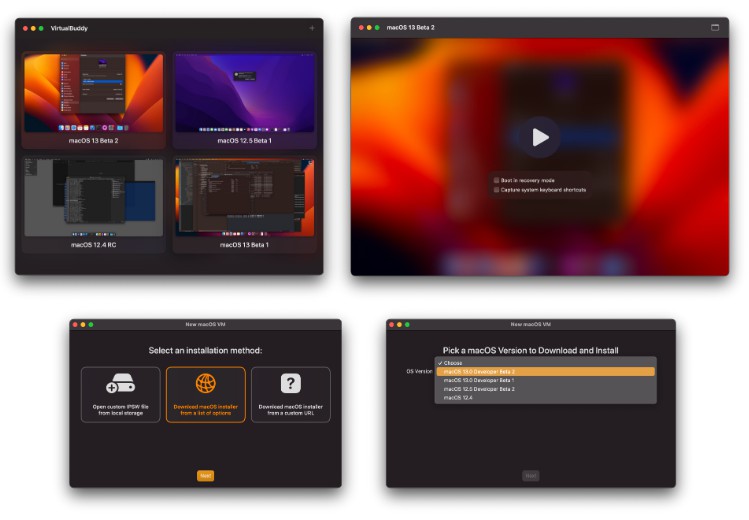
VirtualBuddy
VirtualBuddy can virtualize macOS 12 and later on Apple Silicon, with the goal of offering features that are useful to developers who need to test their apps on multiple versions of macOS, especially betas.
Requires macOS 12.3 and an Apple Silicon Mac
⚠️ WARNING: This project is experimental. Things might break or not work as expected.

Feature Checklist
- Ability to boot any version of macOS 12 or macOS 13, including betas
- Built-in installation wizard
- Select from a collection of restore images available on Apple’s servers
- Install the latest stable version of macOS
- Local restore image IPSW file
- Custom restore image URL
- Boot into recovery mode (in order to disable SIP, for example)
- Networking and file sharing support
- Clipboard sharing (without the need to be running macOS Ventura) (experimental ¹)
- Edit NVRAM variables
- Customize virtual machine hardware configuration
¹ To enable clipboard sharing, build the VirtualBuddyGuest scheme, then copy the VirtualBuddyGuest app to the virtual machine (through file sharing, for example) and run it. This will keep the clipboard in sync between the guest and host machines. The feature is experimental, so it might be buggy and it’s definitely not secure.
Tips and Tricks
Taking Advantage of APFS
Sometimes when trying things out in the OS installed in one of the virtual machines, things might break, requiring a full install of the guest operating system again, which is a pain.
Thanks to APFS cloning though, you can just duplicate a virtual machine within your library folder (using Command + D in Finder), and the copy will take almost no additional disk space. This way you can have a “clean” copy of your VM, do whatever you want with a duplicate of it, and then throw the copy away and re-duplicate the clean version if things break.
Screen Resolution
VirtualBuddy sets up its virtual machines to have the same screen resolution as the host’s main screen. This is great if you want to use the VM in full screen and take advantage of the entire resolution of your Mac’s display.
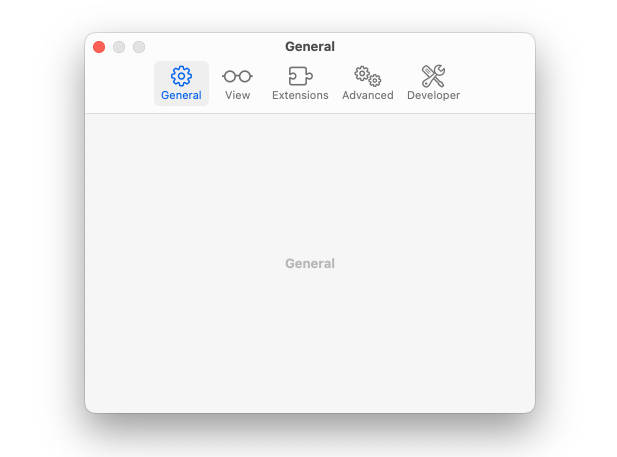
The default mode the VM OS selects for the display uses the native resolution that’s available to it though, which can make things look really small. In order to address this, go into System Preferences > Displays within the guest operating system and choose a scaled resolution.
Building
Xcode 14 is recommended.
- Edit
Main.xcconfigand set theVB_BUNDLE_ID_PREFIXvariable to something unique likecom.yourname., then select a team under Signing & Capabilities.- You may optionally run with the “Sign to run locally” option to skip this step
- Build the
VirtualBuddyscheme