
Goal
In some cases you need to be able to select an emoji and not allow a user to enter anything else (letters, numbers, symbols, …).
The EmojiPicker is there for that.
It is a SwiftUI library that allows you to get a list of all the emojis present on your smartphone but also to create a selector to simplify your life.
Screenshots and video
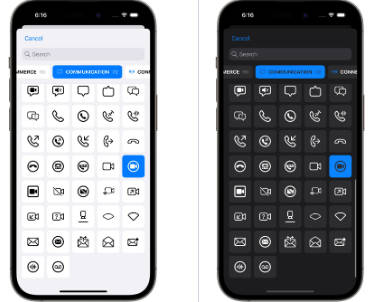
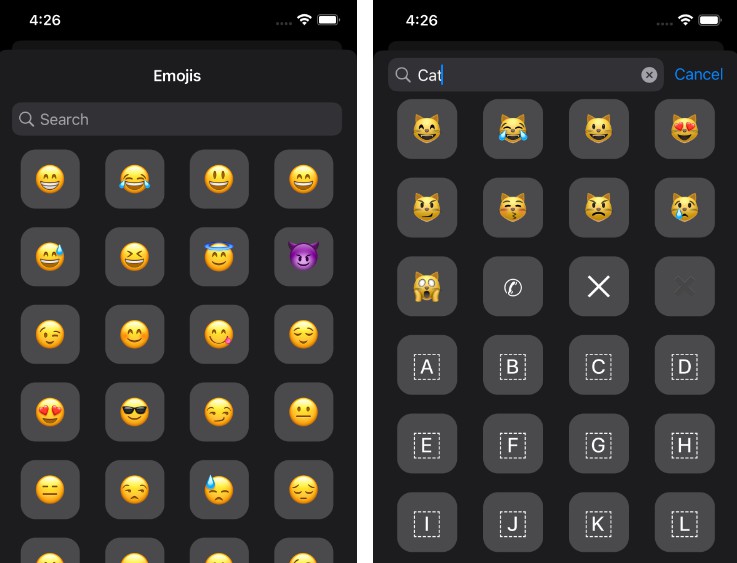
| Emoji list | Emoji search |
|---|---|
 |
 |

Dependencies
- SwiftUI (iOS >= 15.0)
- Smile (2.1.0)
How install it?
Nowaday we only support Swift Package Manager. You can use build-in UI tool for XCode with this search words: EmojiPicker or you can add it directly with this following command :
.package(url: "https://github.com/Kelvas09/EmojiPicker.git", from: "1.0.0")
How use it?
First of all you have to import the library EmojiPicker:
import EmojiPicker
You then have the option of using the EmojiPickerView. This view represents the list of selectable emojis.
The latter is not embedded in a NavigationView. If you want to display it with a title, you have to do it yourself:
...
NavigationView {
    EmojiPickerView(selectedEmoji: $selectedEmoji, selectedColor: .orange)
        .navigationTitle("Emojis")
        .navigationBarTitleDisplayMode(.inline)
}
...
Here is a complete example:
import SwiftUI
import EmojiPicker

struct ContentView: View {

    @State
    var selectedEmoji: Emoji?

    @State
    var displayEmojiPicker: Bool = false

    var body: some View {
        VStack {
            VStack {
                Text(selectedEmoji?.value ?? "")
                    .font(.largeTitle)
                Text(selectedEmoji?.name ?? "")
                    .font(.title3)
            }
            .padding(8)
            Button {
                displayEmojiPicker = true
            } label: {
                Text("Select emoji")
            }
        }
        .padding()
        .sheet(isPresented: $displayEmojiPicker) {
            NavigationView {
                EmojiPickerView(selectedEmoji: $selectedEmoji, selectedColor: .orange)
                    .navigationTitle("Emojis")
                    .navigationBarTitleDisplayMode(.inline)
            }
        }
    }

}
Select color
When a user selects an emoji, it is highlighted. By default the selection color is blue but you can change this value when creating the view:
EmojiPickerView(selectedEmoji: $selectedEmoji, selectedColor: .orange)
Enable search
By default the search for emoji is allowed in the picker, it is however possible to change this setting when creating the view:
EmojiPickerView(selectedEmoji: $selectedEmoji, searchEnabled: false)
⚠️ WARNING Search is only possible when EmojiPicker is embed on NavigationView.
Custom emoji provider
EmojiPickerView embeds EmojiProvider protocol with a default implementation: DefaultEmojiProvider. This class allows to retrieve all existing emojis.
When you build an EmojiPickerView, by default it uses this class to get the list of emojis to display.
If you want to use your own emoji list, you can create your own class by implementing the EmojiProvider protocol :
import Foundation
import EmojiPicker

final class LimitedEmojiProvider: EmojiProvider {

    func getAll() -> [Emoji] {
        return [
            Emoji(value: "?", name: "rocket"),
            Emoji(value: "??", name: "France"),
            Emoji(value: "?", name: "unicorn"),
            Emoji(value: "?", name: "beer"),
            Emoji(value: "?", name: "euro")
        ]
    }

}
And then use it in the creation of the view:
...
NavigationView {
    EmojiPickerView(selectedEmoji: $selectedEmoji, selectedColor: .orange, emojiProvider: LimitedEmojiProvider())
        .padding(.top, 32)
        .navigationTitle("Emojis")
        .navigationBarTitleDisplayMode(.inline)
}
...
Samples
You can access to sample project on folder EmojiPickerSample