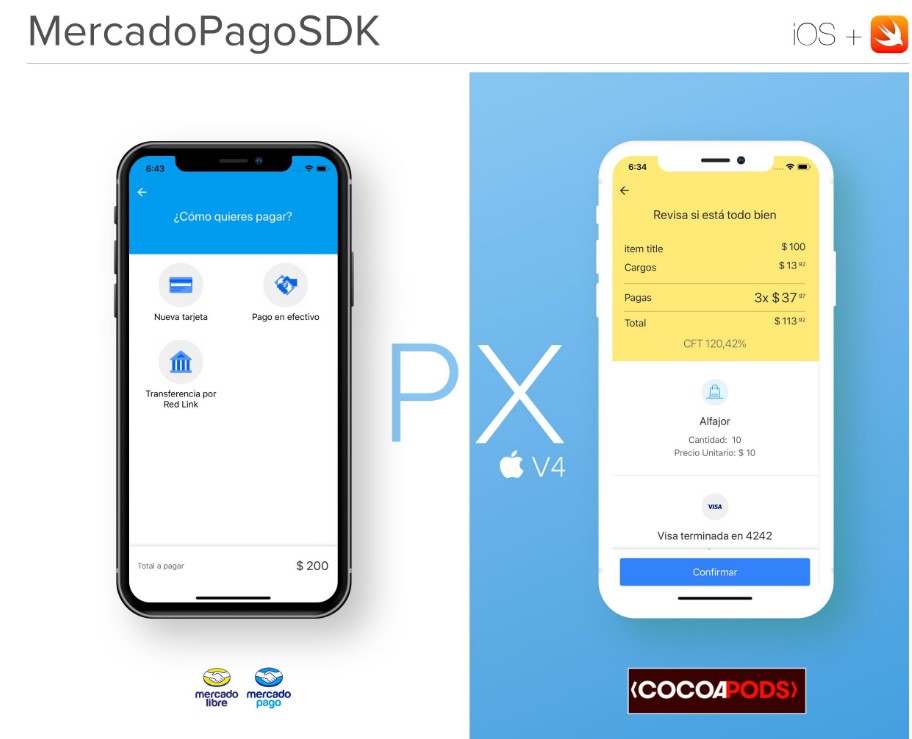
px-ios
Mercado Pago's Official iOS SDK.
? How to Install
Using CocoaPods
Edit your Podfile and specify the dependency:
pod 'MercadoPagoSDK'
? Features
- [x] Easy to install
- [x] Easy to integrate
- [x] PCI compliance
- [x] Font customization
- [x] Basic color customization
- [x] Advanced color customization
- [x] Lazy loading initialization support
- [x] Custom UIViews support in certain screens
- [x] Support to build your own Payment Processor
- [x] Support to create your own custom Payment Method
? How to use
Only 3 steps needed to create a basic checkout using MercadopagoSDK:
1 - Import into project
import MercadoPagoSDK
2 - Set your PublicKey and PreferenceId
let checkout = MercadoPagoCheckout.init(builder: MercadoPagoCheckoutBuilder.init(publicKey: "your_public_key", preferenceId: "your_checkout_preference_id"))
3 - Start
checkout.start(navigationController: self.navigationController)
? One line integration
MercadoPagoCheckout.init(builder: MercadoPagoCheckoutBuilder.init(publicKey: "your_public_key", preferenceId: "your_checkout_preference_id")).start(navigationController: self.navigationController)
?Advanced integration
Check our official code reference , especially MercadoPagoCheckoutBuilder object to explore all available functionalities.
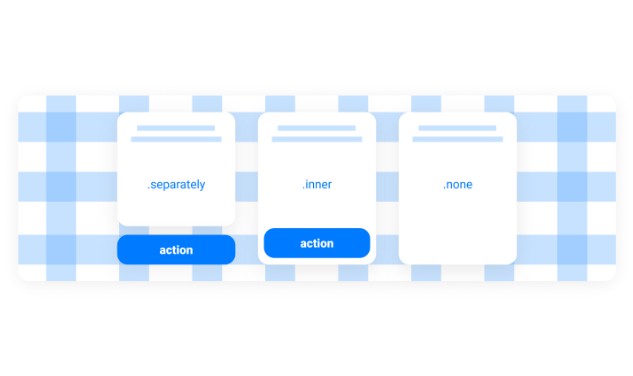
? UI Custom Colors
Basic color customization
You can define one color (your main color) and we will take care of the rest. Delivering the best Checkout experience based on your color.
checkoutBuilder.setColor(checkoutColor: UIColor.purple)
Advanced color customization
If you need an advanced color customization, you can customize your colors through our PXTheme interface/protocol. Check the PXTheme methods in our reference guide.
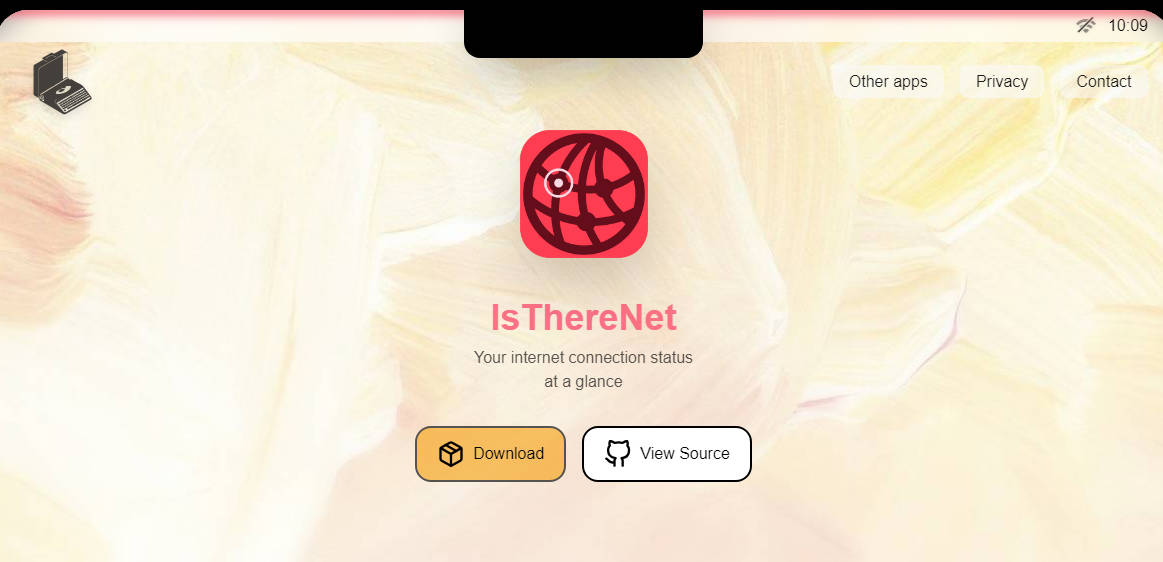
The following example implements the protocol PXTheme to customize the UI with Mercadolibre style:
final class ExampleTheme: PXTheme {
    let primaryColor: UIColor = #colorLiteral(red: 1, green: 0.9176470588, blue: 0.4705882353, alpha: 1)

    public func navigationBar() -> PXThemeProperty {
        return PXThemeProperty(backgroundColor: primaryColor, tintColor: #colorLiteral(red: 0.2, green: 0.2, blue: 0.2, alpha: 1))
    }

    public func loadingComponent() -> PXThemeProperty {
        return PXThemeProperty(backgroundColor: primaryColor, tintColor: #colorLiteral(red: 0.2039215686, green: 0.5137254902, blue: 0.9803921569, alpha: 1))
    }

    public func highlightBackgroundColor() -> UIColor {
        return primaryColor
    }

    public func detailedBackgroundColor() -> UIColor {
        return #colorLiteral(red: 1, green: 1, blue: 1, alpha: 1)
    }

    public func statusBarStyle() -> UIStatusBarStyle {
        return .default
    }
}
? Custom Fonts
You can set your custom Font by PXTheme protocol. Implement the following 3 optional methods:
@objc optional func fontName() -> String?
@objc optional func lightFontName() -> String?
@objc optional func semiBoldFontName() -> String?
? Tracking
We provide PXTrackerListener protocol to notify each tracking event. You can subscribe to this protocol using PXTracker.
Implement PXTrackerListener protocol.
@objc public protocol PXTrackerListener: NSObjectProtocol {
    func trackScreen(screenName: String, extraParams: [String: Any]?)
    func trackEvent(screenName: String?, action: String!, result: String?, extraParams: [String: Any]?)
}
Set listener
PXTracker.setListener(self)
? Supported OS & SDK Versions
- iOS 10.0+
- Swift 4.2
- xCode 9.2+
- @Objc full compatibility