iOS-bootstrap
Lobe is an easy to use app that has everything you need to bring your machine learning ideas to life. Just show it some examples of what you want it to do, and train a custom machine learning model that can be shipped in your app.
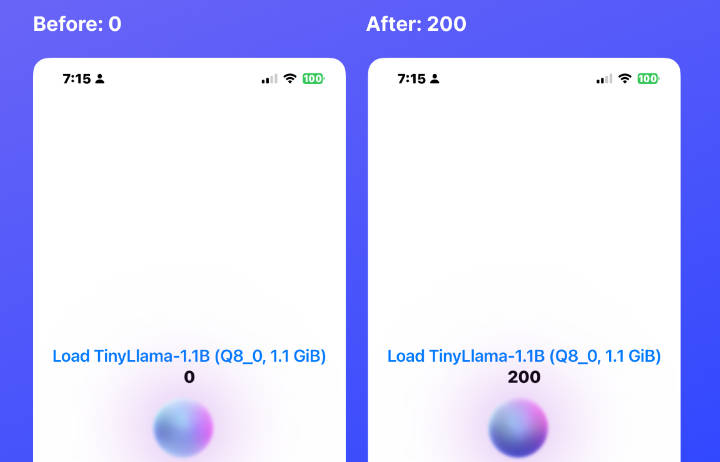
iOS Bootstrap takes the machine learning model created in Lobe, and adds it to a project on iOS that uses CoreML and SwiftUI. We help you along the way with everything you need to do to integrate it in your project.
Installing Development Environment
You need to get you setup so you can build, launch, and play with your app. These instructions are written for macOS, the only system you can develop iOS apps on.
If you already have git installed and know how to clone this repo, skip to Step 2.
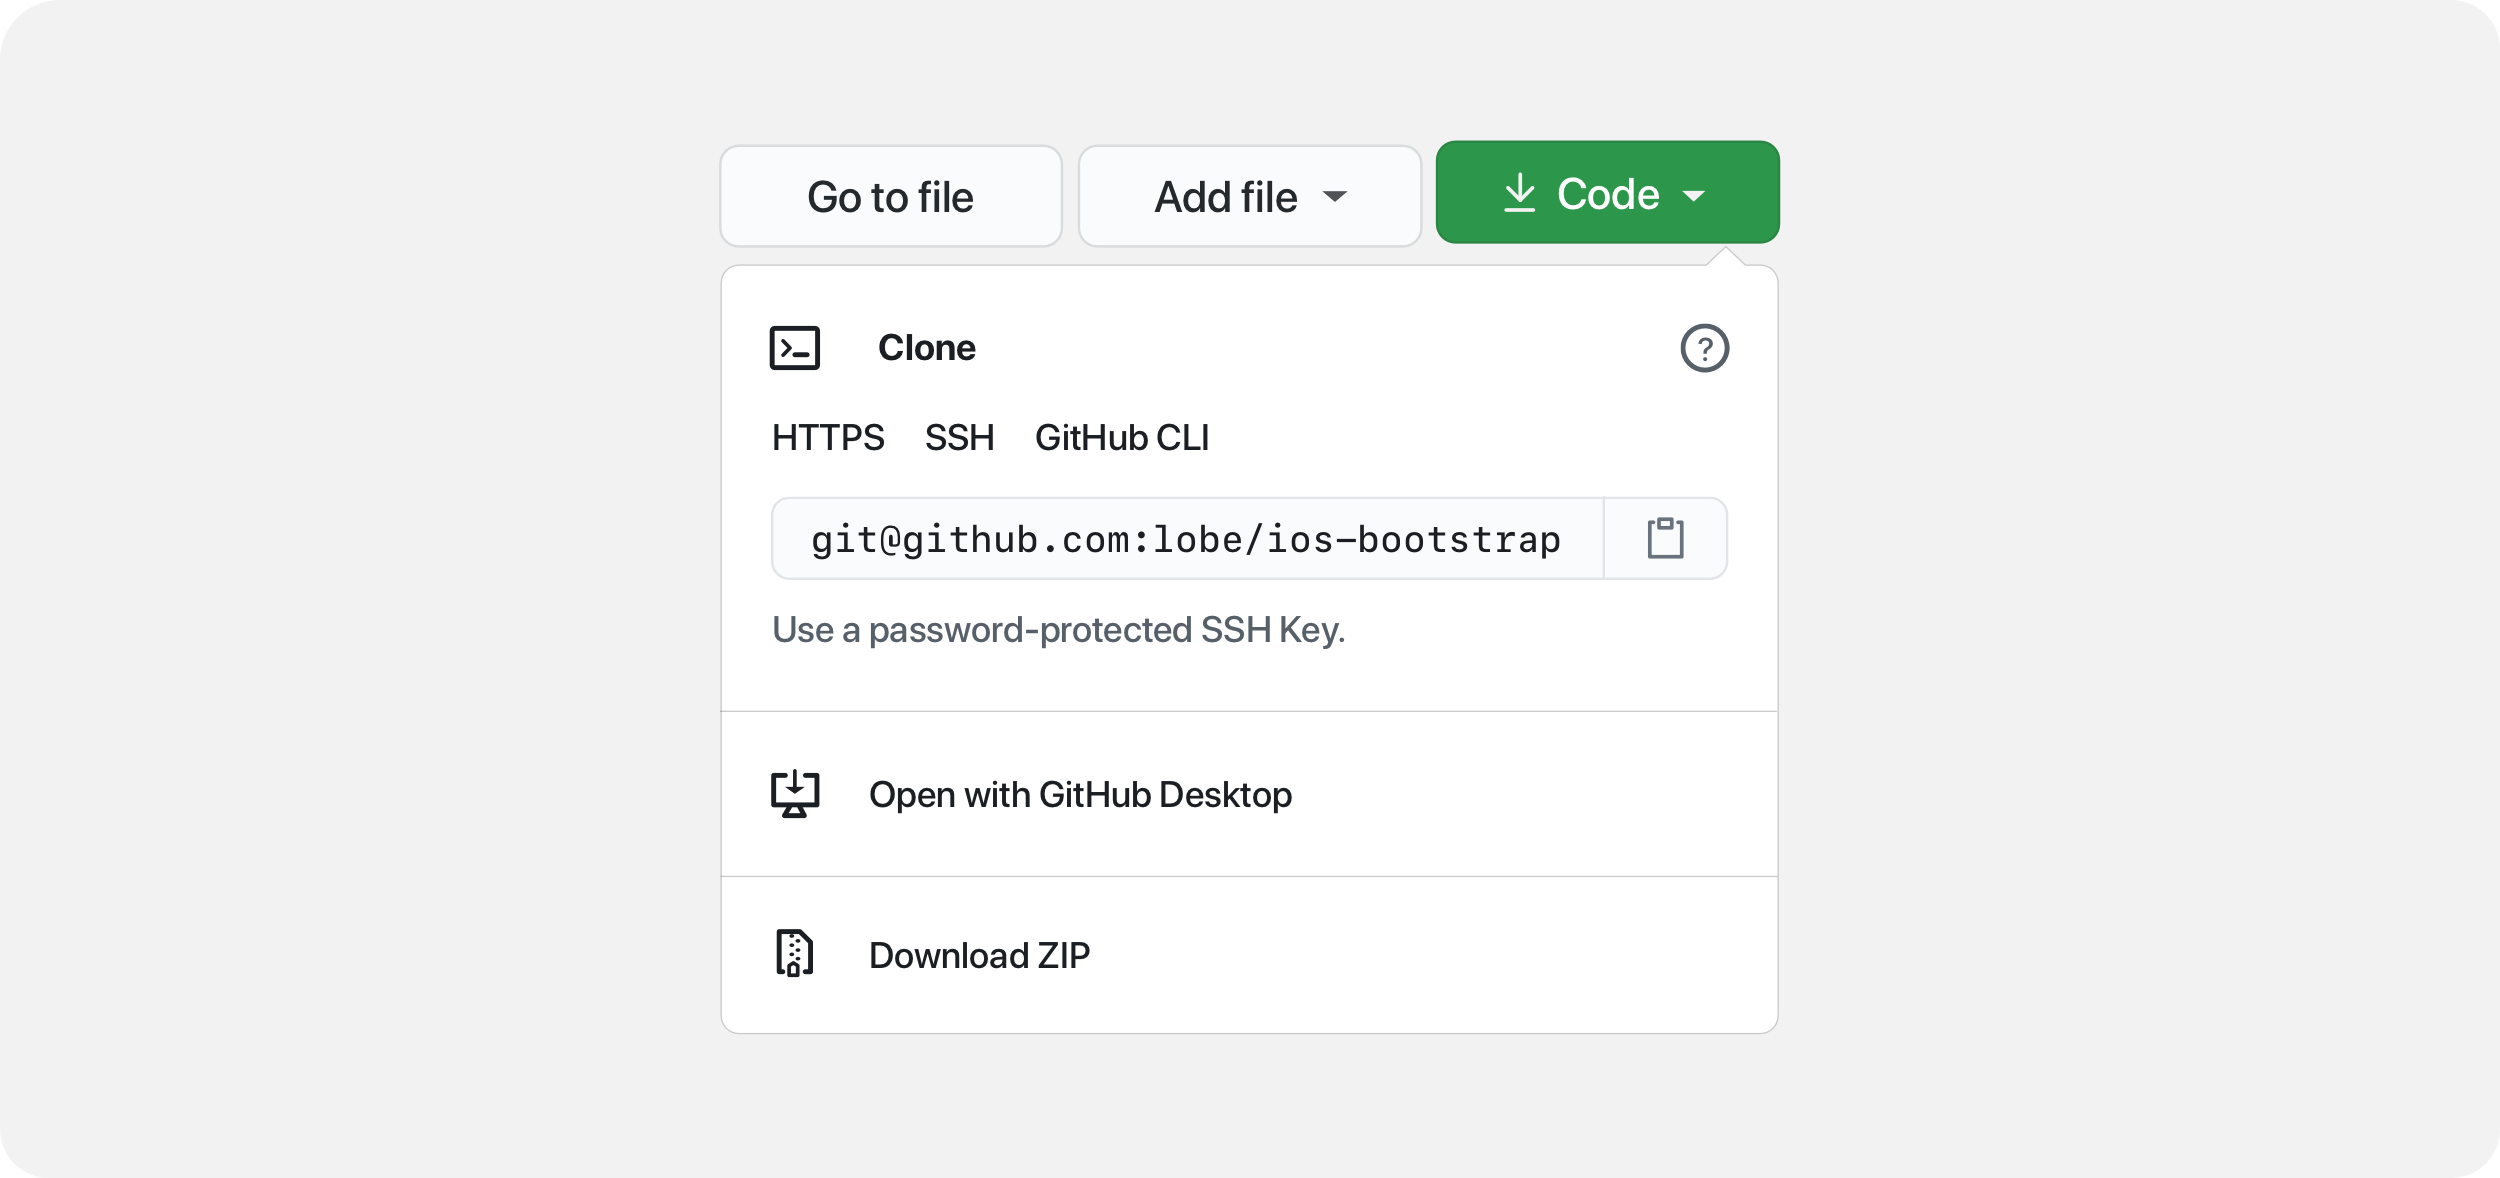
If you prefer to use the GitHub Desktop app, click on the "Code" button above and click "Open with GitHub Desktop":
Step 1 - Install Homebrew and Git
Type the following into a Terminal window:
/bin/bash -c "$(curl -fsSL https://raw.githubusercontent.com/Homebrew/install/master/install.sh)"
brew doctor
brew install git
Now that we have installed git, you can clone this repo with the following command. You'll want to navigate to a folder in Terminal where you'd like to store these files. If you need help, here's a gentle introduction to navigation in the terminal.
git clone https://github.com/lobe/iOS-bootstrap.git
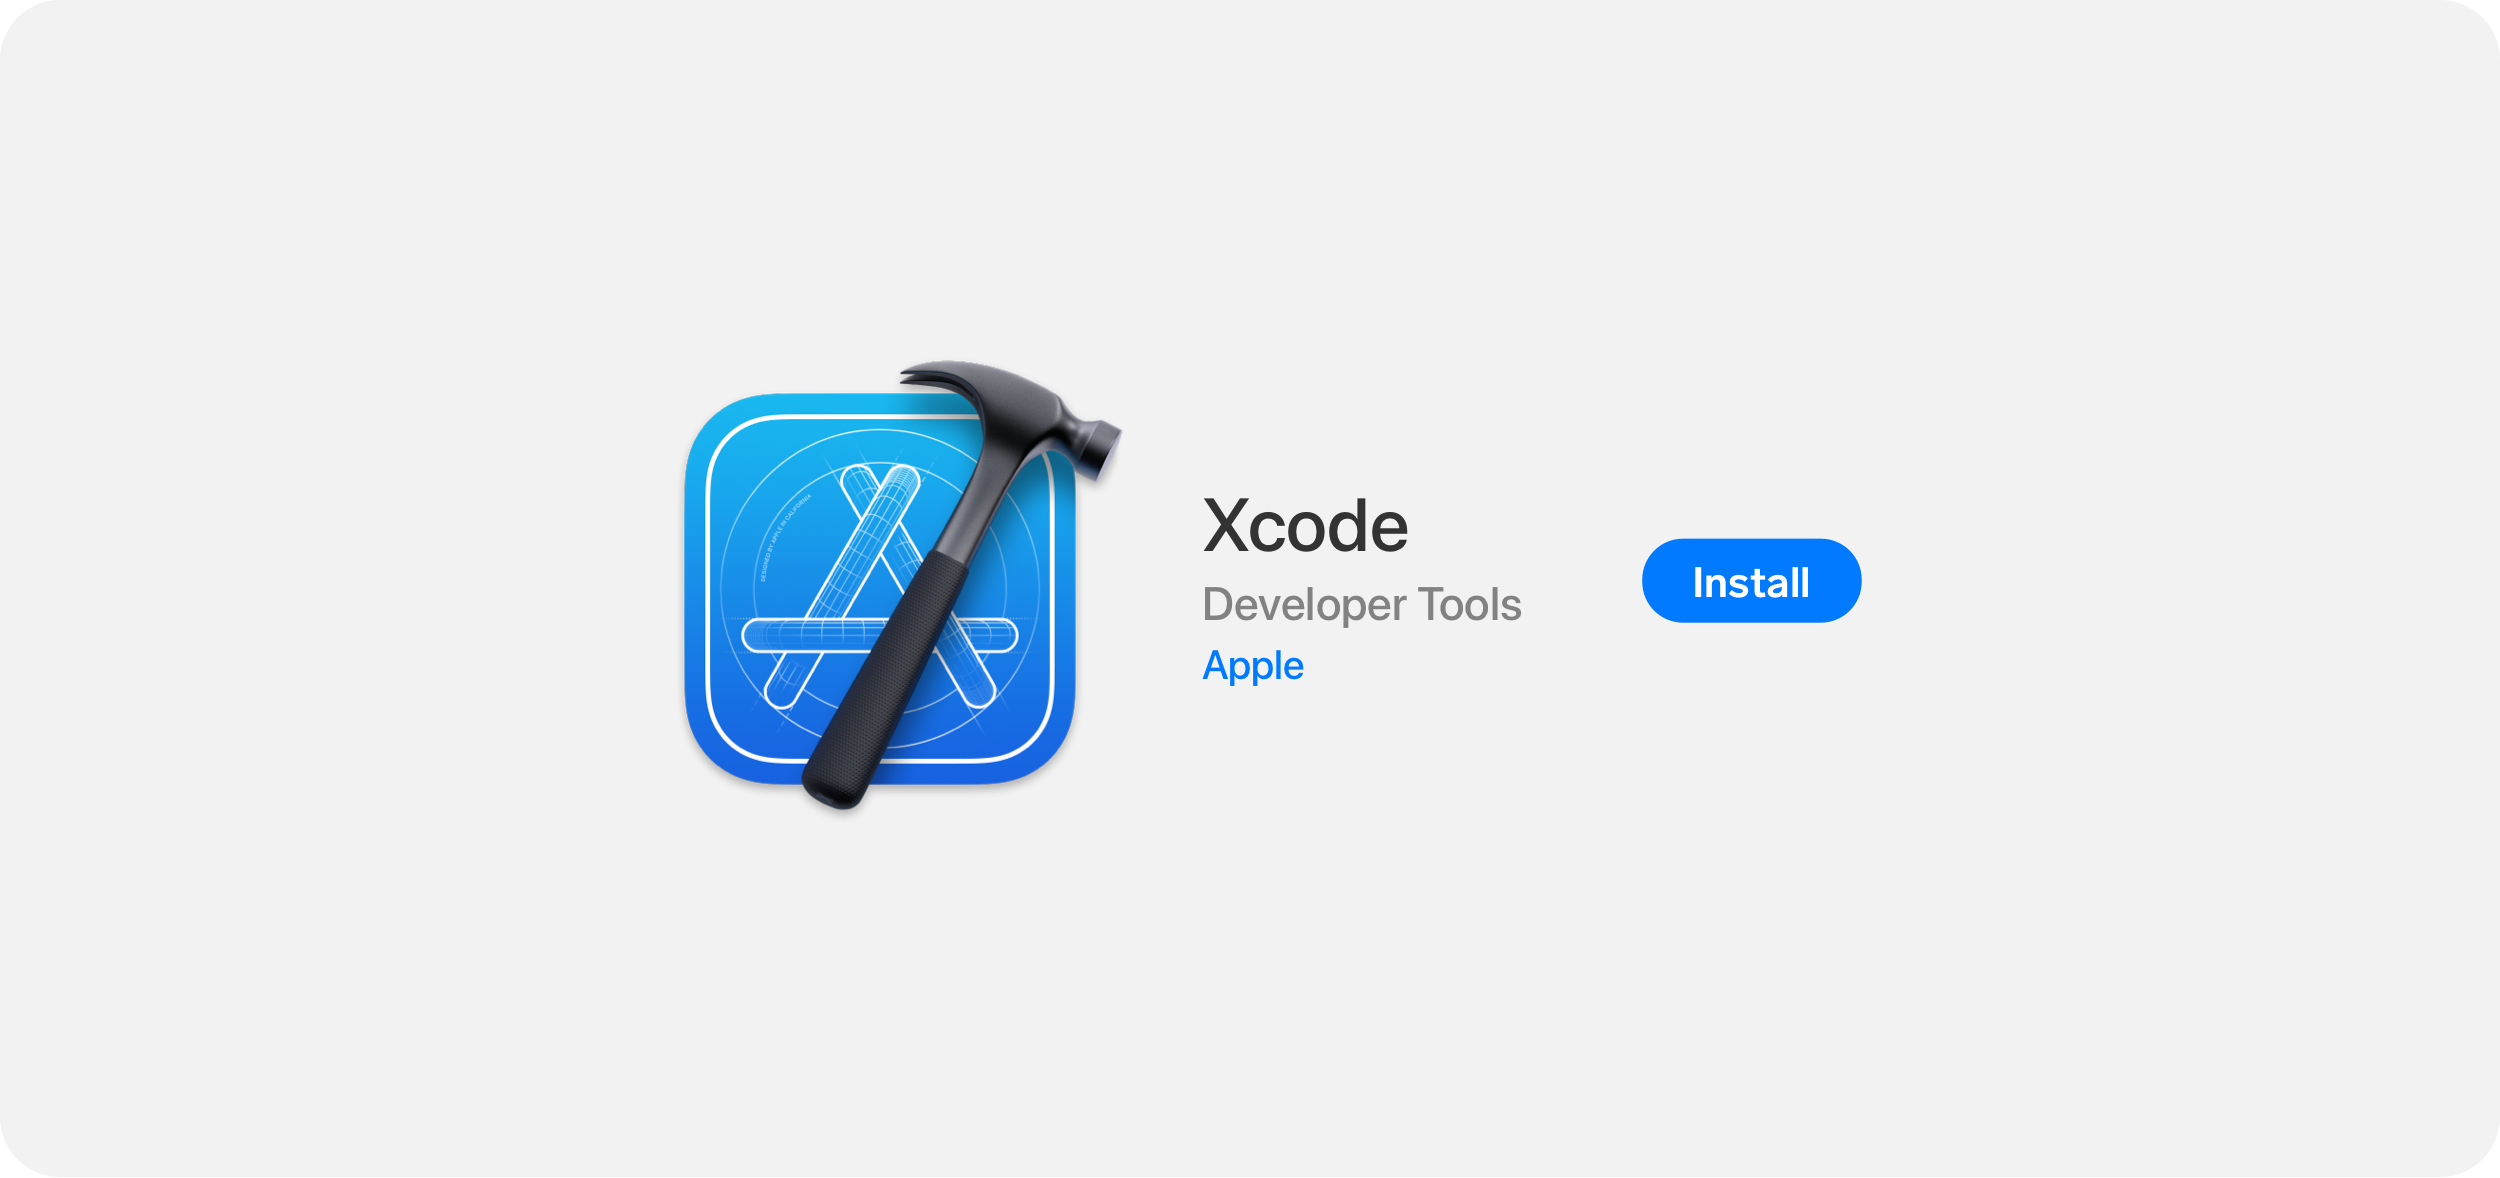
Step 2 - Installing Xcode
Next, we're going to install Xcode, a free tool from Apple, via the App Store. This is a fairly straightforward process that could take an hour or more, as the Xcode app is pretty large.
Once it's done, double click on the Lobe_iOS.xcodeproj file in your project directory and it'll open in Xcode!
Now we need to export your custom model from Lobe. If you'd like, you can skip to the deploying your app section if you just want to see this app working with the default sample model.
Step 3 - Exporting Model
After your machine learning is done training, and you are getting good results, you can export your model by going into the file menu and clicking export. Lobe supports a bunch of industry standard platforms. For this project, we'll select CoreML, the standard for Apple's platforms.
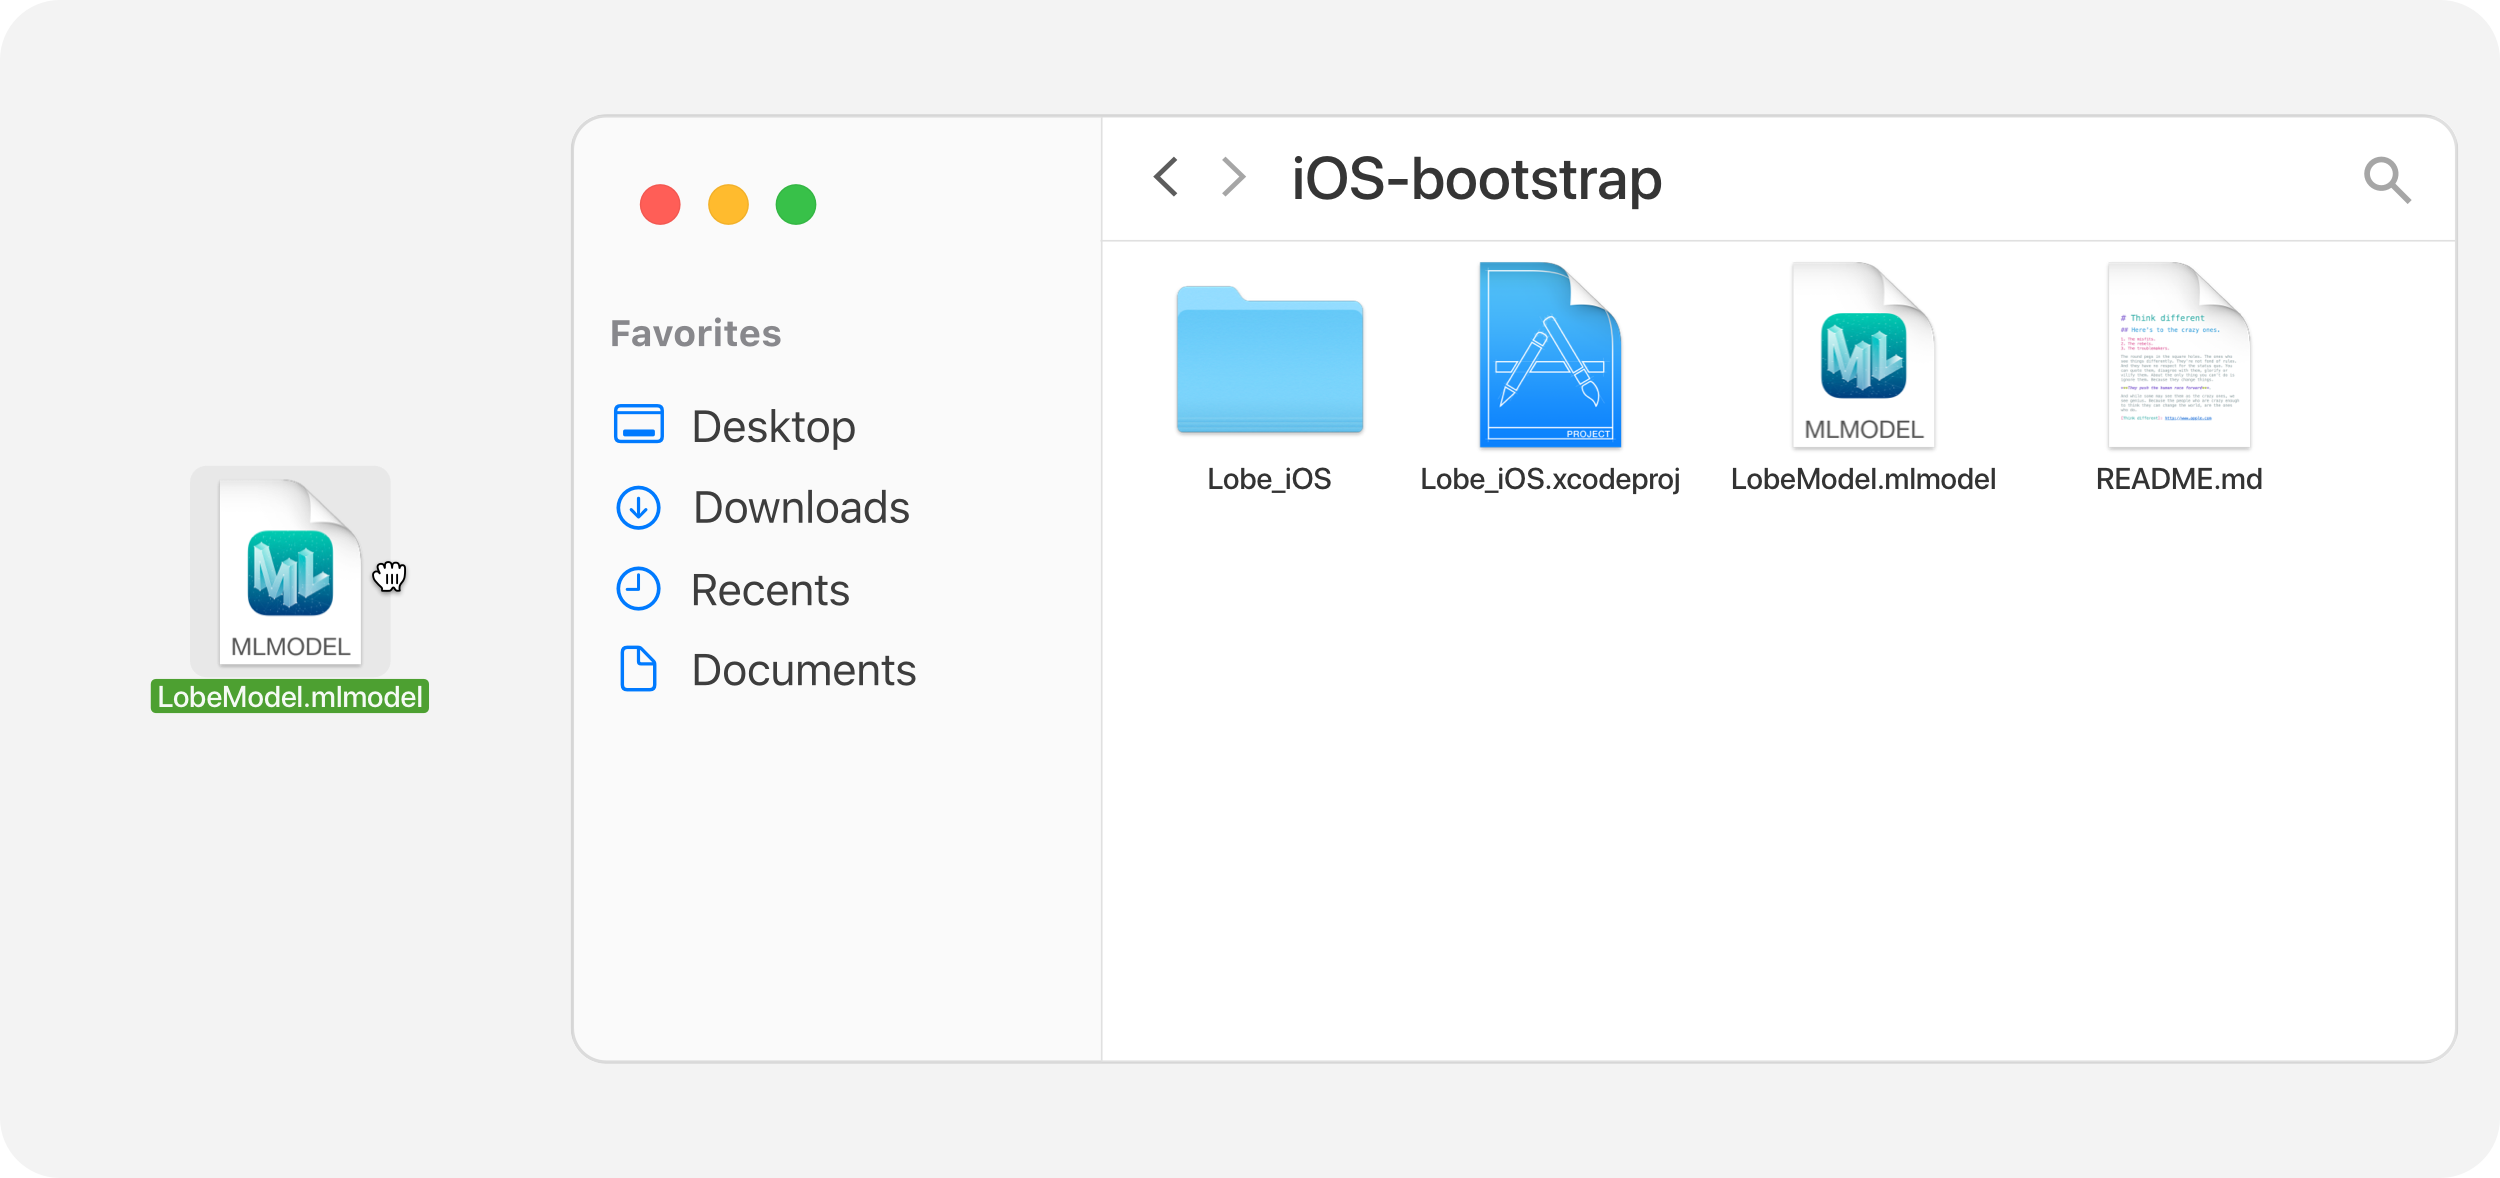
Once you have the CoreML model, rename it to LobeModel.mlmodel and drag it into the root of this repo to replace the exisiting sample model:
Step 4 - Deploying App
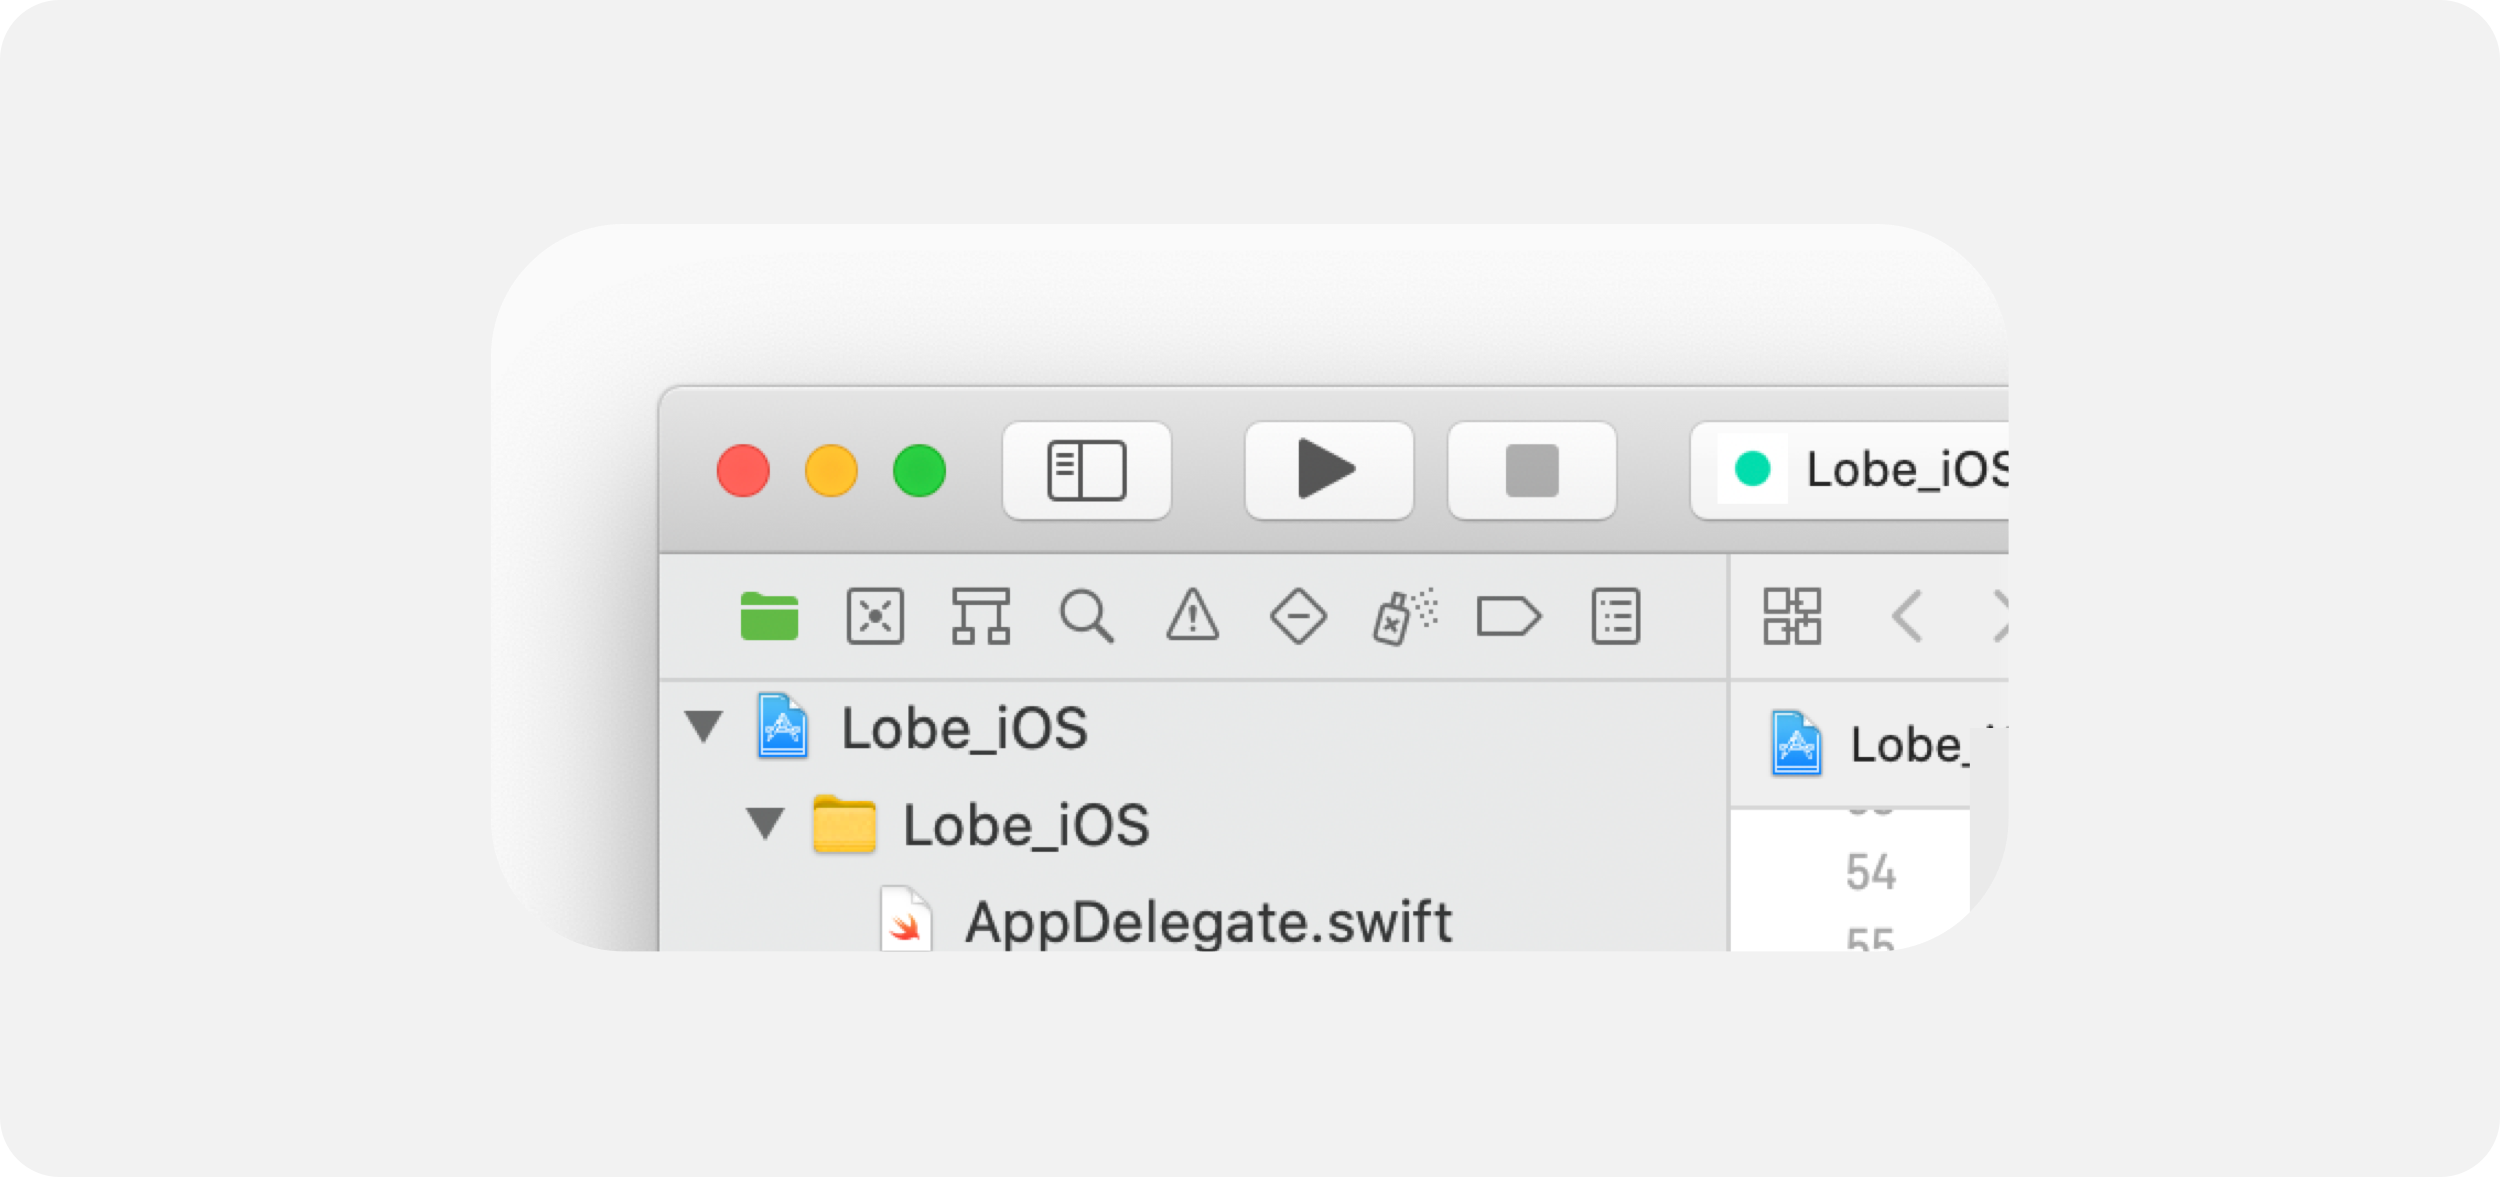
Next, we'll want to get this app onto your phone so you can see it working live with your device's camera. To do this, plug in your device via a USB-Lightning cable and, in the open Xcode window, press the play button in the top left corner of the window:
And there you have it! You're app should be running on your device. If Xcode pops up a message asking you to setup your team, just follow the steps it suggests or take a look here.

And finally, if you'd like to post your app (running your custom image classification model) to the App Store, you're more than welcome to do so. Follow the instructions here to get the process rolling. You'll need to have an Apple Developer account.